Do you have a question about the Apera Instruments SX620 and is the answer not in the manual?
Detailed steps for calibrating the pH pen tester using standard buffer solutions.
Procedure for taking pH measurements with the pen tester in a sample solution.
Instructions for rinsing, drying, and storing the probe after measurements.
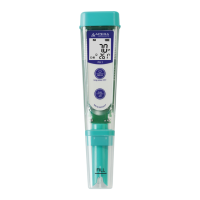
How to switch between Celsius and Fahrenheit temperature units.
Guidance on how often and with which buffer solutions to calibrate the tester.
Instructions for cleaning and maintaining the pH probe head for optimal performance.
Information on when and how to replace the pH electrode, including model number.
Details about the instrument's auto power-off feature after 10 minutes of inactivity.
How to identify when batteries need replacement and the indicator symbol.
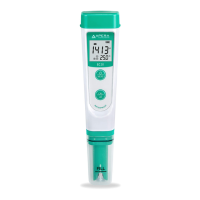
| pH Resolution | 0.01 pH |
|---|---|
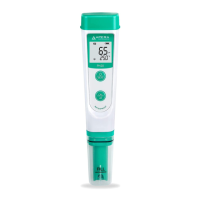
| ORP Range | -1999 to 1999 mV |
| ORP Resolution | 1 mV |
| ORP Accuracy | ±1 mV |
| Calibration Points | Up to 5 points |
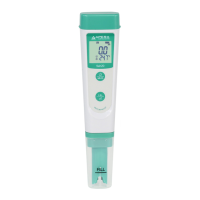
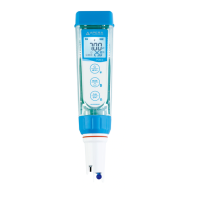
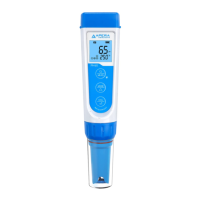
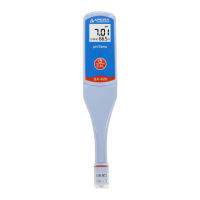
| Display | LCD with backlight |
| Operating Temperature | 0 to 50°C (32 to 122°F) |
| IP Rating | IP67 |
| pH Range | -2.00 to 16.00 pH |
| pH Accuracy | ±0.01 pH |
| Temperature Resolution | 0.1°C |
| Temperature Accuracy | ±0.5°C (±0.9°F) |
| Temperature Compensation | Automatic |
| Buffer Recognition | USA, NIST |
| Data Storage | 500 groups |
| Power Supply | 4 x AAA batteries |
| Probe Type | pH/ORP probe |