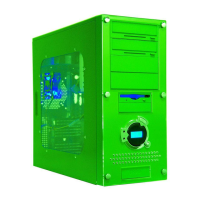
Predator
Finished Appearance
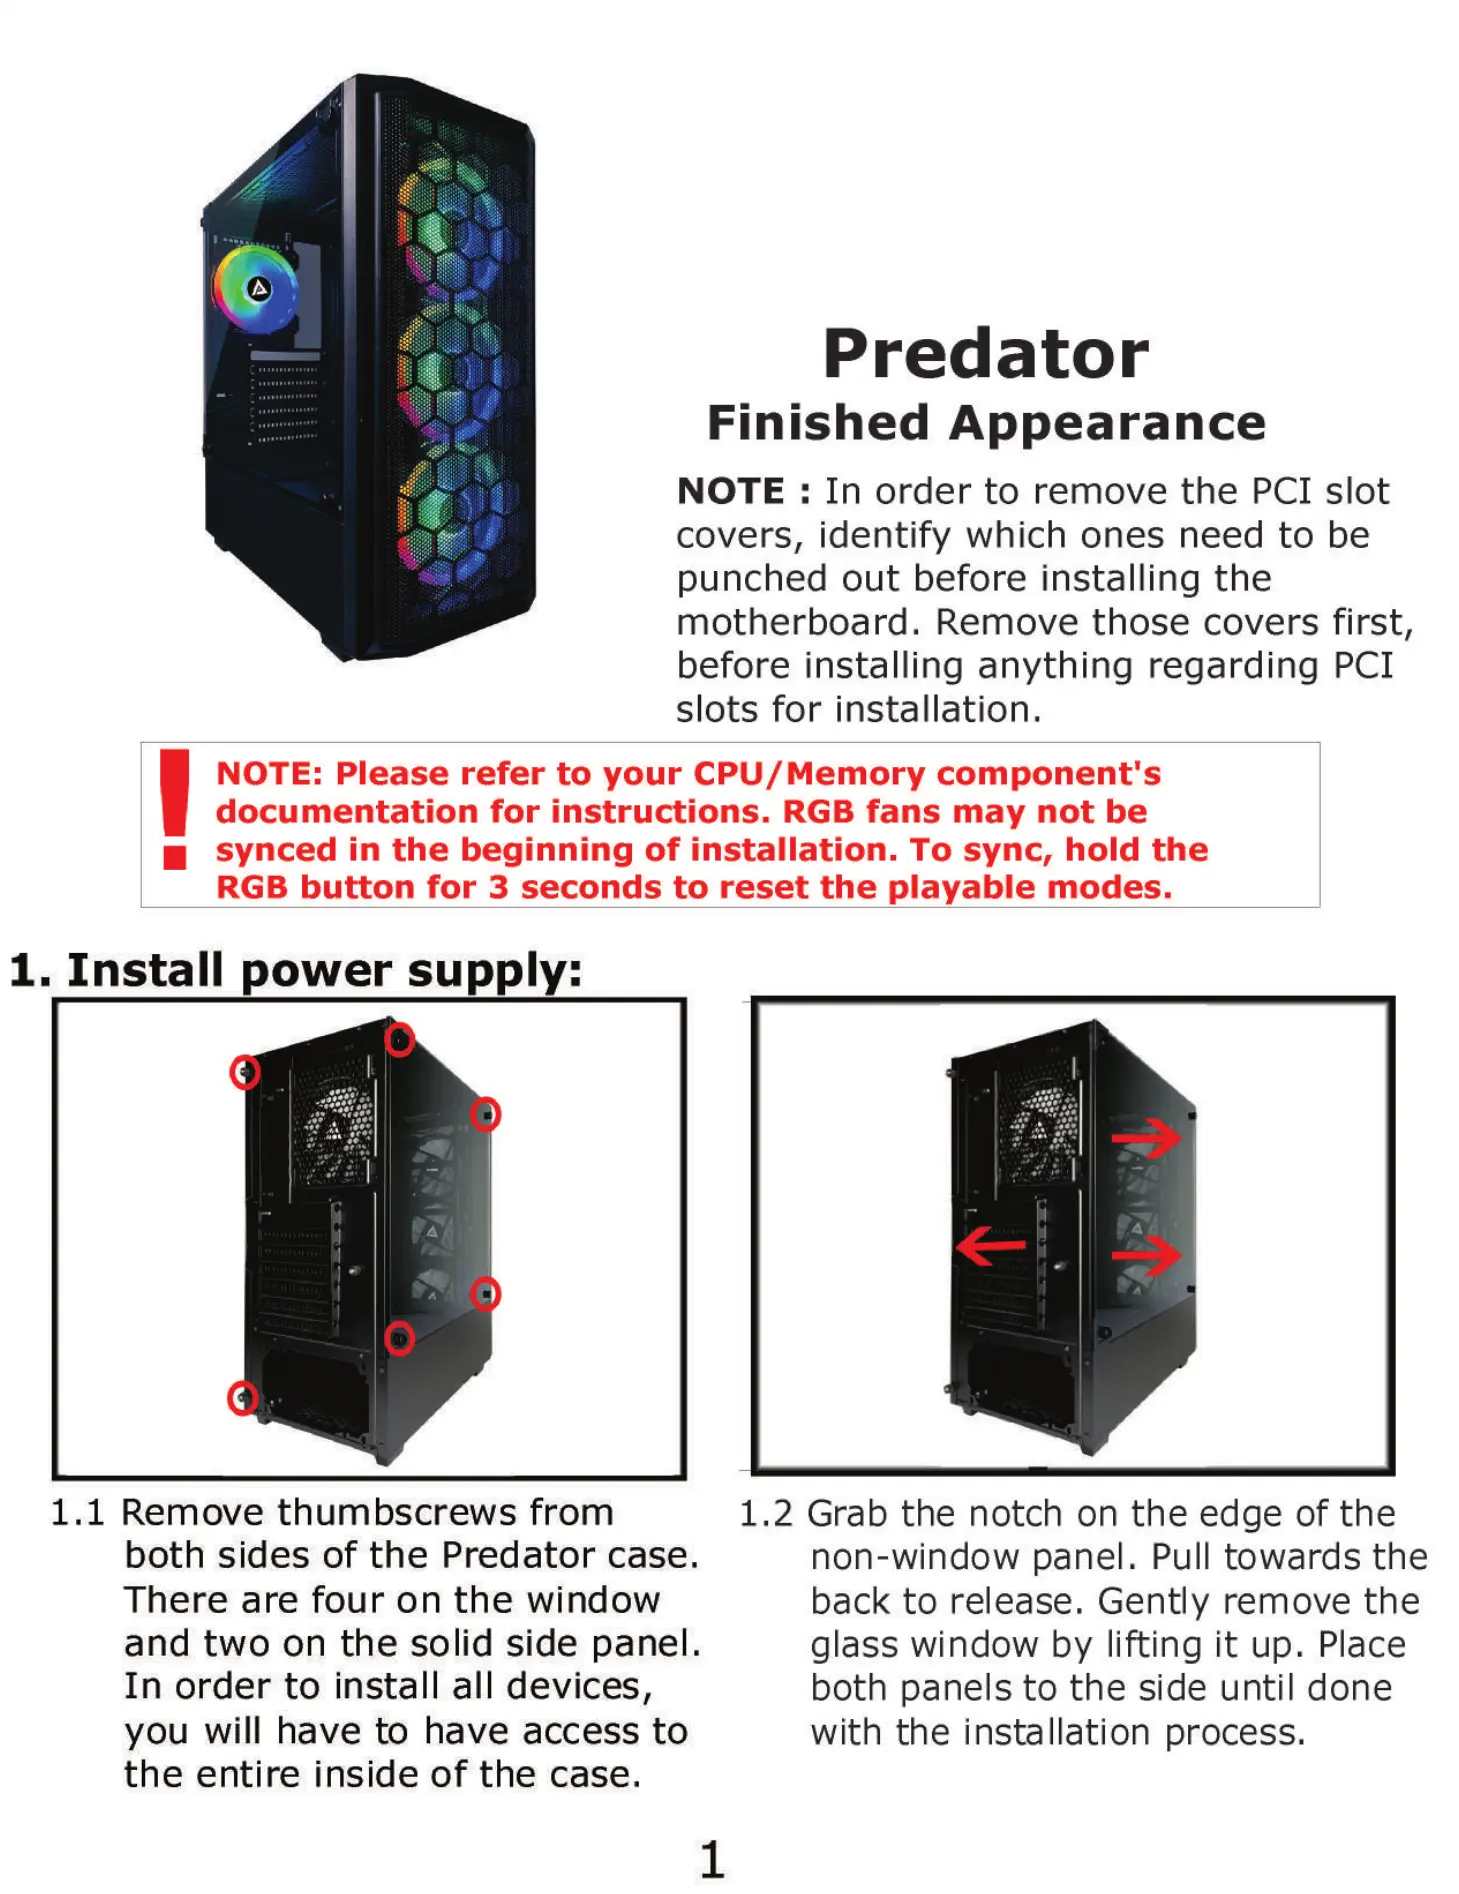
NOTE : In order to remove the PCI slot
covers, identify which ones need to be
punched out before installing the
motherboard. Remove those covers first,
before installing anything regarding PCI
slots for installation.
NOTE: Please refer to your CPU/ Memory component's
documentation for instructions. RGB fans may not be
synced in the beginning of installation. To sync, hold the
RGB button for 3 seconds to reset the playable modes.
1. Install power supply:
1.1 Remove thumbscrews from
both sides of the Predator case.
There are four on the window
and two on the solid side panel.
In order to install all devices,
you will have to have access to
the entire inside of the case.
1
1.2 Grab the notch on the edge of the
non-window panel. Pull towards the
back to release. Gently remove the
glass window by lifting it up. Place
both panels to the side until done
with the installation process.