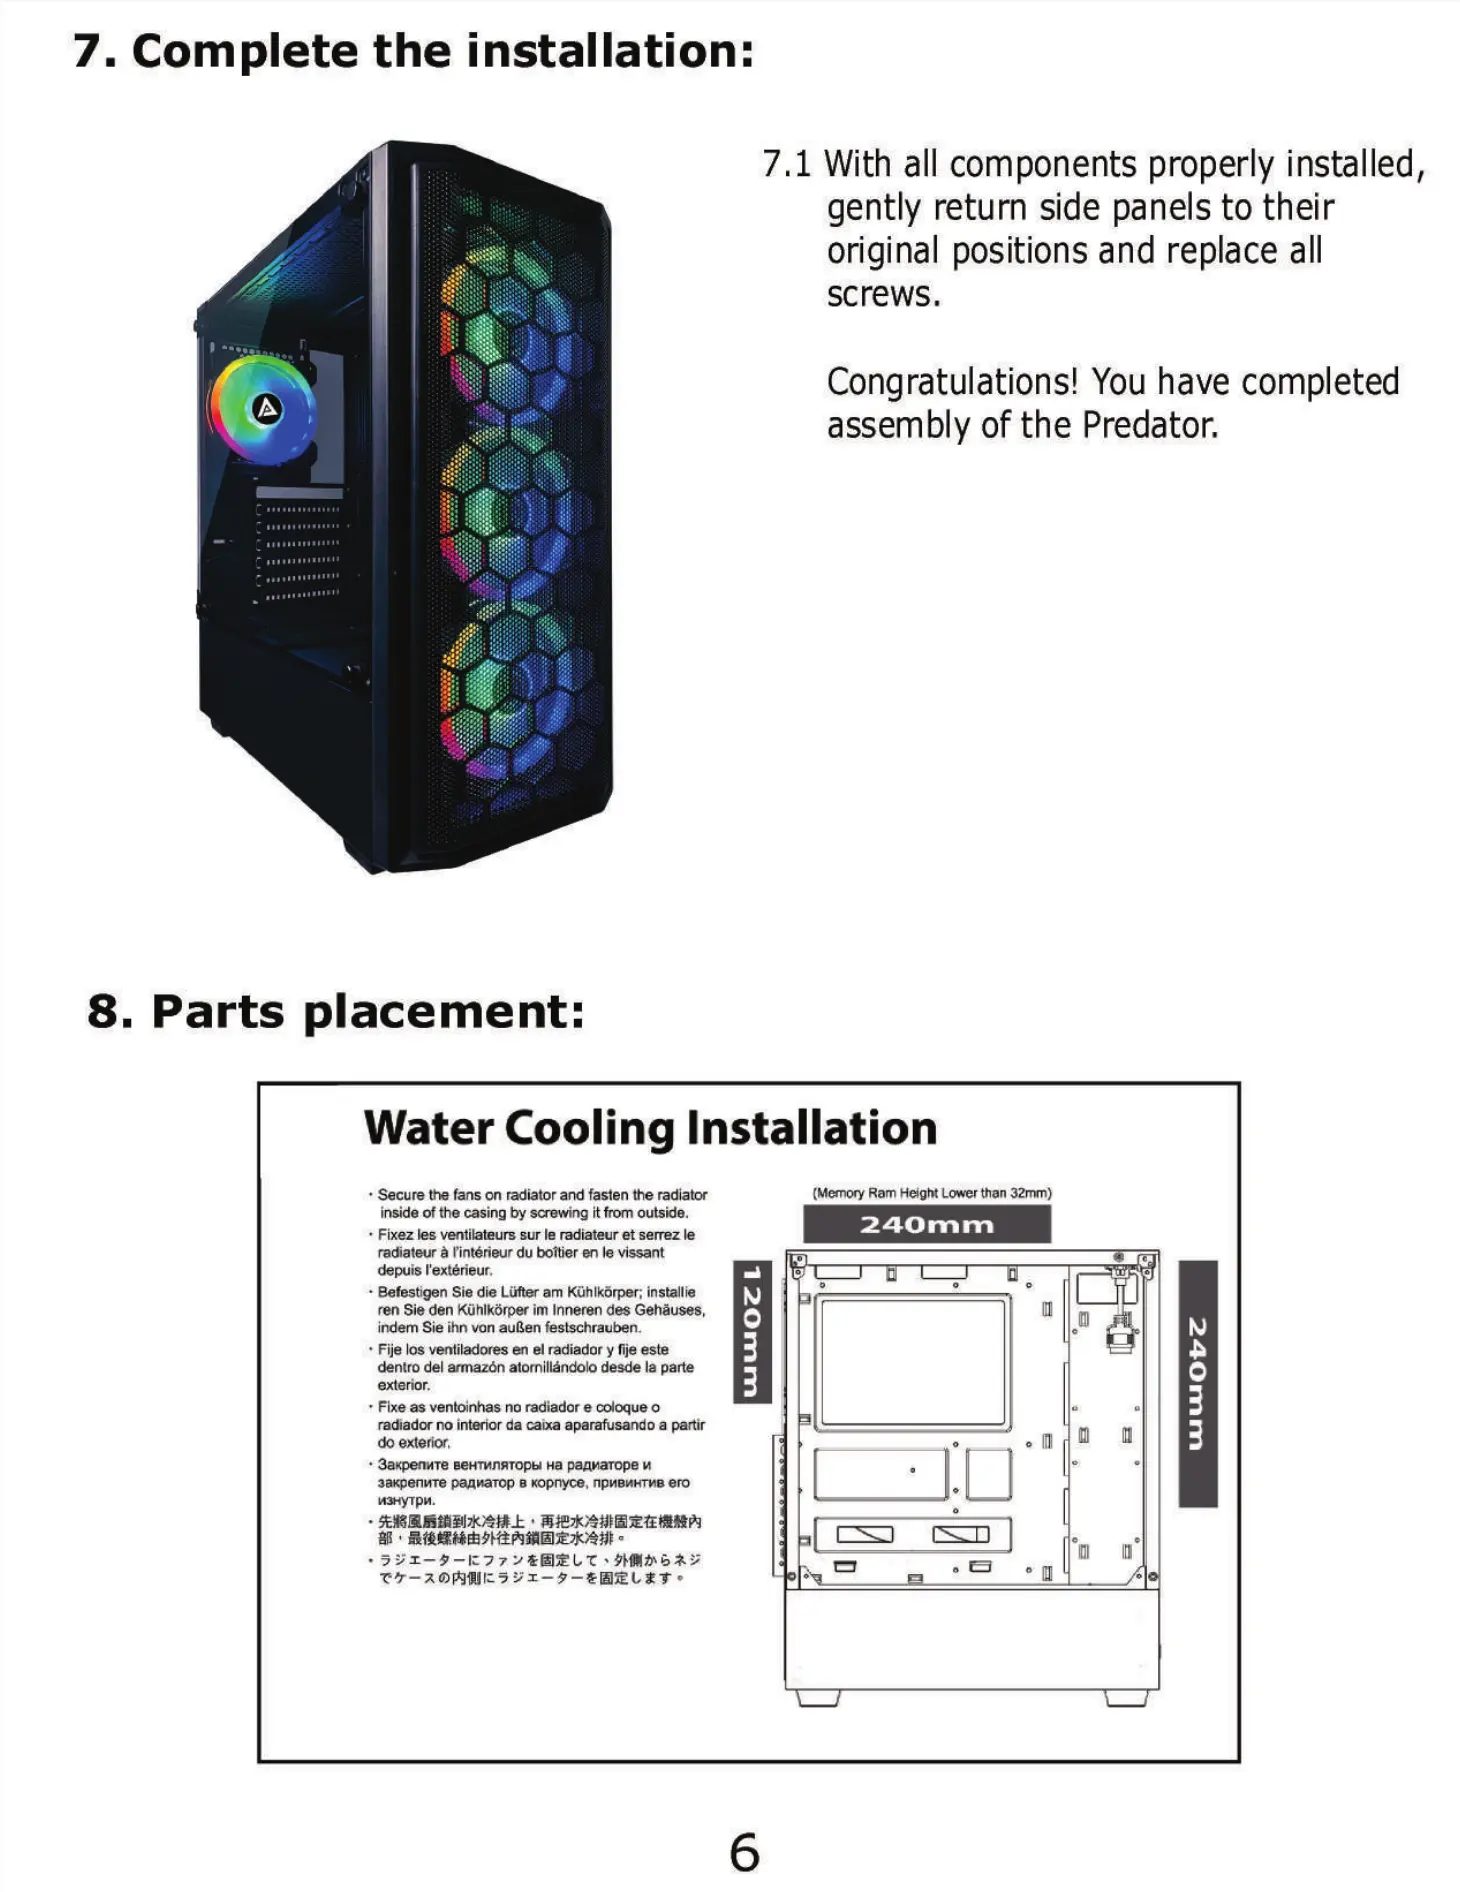
7. Complete the installation:
7.1 With all components properly installed,
gently return side panels to their
original positions and replace all
screws.
Congratulations! You have completed
assembly of the Predator.
8. Parts
placement:
Water Cooling Installation
• Secure the fans on radiator and fasten the radiator
inside of the casing by it from outside.
Fixez Ies ventilateurs sur Ie radiateur et serrez Ie
radiateur å Cintérieur du boltjer en Ie vissant
depuis I'extérieur.
• Befestigen Sie die Lüfter am Kühlkörper; installie
ren Sie den Kühlkörper im Inneren des Gehäuses.
indem Sie ihn van außen festschrauben.
• Fije IOSventiladores eI radiador y fije este
dentro del armazån atomillåndolo desde Ia parte
exterior.
• Fixe as ventoinhas no radiador e coloque o
radiador no interior da caixa aparafusando a partir
exterior,
• 3axpem«e eeHTWIRTOPblHa paamarope
aaxpenwe paanarop B Kopnyce, nPMB/HTMB ero
'43-ty-rp".
Ram Lower than 32rrm)
240 R" rn
Ill