Top Fan Installation
X2 OR
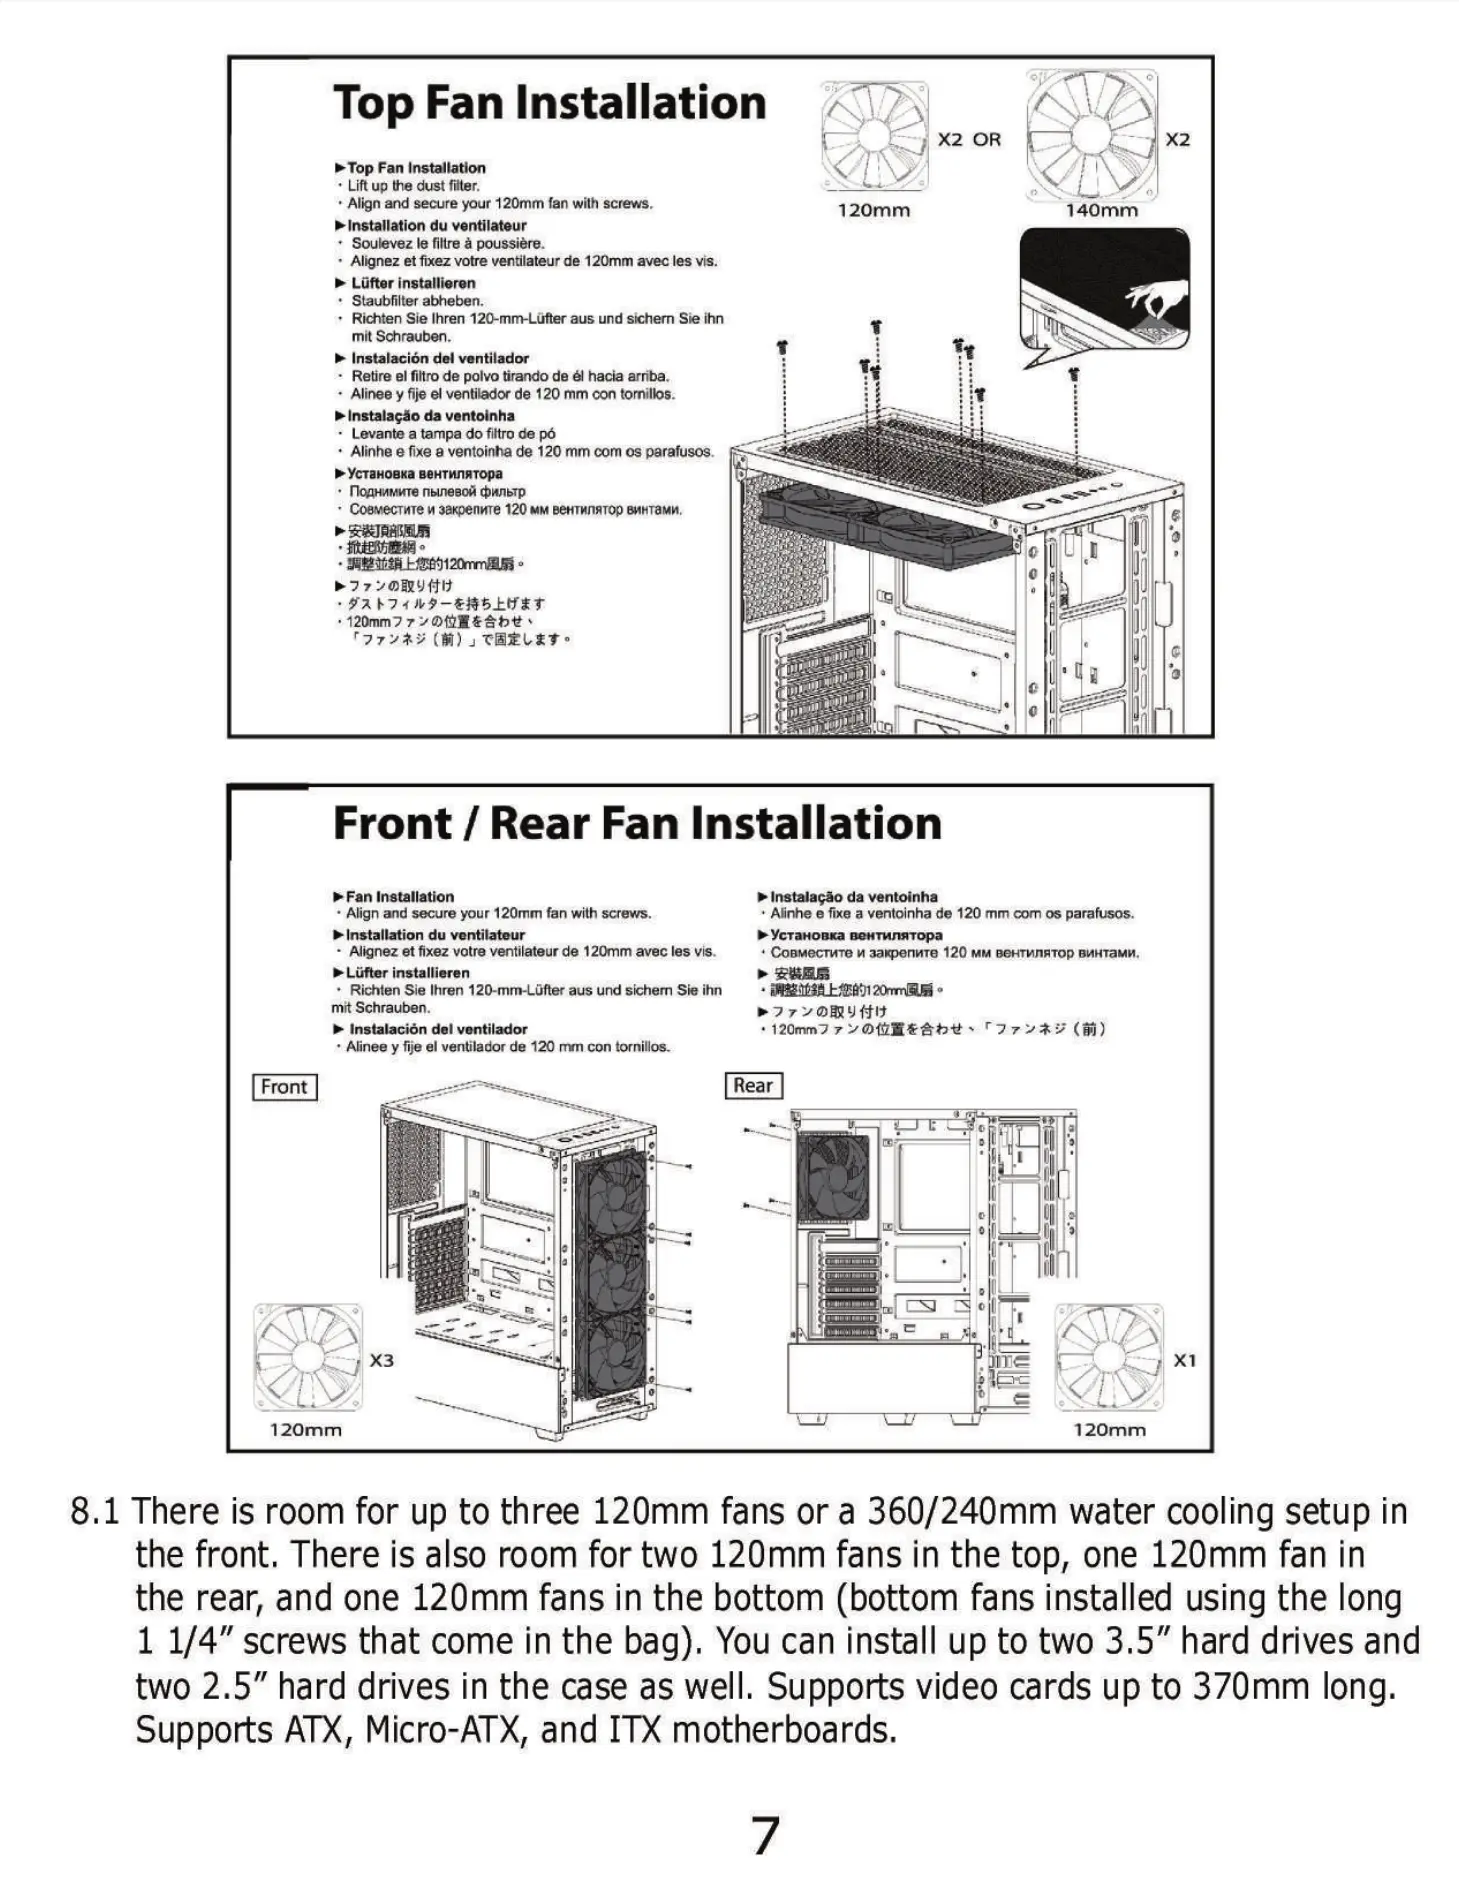
*Top Fan Installation
• Lift up the dust mer.
• Align and secure your 120mm fan with screws.
120mm
S Installation du ventilateur
Soulevez le filtre å poussiére.
• Alignez et fixez votre ventilateur de 120mm avec les vis.
Lüfter installieren
• Staubfilter abheben.
Rictlten Sie Ihren 120-mm-Lüfter aus und sichem Sie ihn
mit
Instalaci6n del ventilador
• Retire eI filtro de poivo tirando de él hacia arriba.
• Alinee y fije el ventilador de 120 mm con tornilbs.
> Instalagåo da ventoinha
• Levante a tampa do filtro de pO
• Alinhe e fixe e ventoinha de 120 mm corn os pararusos.
YctaHOBKaBeHTMRTopa
• r10AH'4MWTenstneaoü
COBMecT/Te 3axpenme 120 MMEHTHJIRTOPO'HTaM/.
• 120mm7 7
Front / Rear Fan Installation
140mm
Fan Installation
• Nign æld secure your 120mm fan with screws.
Installation du ventilateur
• Alignez et fixez votre ventilateur de 120mm avec les vis.
Lüfter installieren
• Richten Sie Ihren 120-rnm-Lüfter aus und Sichem Sie ihn
mit Schrauben.
InstalaciÖn del ventilador
• Abnee y fije el ventilador de 120 Con tornillos.
Front
120mm
Instalagäo da ventoinha
• AEnhe e fixe a ventoinha de 120 mm com os parafusos.
YCTaHOD.xanetmqrmTopa
• COBMecrw•re aag»enwe 120 MMget4TMngtop
Rear
120mm
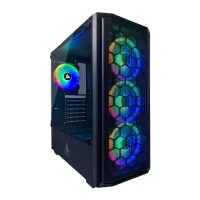
8.1 There is room for up to three 120mm fans or a 360/240mm water cooling setup in
the front, There is also room for two 120mm fans in the top, one 120mm fan in
the rear, and one 120mm fans in the bottom (bottom fans installed using the long
1 1/4" screws that come in the bag), You can install up to two 3.5" hard drives and
two 2.5" hard drives in the case as well. Supports video cards up to 370mm long.
Supports ATX, Micro-ATX, and ITX motherboards.
 Loading...