For your own safely and the safety
of
your equipment. always unplug
the Apple lie as a precaution
• If
Lhe
power
cord
or
plug
is
frayed
or
oLherwise damaged
• If you spill anything into the
case
•
If
your Apple lie
is
exposed
10
rain
or
any other excess moisture
•
If
you drop the computer or damage the ease
•
If
you
sus~et
that your computer needs servicing
or
repair
•
\'(/henevcr you
dean
the ease (sec
deaning
inslroctiCins in "Day,
Ie-Day
We
With thc Apple lIc"),
Opening
the
Apple
lie
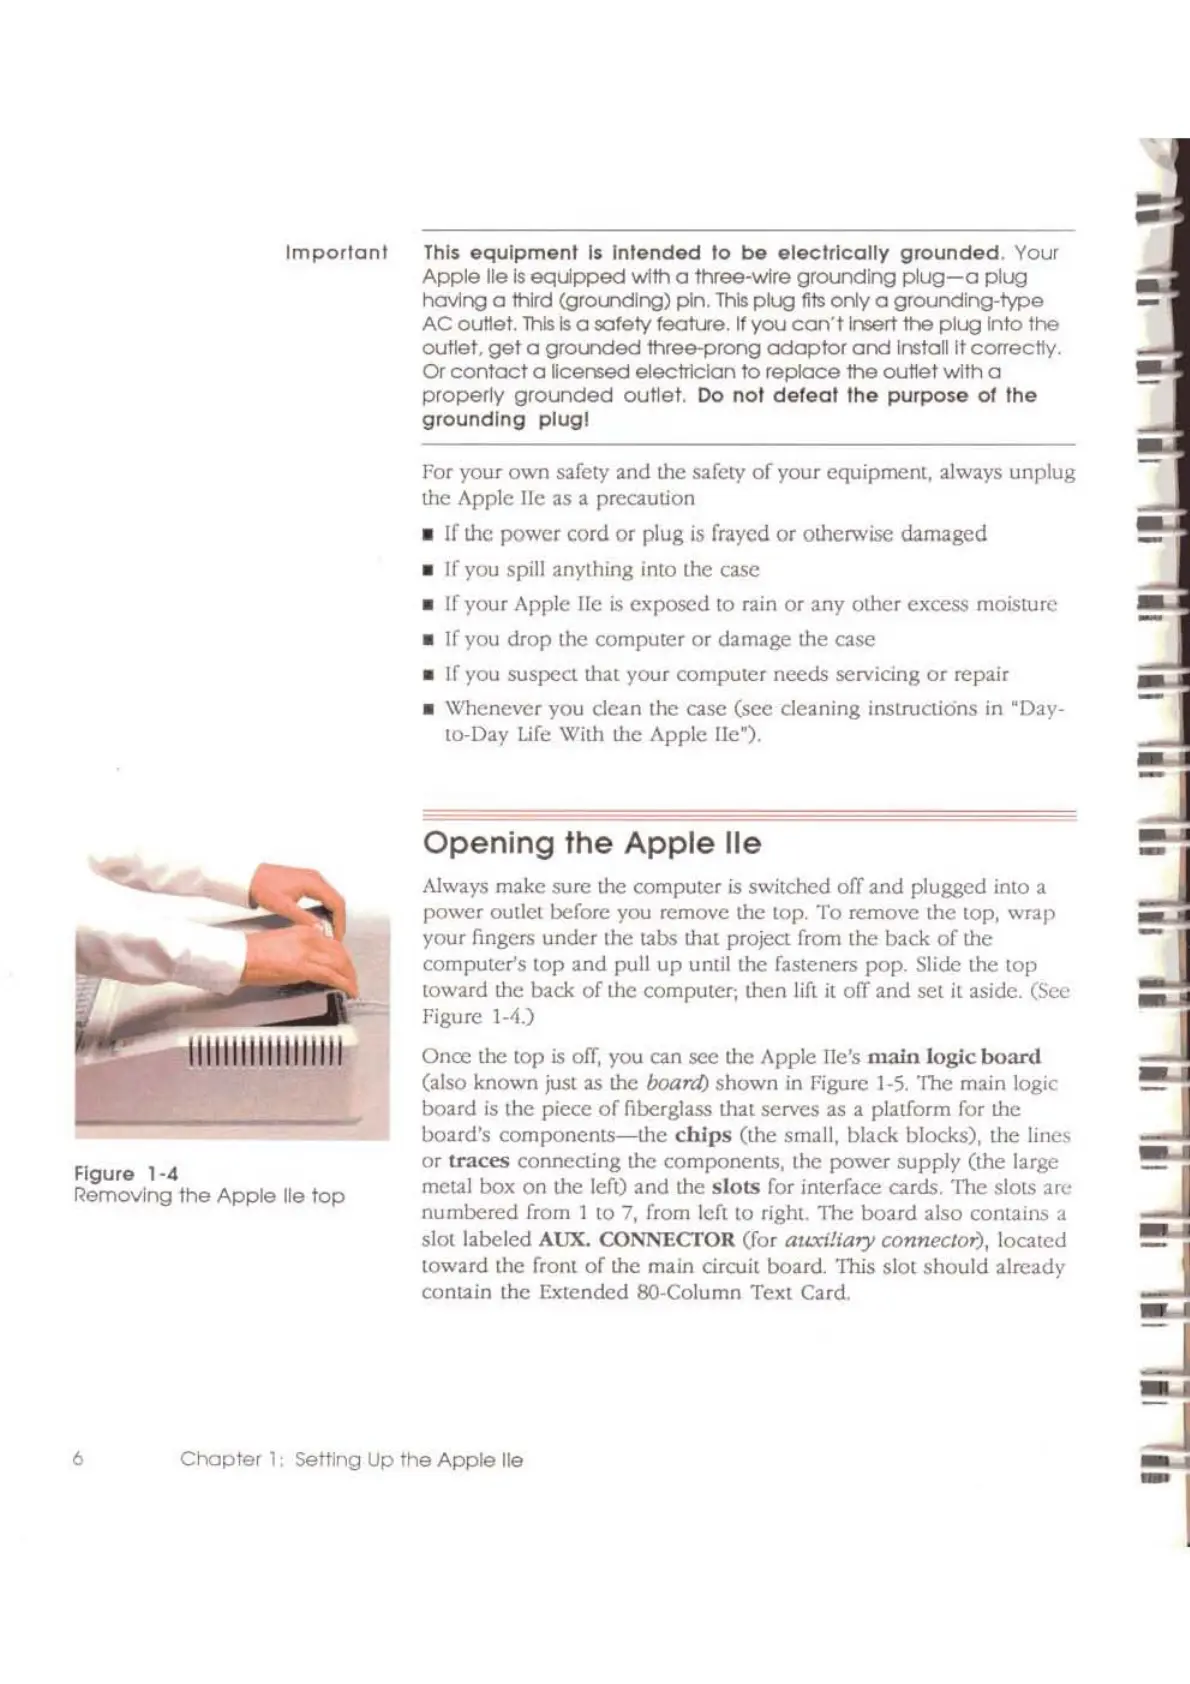
Always makc sure the computer
is
switched
oIY
and pluggcd into a
power
outlct before you rcmovc thc top.
To
remove the top. wrap
your fingcrs under the
ubs
that project from thc back
of
the
compuler's top and pull
up
until the fasteners pop. Slide the lOp
toward the back
of
the computer;
Lhen
lift
it
oIY
and sct
it
aside. (Sec
Figure 1-4.)
Once the
lap
is
off,
you can sec the Apple lie's
main
logic
board
(also known just as
Lhe
board)
shown
in
Figure
1-5.
The main logic
board
is
the piece
of
fiberglass that serves as a platform for the
board's
components-the
chips
(the
small, black. blocks), the lines
or
U"aces connecting the components, the power supply (Ihe large
metal box
on
the left) and the sloLs for interface cards. The slots arc
numbered from 1 to 7, from left
10
right. The board also contains a
slot labeled AUX. CONNECTOR (for
auxiliary
conncclor),
loealed
toward the front
of
the main circuit board. This slot
should
already
conuin
the Extended SO-Column Text Card,
Thl$
equipment
1$
Intended
10
be
electrically
grounded.
Your
Apple
lie
Is
equpped
wlth
a
three-wlre
grounding
plug-a
plug
having a third
(grot.ndlng)
pln.
this
plug
fils
only
a
grounding-type
AC
out1et.
this
Is
a safety feotu"e, If
you
can'tlnseri
the
plug
Into
the
outleL
get
a
grot.nded
three-prong
adaptor
and
InstaUlt
correctly,
Of
contact
a
licensed
electl1clan
to
replace
the
outlet
wlth
a
properly
grounded
outtet.
Do
not
defeot
the
purpo$e
of
the
grounding
plug!
Important
.......
11111111111111111
Figure
1-4
Removing
the
Apple
lie
top
6
Chapter
1:
SeMing
Up
the
Apple
lie
-