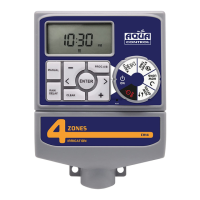
03. FUNCTIONS:
• Station: The timer can be set for 4 or 6 areas.
• Program A and B: watering start times can be set for each
schedule. Duration can vary from 1 minute to 240 minutes.
• Frequency: can be programmed in three ways, day or days
per week, every x days (1-32 days) or odd or even days.
• Rain Delay: to stop the timer due to rain or other reasons
for 0, 24, 48 or 72 h.
• Rain sensor: viene preparado para conectar un sensor de
lluvia y detener el riego en los días lluviosos.
04. WORKING MODE: ON, MANUAL, OFF:
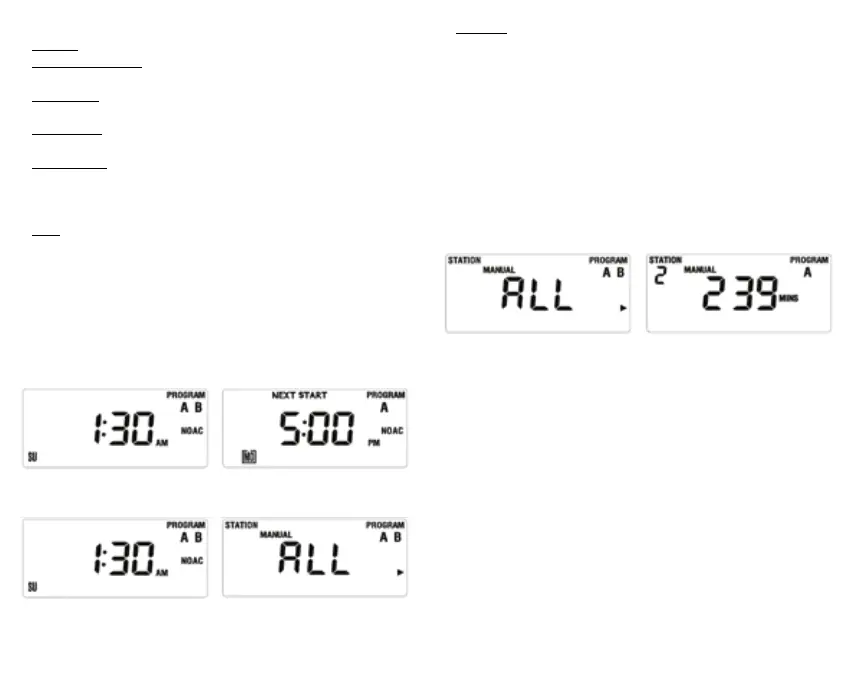
• ON: when the dial is set to the ON position, the timer will
automatically work according to the set schedule. The screen
will display the current time (gure 1) and the time for the
next watering (Figure 2) alternately every two seconds. If
no watering has been scheduled, only the current time will
be displayed. The screen will display a countdown of the
remaining time and the current time alternately every two
seconds, during watering.
gure 1 gure 2
gure 3 gure 4
• Manual: used to water outside the established schedule.
- When the timer is set to the ON position, press the
MANUAL button. This sets the timer to manual mode and
the screen displays what is shown in gure 4 (ALL). Manual
watering can be set in three ways:
1. Manual watering for all schedules: when the screen
displays what is shown in gure 4, press ENTER, and
the timer will start watering, staring rst programme
A in full, and then programme B, also in full. In this
case, the screen displays what is shown in gure 6
(if no watering time is programmed, it will show the
current time).
gure 4
gure 6
2. Manual watering for schedule A or B. When the
screen displays what is shown in gure 4, press
the button to choose schedule A or B, for each
area depending on its watering time. The watering
duration will be displayed, as in gure 6 (if no
watering time has been set for that area the display
will show the current time).
3. Manual watering for a specic area. When the
screen displays what is shown in gure 4, press the
> button three times until what is shown in gure
7 is displayed. Then press + or - to set the manual
watering time (watering time will ash as in gure 8).
When the ENTER button is pressed, the timer will start
watering in the selected area for the set time:
- Manual watering is stopped by pressing the CLEAR
button or turning the dial to the OFF position.