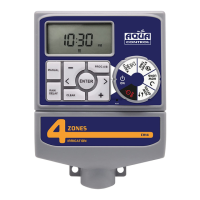
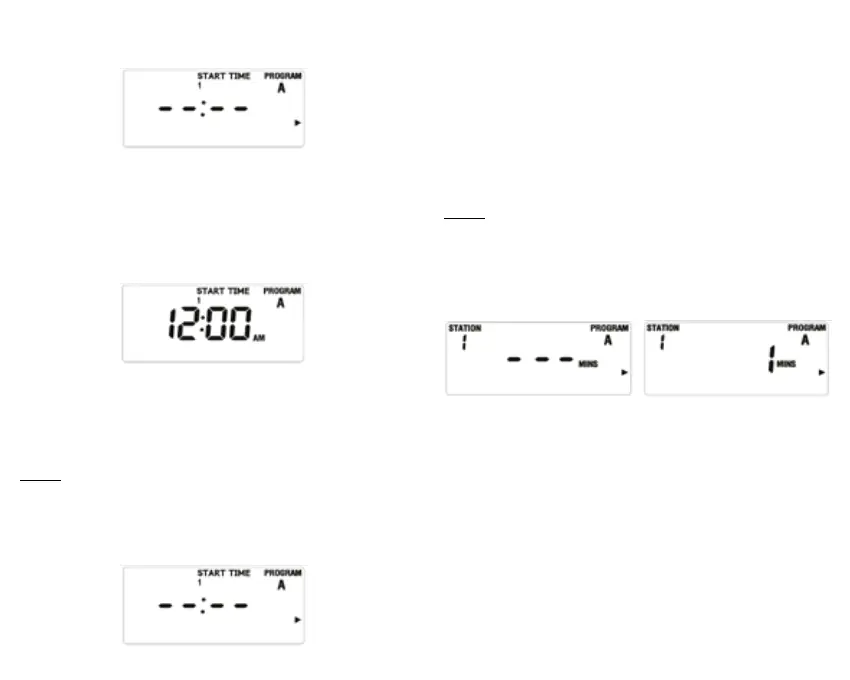
8. SETTING WATERING START TIME:
• Turn the dial to the START TIME position (gure 15)..
gure 15
• Press the PROG A/B button and select the schedule.
• Press the > button to select the desired watering start time
from the four available options.
• Press the + or - button to select the watering start time (gure
16).
gure 16
• Press the > button and repeat the above steps to set the
four possible start times for the initially selected watering
schedule.
NOTE:
- Hold down the + or - button and numbers will increase or
decrease faster.
- To clear the watering start times, press the CLEAR button and
gure 15 will be displayed.
gure 15
9. SETTING WATERING DURATION:
• Turn the dial to the HOW LONG position, and gure 17 will
be displayed.
• Press the PROG A/B button to select the desired schedule
and set its watering duration.
• Press the > or < button to select the watering area.
• Press the + or - button, and the duration time will ash as in
gure 18. Use the + or - button to set the watering duration.
• Repeat the above steps to set the watering time for the other
areas.
NOTE:
- Hold down the + or - button and numbers will increase or
decrease faster.
- The maximum watering duration is 240 minutes.
- When the display indicator shows ---, it means that the area
will not be watered.
gure 18gure 17
10. SETTING WATERING FREQUENCY:
Watering frequency can be set in three different ways. Day or
days per week, every x days (1-32 days) or odd or even days.
1. Day or days per week:
• Turn the dial to HOW OFTEN. Figure 19 will be
displayed.
• Press the PROG A/B button to select the schedule.
• Press > or < to choose the day of the week – which will
ash –, then press the + button to conrm the day. The
day will be displayed inside a box on the screen, which
means that day has been conrmed. Use the - button
to cancel a previously-programmed day. The day of