the week can also be conrmed by pressing the ENTER
button.
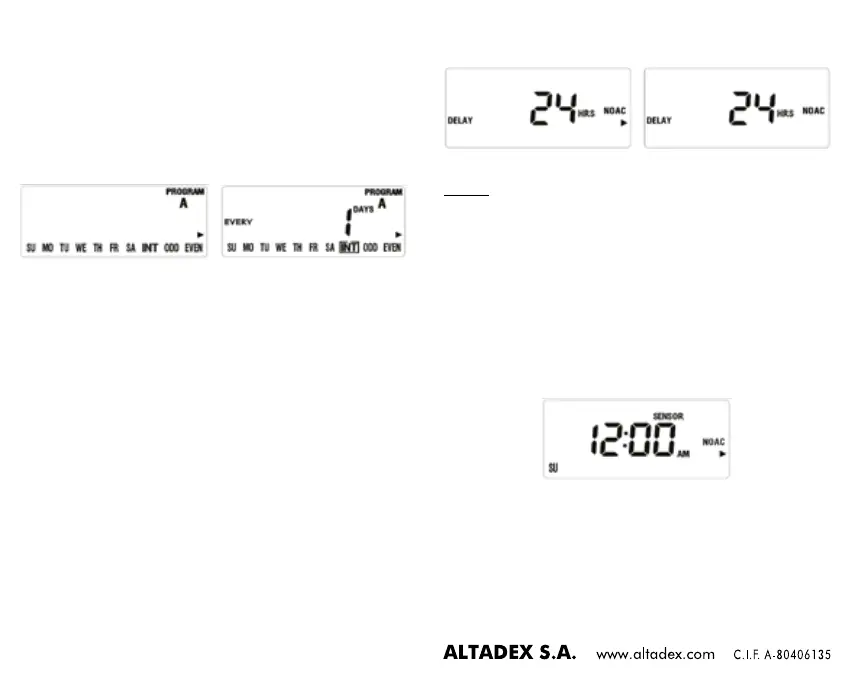
2. Every x days:
• Press the PROG A/B button to select schedule A or B, as
shown in gure 20.
• Press the > or < button until the word INT ashes.
• Press the ENTER button or the + or - button to set the
number of watering days, as shown in gure 20.
gure 20gure 19
• Pressing the + button means one day more and the -
button means one day less.
• The maximum is every 32 days.
3. Odd or even days:
• Press the PROG A/B button to select schedule A or B,
when gure 19 is displayed.
• Press the > or < button until the ODD or EVEN
positions ash.
• Press the ENTER button to conrm the desired choice.
• If ODD is selected it will water on odd days of the
month, if EVEN is selected it will water on even days of
the month.
11. SETTING RAIN DELAY:
• Turn the dial to the OFF position, and press the RAIN DELAY
button. Figure 21 will be displayed, with the digits ashing
(default setting will be 24h).
• Press the + or - button to increase or decrease the time.
• Press the ENTER button to conrm and gure 22 will be
displayed, which means the rain delay has been set.
• Turn the dial to the OFF position and then back again to the
OFF position to cancel the rain delay.
gure 22gure 21
NOTE:
- If the rain delay has been set, the countdown to the end of
the rain delay (as shown in gure 21) and the current time
will be displayed alternately every two seconds.
- The options are: 24, 48 and 72 hours.
12. SETTING THE RAIN SENSOR:
The rain sensor is normally closed (NC). When rain is detected,
it will turn off, and gure 23 will be displayed. The word
SENSOR will ash, and the timer will cancel all watering
schedules. Manual watering can still be performed in this
situation.
gure 23