8
SEA LV2 Technical Maintenance Manual
27e
27f
27g
27b
27b
27g
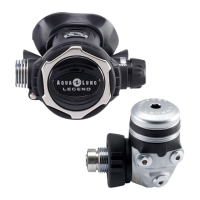
8. Remove the backup ring (15), o-ring (16), spacer (17) and
washer (18) from the stem. (Note: It is possible that some
or all of these parts are in the bonnet.) Discard the backup
ring, o-ring and washer.
check bonnet
9. Remove the o-ring (14) from the bonnet and discard.
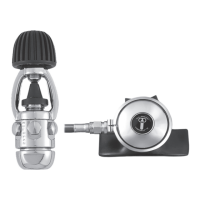
10. Insert the squared end of the stem into the valve seat
(20), then unscrew the valve seat from the rst stage body
and discard.
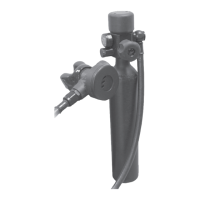
11. Using a magnier, inspect the condition of the crown.
There should be no scratches, nicks or dents on the crown
sealing surface.
CAUTION: Use caution to not damage the
ll adapter port.
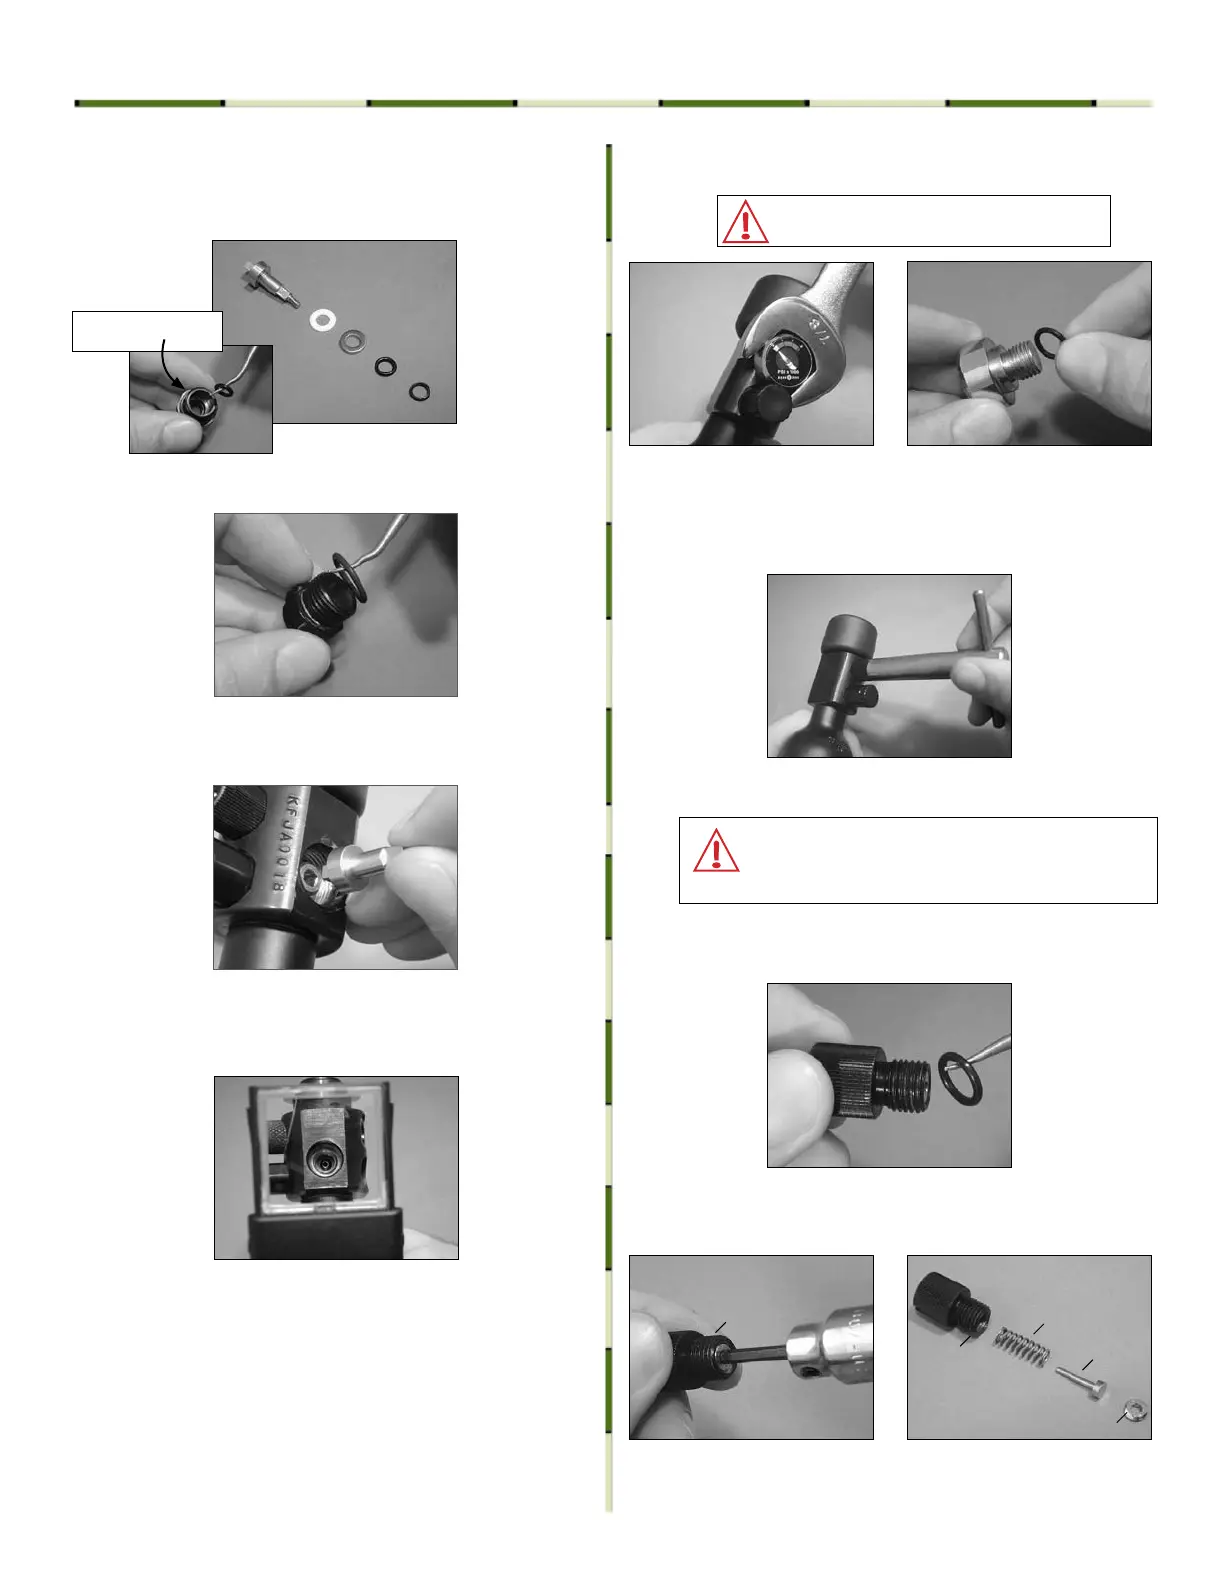
12. If the SEA LV-2 is equipped with a dial-type pressure
indicator (27), remove the gauge using a 7/8" wrench.
13. If equipped with a pin-type pressure indicator (27a),
remove the gauge with valve handling retainer tool (PN
053035). For either gauge, remove the o-ring (22) and
discard.
14. Disassembly of pin-type pressure indicator
CAUTION: The pin indicator parts are under spring
pressure. Be sure to apply pressure against the
retaining screw (27g) while unscrewing it from the
indicator body (27b).
a. If the o-ring (22) has not been removed yet, do so
now and discard.
b. Using a 1/8" hex key unscrew the retaining screw
(27g) from the pin indicator body (27b). Remove the
spring (27e) and pin (27f).
 Loading...