FIRST TO DIVE 5
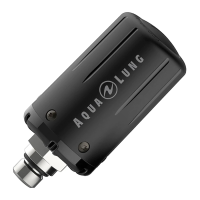
4. Use the tool (129001) to unscrew the diaphragm retainer
(15). Remove the washer (14) and the diaphragm (13).
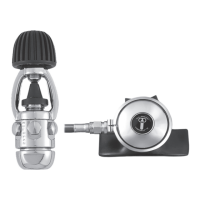
5. Use a 11/16’’ spanner to undo the nut (5). Remove the
heat exchanger.
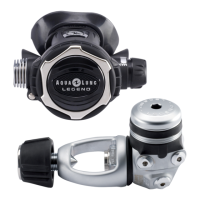
6. Turn the adjustment handwheel anti-clockwise to the
end. Hold the lever (8) down against the insert (7) and
pull on the handwheel to remove the insert assembly
from the casing (1). Remove the O-ring (4).
7. Remove the venturi control (6). Remove the venturi
control O-ring (24).
8.
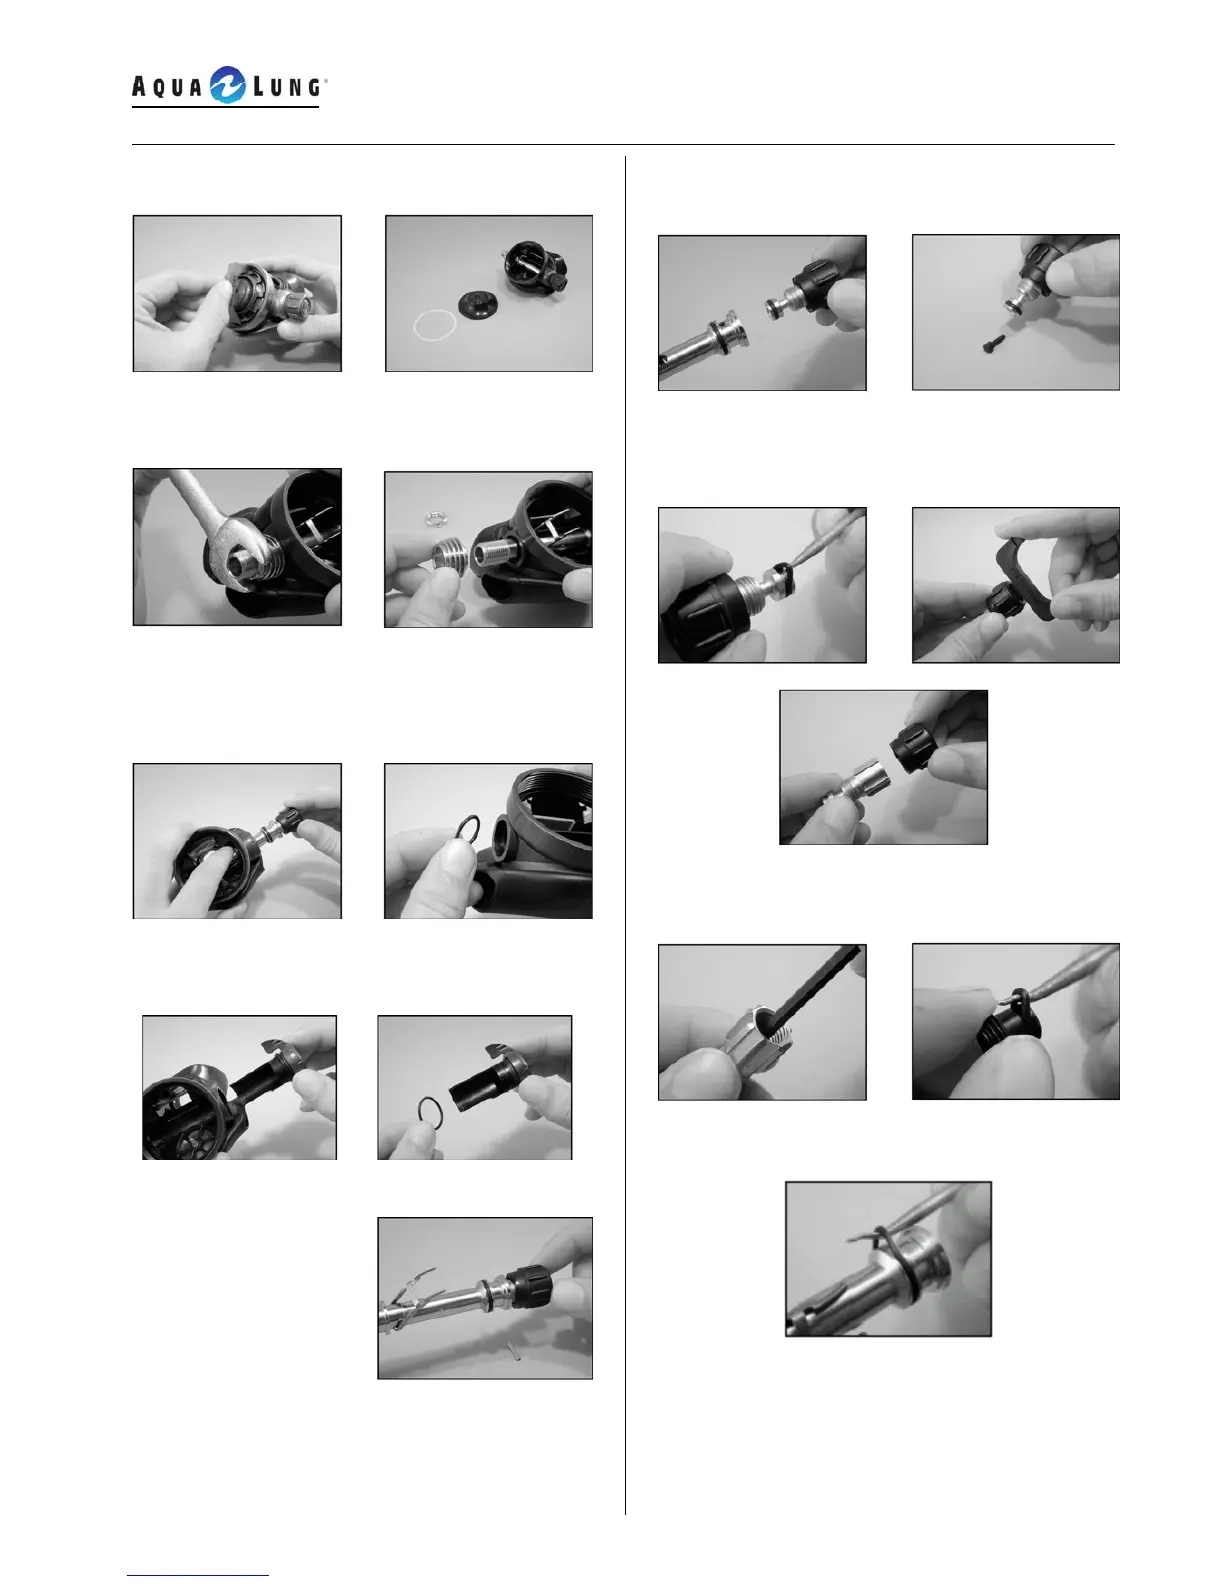
9. Completely unscrew the adjusting handwheel (31) and
remove it from the insert. Shake the handwheel to
remove the pin (32).
10. Remove the O-ring (22) from the adjusting handwheel.
Use tool (129001) to unscrew the plug (34). Remove the
handwheel (31) from the adjusting screw (23).
11. Use a 4 mm Allen key to remove the screw (33).
Remove the O-ring (35) from the screw.
12. Remove the O-ring (4) from the insert.
Screw the handwheel in
one complete turn.
The spring pin (11)
should come out. If it
remains in the body push
it out using a small rod.