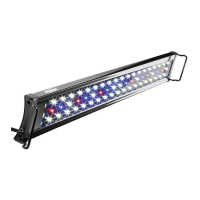
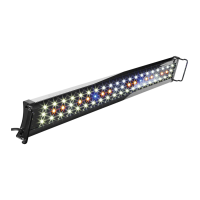
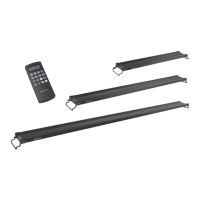
REMOTE INSTRUCTIONS
Installing the Batteries
1. Remove the cover from the back of the remote.
2. Install 2 (AAA) batteries (included).
3. Close the cover – the remote is now ready for use.
Setting the Time
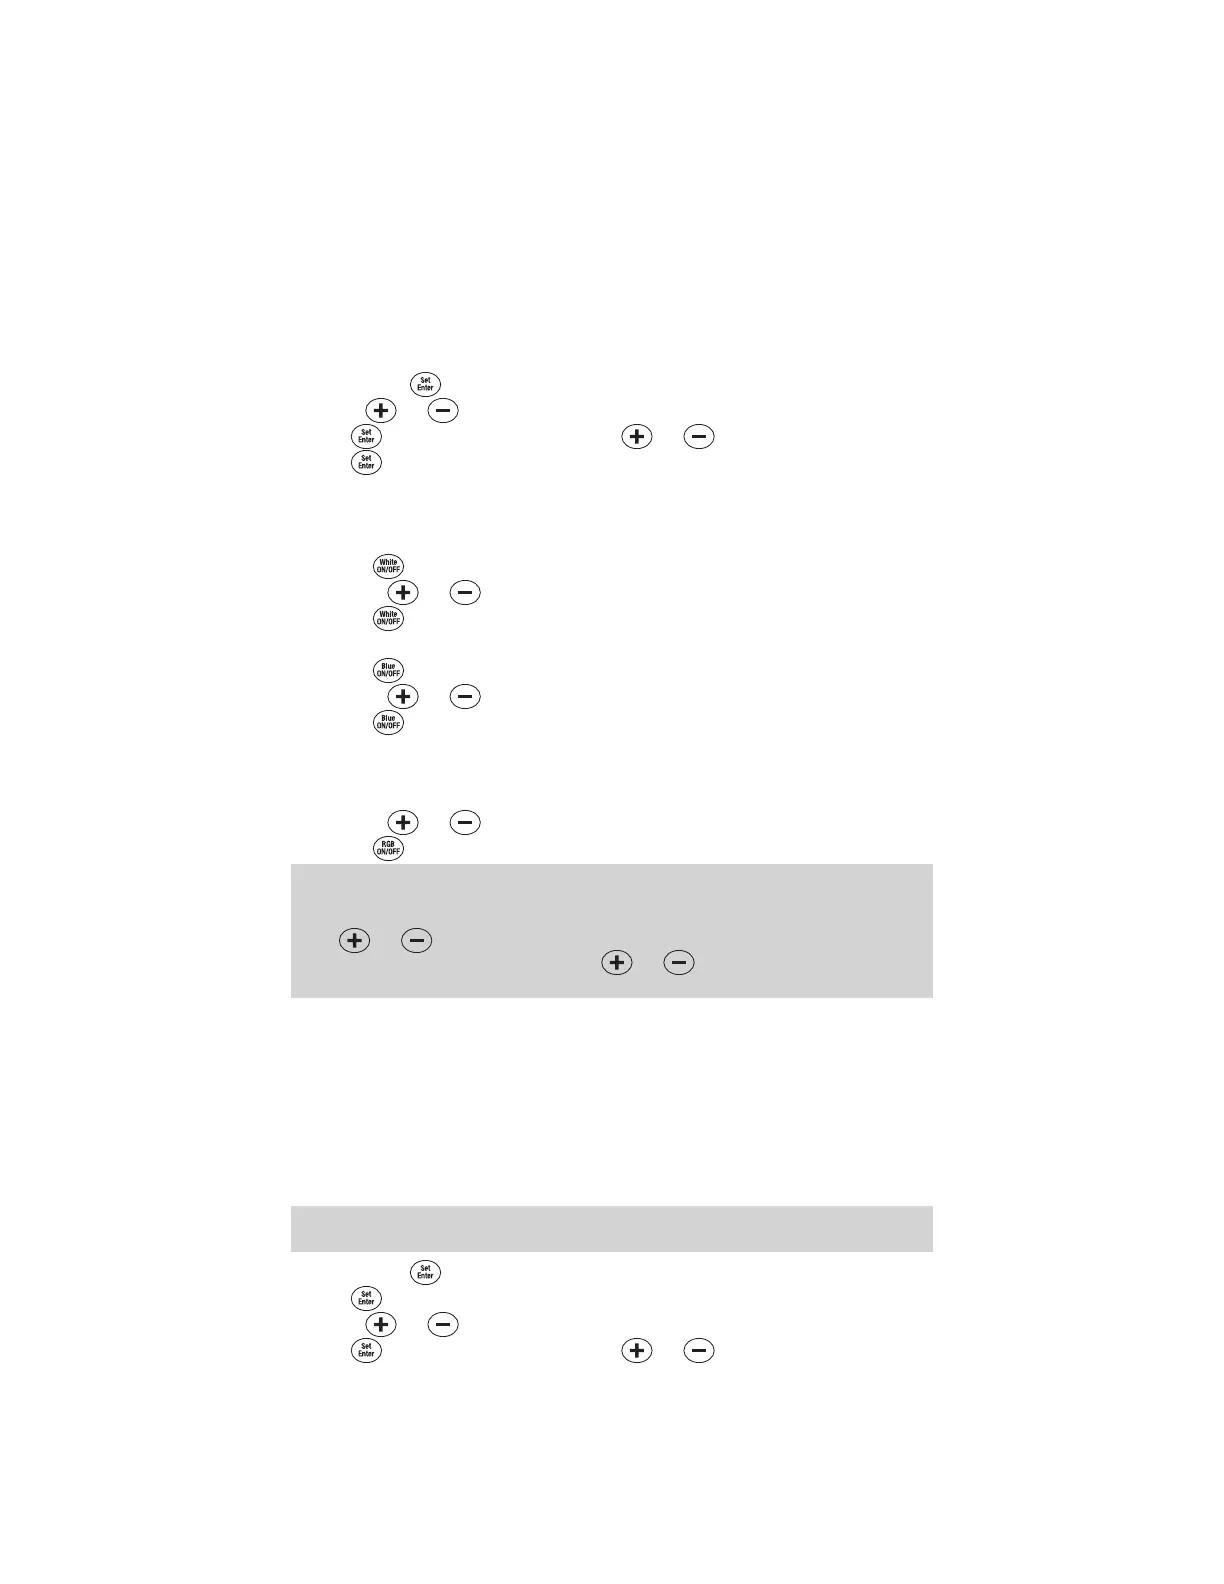
1. Press and hold for 3 seconds until you see the hour blinking
2. Use the
and buttons to set the hour – ‘AM/PM’ will be displayed on the screen.
3. Press . The minutes will be blinking. Use the
and buttons to set the minute.
4. Press . The time will be set.
Setting Desired Manual Color Options
Set the fixture to the desired color combination by following the steps below:
1. Setting the White LEDs
a. Press to turn the White LEDs on – ‘W’ will be displayed on the screen.
b. Use the
and buttons to adjust the color intensity of the White LEDs only.
c. Press to turn the White LEDs off.
2. Setting the Blue LEDs
a. Press to turn the Blue LEDs on – ‘B’ will be displayed on the screen.
b. Use the
and buttons to adjust the color intensity of the Blue LEDs only.
c. Press to turn the Blue LEDs off.
3. Setting the RGB LED Color Option
a. Press one of the 8 preset color options to turn the RGBs on – ‘RGB’ will be displayed
on the screen.
b. Use the
and buttons to adjust the color intensity of the RGBs only.
c. Press to turn the RGBs off.
Note: To set different color intensities for each of the White, Blue and RGBs – each specific
color must be on by itself. If all three colors (or two) are on at the same time the intensity will
be adjusted for all 3 colors to the same intensity. Ex: If you see ‘W’ on the screen and you use
the
and buttons, the color intensity will be adjusted for only the White LEDs. If you
see ‘W’ and ‘B’ on the screen and you use the
and buttons, the color intensity will
be adjusted for the same amount for both the White AND Blue LEDs.
Programming the Timer
Automatic Sunrise/Sunset and Moonrise/Moonset
This light is equipped with automatic 30 minute ramp times to reflect a natural Sunrise/Sunset and
Moonrise/Moonset. When setting the timer, the ‘ON’ and ‘OFF’ times indicate when the LEDs will begin
gradually ramping up or dimming down.
Ex: If you set the ‘ON’ time for 9:00 AM, your light will turn on at 9:00 AM at the lowest light intensity
and will gradually ramp up for 30 minutes to reach full brightness by 9:30 AM. Similarly, if the ‘OFF’
time is set for 6:00 PM, your light will start ramping down at 6:00 PM and won’t be completely off until
approximately 6:30 PM.
Note: Make sure your desired colors are in the ‘ON’ setting before you start programming
the timer. ‘W’, ‘B’ and ‘RGB’ should be displayed on the screen.
1. Press and hold for 3 seconds until you see the hour blinking.
2. Press twice – you will see ‘W’ and ‘ON’ on the screen to set the White LEDs ON.
3. Use the
and buttons to set the hour – ‘AM/PM’ will be displayed on the screen.
4. Press . The minutes will be blinking. Use the
and buttons to set the minute.
 Loading...