Check Your Work
Double check your work.
( ) All solder connections are bright and shiny.
( ) No solder bridges between IC socket pins.
( ) All components are installed in their correct positions.
( ) Diodes, transistors, voltage regulators and electrolytic capacitors are installed with their proper polarity.
( ) The pc board modifications are done correctly.
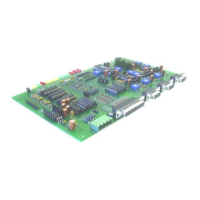
Congratulations! At this point your RC210 is completely assembled except for the integrated circuits. These will be installed
after you run some voltage checks.
Checking Voltages
For these tests, you will need to connect power to the RC210. It is suggested that you use a power supply with current limiting
"just in case".
Locate the green, 4 pin power plug and connect it as follows:
Pin 1 +11.5 to +15 Vdc
Pin 3 or 4 Ground
Meter Plus Lead Meter Minus Lead Result
( ) IC2, pin 16 Ground +5 ± 5%
( ) U6, pin 24 Ground Vcc ± 10% *
( ) U5, pin 4 U5, pin 11 Vcc ± 10% *
( ) U5, pin 12 U5, pin 11 1/2 Vcc ± 10%
( ) U7, pin 27 U7, pin 12 3.3v ± 5%
* Vcc refers to the voltage supplied to the RC210.
If you do not obtain the results above, carefully check the PC board for cold solder joints, bridges or unsoldered connections.
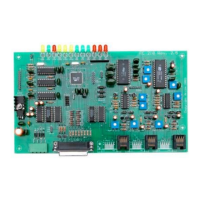
If all is well, remove power. You're now ready to install the socketed integrated circuits.
( ) U1, U2, U3 MT8870DE1
( ) IC2 MAX232 (ST232)
( ) IC3, IC5 74HC595
( ) IC4, IC6 ULN2003A (or MC1413P)
( ) U4, U5 TL064
( ) U6 MT8806AE
( ) U7 ISD4003-04MP
Your RC210 is now ready for installation and programming. Please consult the Operations Manual.
RC210 Repeater Controller
Assembly Manual
Hardware Version 3.3