6
Periodic Maintenance/
Tune-Up
Tighten all nuts, bolts, and cap screws. Make sure rivets
holding components together are tight. Replace all loose
rivets. Care must be taken that all calibrated nuts, bolts,
and cap screws are tightened to specifications.
It is advisable to lubricate certain components periodi-
cally to ensure free movement. Apply light oil to the
components using the following list as reference.
A. Throttle Lever Pivot/Cable Ends
B. Brake Lever Pivot/Cable Ends
C. Idle RPM Adjustment Screw
Air Filter
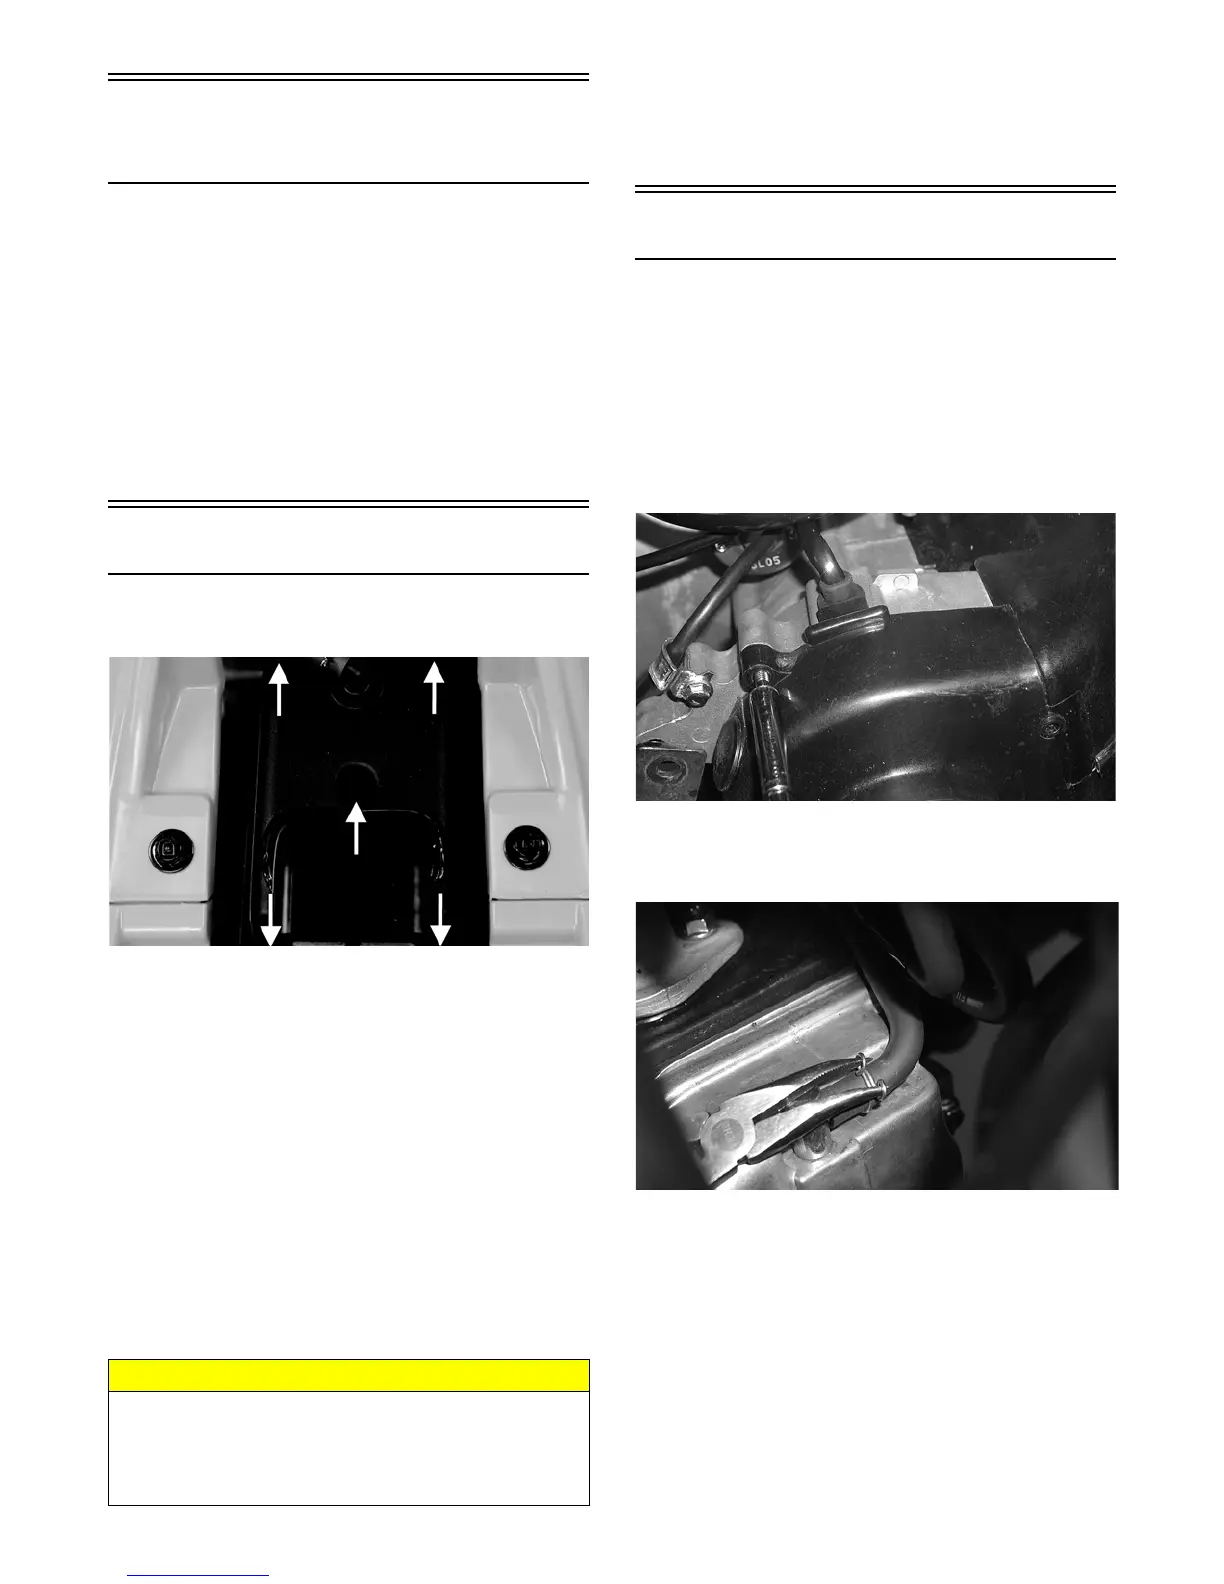
1. Remove the seat; then remove five screws securing
the air filter housing cover.
KM032A
2. Remove the air filter housing cover; then pull the fil-
ter out of the housing.
3. Fill a wash pan larger than the filter with a non-flam-
mable cleaning solvent; then dip the filter in the sol-
vent and wash it.
NOTE: Foam Filter Cleaner and Foam Filter Oil
are available from Arctic Cat.
4. Compress the filter by pressing it between the palms of
both hands to remove excess solvent. Do not twist or
wring the filter or it will develop cracks.
5. Dry the
filter
.
6. Put the
filter
in a plastic bag; then pour in air filter oil
and work the oil into the
filter
.
7. Compress the
filter
to remove excess oil.
8. Clean any dirt or debris from inside the air cleaner.
Make sure no dirt enters the carburetor.
9. Install the air filter. Install air filter housing cover
and secure with the five screws.
Valve/Tappet Clearance
To check and adjust valve/tappet clearance, use the fol-
lowing procedure.
NOTE: Valve/tappet clearance specifications are for
room temperature (approximately 68° F).
1. Remove right footwell.
2. Remove the two cap screws and the two self-tapping
screws securing the fan shroud; then remove the fan
shroud.
CD651
3. Remove the breather tube from the valve cover; then
remove the four cap screws and remove the valve cover.
Account for the O-ring seal and the valve cover.
CD654
CAUTION
A torn air filter can cause damage to the ATV engine.
Dirt and dust may get inside the engine if the filter is
torn. Carefully examine the filter for tears before and
after cleaning it. Replace the filter with a new one if it is
torn.



 To Next Page