1
卸除包裝及定位 Unpacking and leveling
拆除包裝 Unpacking
1. 打開包裝
Remove the washer-dryer from its packaging.
2. 檢查本機有無破損,如果您有任何疑問,請先不要使用,並
立刻與合格的技術人員聯絡
Make sure that the washer-dryer has not been damaged
during the transportation process. If it has been damaged,
contact the retailer and do not proceed any further with the
installation process.
電源及水源連接
Connecting the electricity and water supplies
連接進水喉 Connecting the water inlet hose
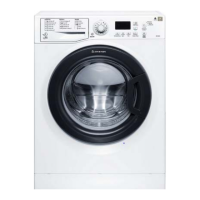
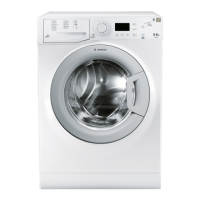
WDG862
請仔細閱讀這些操作指示、重點標題要訣及安全守則,它將幫
助您容易了解本產品的特點和性能,使您在數年內放心安全地
使用。建議保存此說明手冊以備將來查閱和轉交新用戶。
! This instruction manual should be kept in a safe place for
future reference. If the washer-dryer is sold, transferred or
moved, make sure that the instruction manual remains with
the machine so that the new owner is able to familiarise
himself/herself with its operation and features.
! Read these instructions carefully: they contain vital
information relating to the safe installation and operation of
the appliance.
4. 用隨機配備的塑料塞將螺絲釘孔密封。
Close off the holes using the plastic plugs provided.
5. 所有螺絲、膠塞和墊圈必須保留,以便搬家時可重新套入洗
衣機,防止於搬運途中有所損壞
Keep all the parts in a safe place: you will need them again
if the washer-dryer needs to be moved to another location.
! 將包裝材料 (塑料袋、聚酯泡沫、釘子等) 置於兒童不能接觸
的地方,以免發生意外。
! Packaging materials should not be used as toys for
children.
3.本機內設有一個防震盪裝置,該
裝置在運輸過程中由 4 顆螺絲釘
固定在後部(見圖)。移去 4 顆螺絲
釘。
Remove the 4 protective screws
(used during transportation) and
the rubber washer with the
corresponding spacer, located
on the rear part of the appliance
(see figure).
定位
Levelling
如果未調教左右機腳,本機可能會發出異常的震動或噪聲。
Your machine may make a considerable amount of noise if
the two front feet have not been adjusted correctly.
1.在平坦的硬地板上安裝本機。
確保本機周圍的通風不受地毯的
阻礙及不緊靠牆壁或其它廚房設
備。
Install the washer-dryer on a flat
sturdy floor, without resting it up
against walls, furniture cabinets
or anything else.
1.將進水軟管連接到 3/4 吋螺紋
的水龍頭上。使用前先進行排
放,直至水質清澈為止(見圖)。
Connect the inlet hose by
screwing it to a cold water tap
using a 3/4 gas threaded
connection (see figure).
Before performing the
connection, allow the water to
run freely until it is perfectly
clear.
2.進水軟管的另一端連接本機。只
需鬆開接頭配件,轉動軟管並
重新緊固接頭配件,確保不漏
水即可(見圖)。
Connect the inlet hose to the
washer-dryer by screwing it
onto the corresponding water
inlet of the appliance, which is
situated on the top right-hand
side of the rear part of the
appliance (see figure).
3.
確認軟管無泄漏或扭結。
Make sure that the hose is not folded over or bent.
!
!
嚴禁駁接加長軟管。如果軟管太短,又不希望移動水龍頭,
則必須購買加長的新專用軟管。
If the inlet hose is not long enough, contact a specialized
shop or an authorized technician.
更換全新洗衣機時,不要使用二手或舊喉管,應使用跟機配
備的全新喉管。
Never use second-hand or old inlet hoses; use the
products supplied with the machine.
! 水壓請參考第 2 頁技術參數
The water pressure at
the tap must fall within the
range of value indicated in the Technical data table. (see
next page)
2.通過左右旋轉可調節機腳,使本機水平放置。本機工作面的
坡度不能超過 2 度。
If the floor is not perfectly level, compensate for any
unevenness by tightening or loosening the adjustable front
feet (see figure); the angle of inclination, measured in
relation to the worktop, must not exceed 2°.
如本機安放在鋪有地毯的地方,本機底部與地板之間必須留有
足夠的通風空隙。
Levelling the machine correctly will provide it with stability,
help to avoid vibrations and excessive noise and prevent it
from shifting while it is operating. If it is placed on carpet or a
rug, adjust the feet in such a way as to allow a sufficient
ventilation space underneath the washer-dryer.
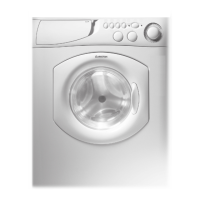
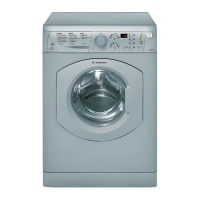
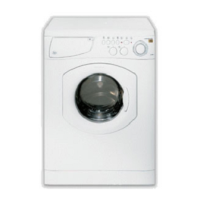
前置式洗衣乾衣機
Front Loading Washer Dryer
 Loading...