Understanding the controls
Time -
Time “ON” adjustment
The time “ON” control adjusts the time that the lights will remain on after the unit has sensed
movement. To increase time, turn the knob clockwise. To decrease, turn knob anti-clockwise.
Lux -
Light level adjustment
The “Lux” control adjusts at what level of light the unit starts sensing at dusk. This control can
be also used for testing the unit during daylight hours. To test unit, or operate during the day, turn
control knob all the way anti-clockwise. Once unit has been tested the “Lux” control should be
set to approx half way, and adjusted later if required.
Sens -
Sensitivity adjustment
The Sensitivity control adjusts the level of sensitivity of the infrared Sensor. This controls the
amount of movement that is required to switch the lights on. With the knob set to minimum (anti-
clockwise), the unit will only detect large amounts of movement. It is recommended that in most
situations the unit be operated with the “Sens” control set to half.
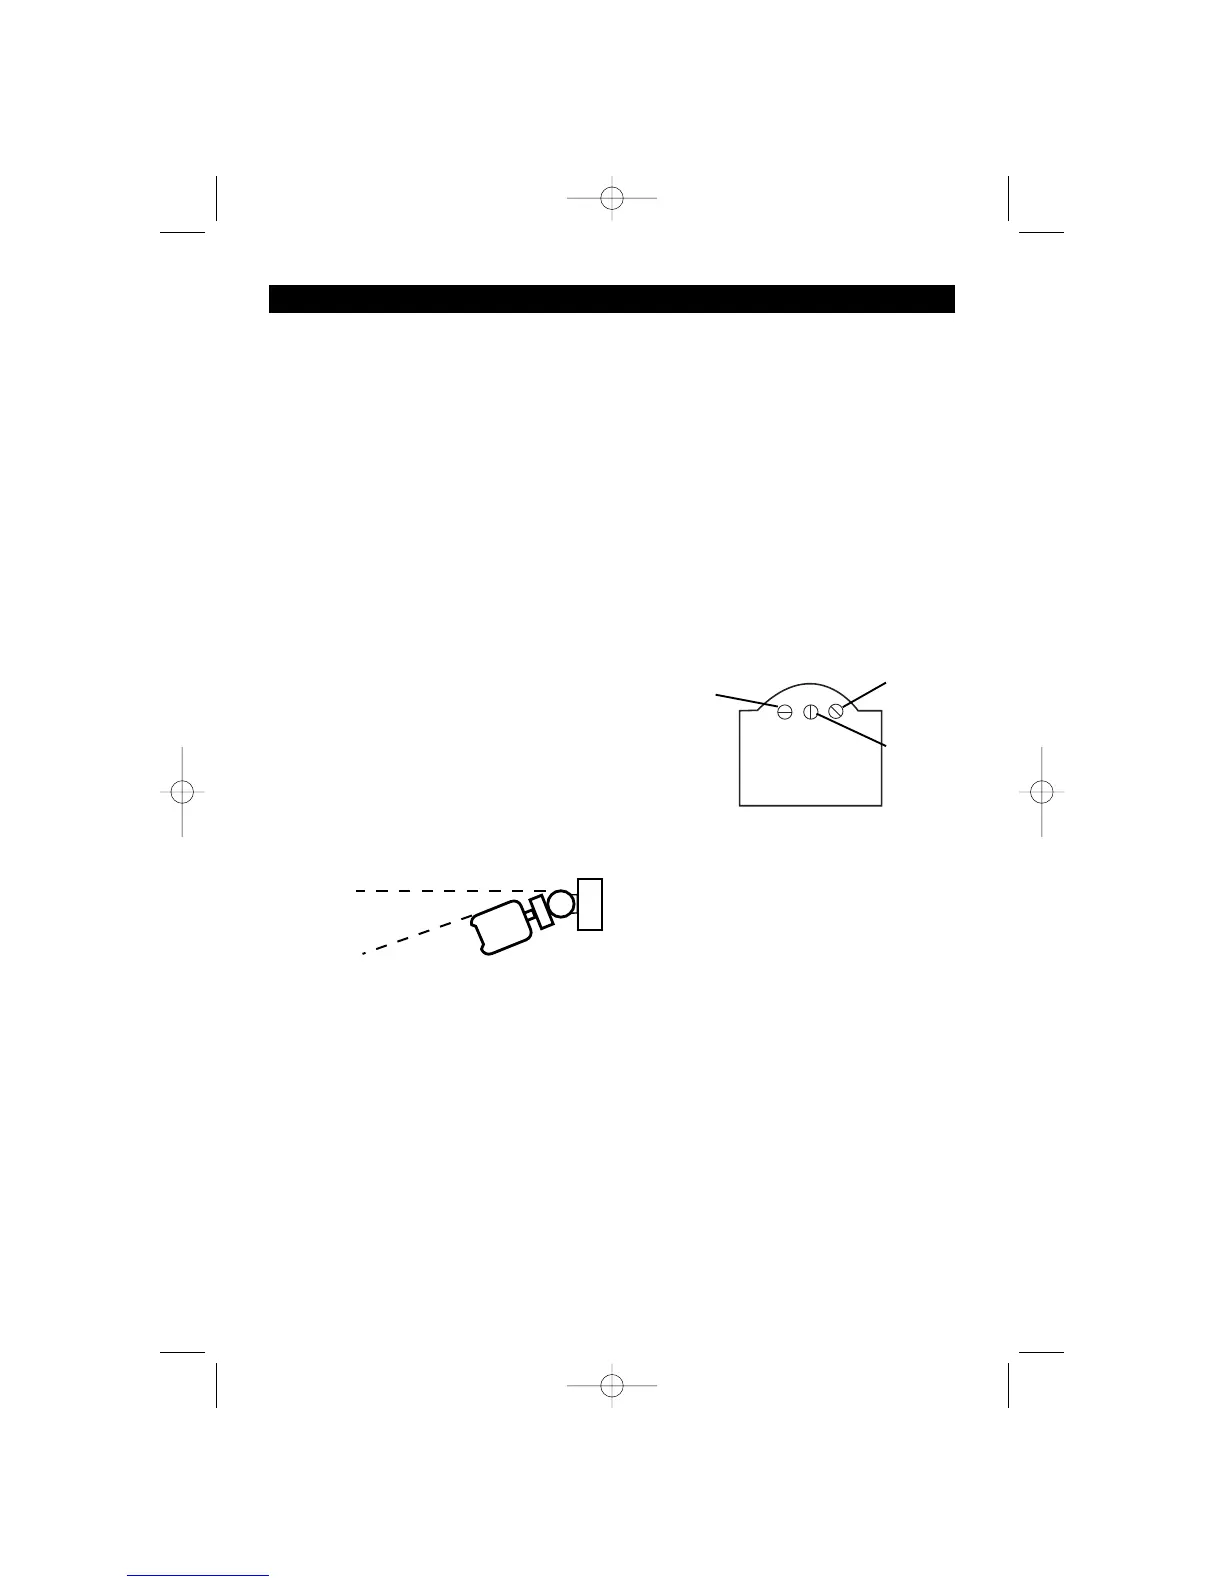
Setting the controls
1. Turn the “LUX” or light control to minimum, turn the
wall switch ON and wait for half a minute for the
control circuit to stabilise. At this stage ensure that
the time control is set to “minimum”. The Floodlights
will now switch on and remain on for about 10
seconds.
2. Turn the “SENS” control to minimum.
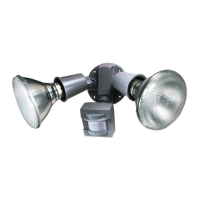
3. Direct the sensor toward the desired area to be
scanned by adjusting the elbow joint and ball joint
on the sensor arm. Loosen lock nuts and screws before attempting to adjust sensor arms.
NOTE: Always tilt sensor unit head below
horizontal for weatherproofing.
4. Have another person move across the centre of the area to be scanned and slowly adjust the
“SENS” control toward maximum until the unit senses the presence of the moving person,
causing the Floodlights to switch on.
5. Adjust time control to required setting.
6. To set the light level at which the Floodlight automatically switches “ON” at night, turn the “LUX”
or light control from minimum to maximum. If the Floodlight is required to switch on earlier, e.g.
dusk, simply wait for the desired light level, then slowly turn the “LUX” or light control towards
minimum while someone walks across the centre of the area to be detected. When the
Floodlight switches “ON” release the “LUX” or light control knob. You may need to make further
adjustments to achieve your ideal light level setting.
IMPORTANT: When adjusting lamp holders, ensure that PAR38 lamps are not touching or in close
proximity to sensing unit or connecting lead. Heat from the PAR38 lamps may distort the sensor
unit or damage the lead. Allow 40mm minimum between sensor and PAR38 lamps.
TOP
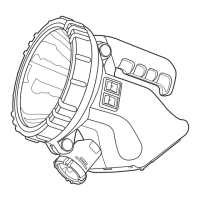
Operation
Sensitivity Control
Light “Lux” Control
Time Control
SENS
TIME
LUX
Fig. 9
Fig. 10
4
 Loading...