Mounting
INSTALLATION GUIDE
Customizable Button Module (NUDM3–HE)
3 Mounting
The base of the module mounts directly onto flat walls or ceiling surfaces.
Caution: To prevent a fire hazard because of dust buildup inside the module, regular
inspection and/or cleaning of the module is required.
Take proper measures to avoid spreading dust and other particles when applying
maintenance to a module that is mounted inside a clinical area.
3.1 Mount the NUDM3 onto a backbox
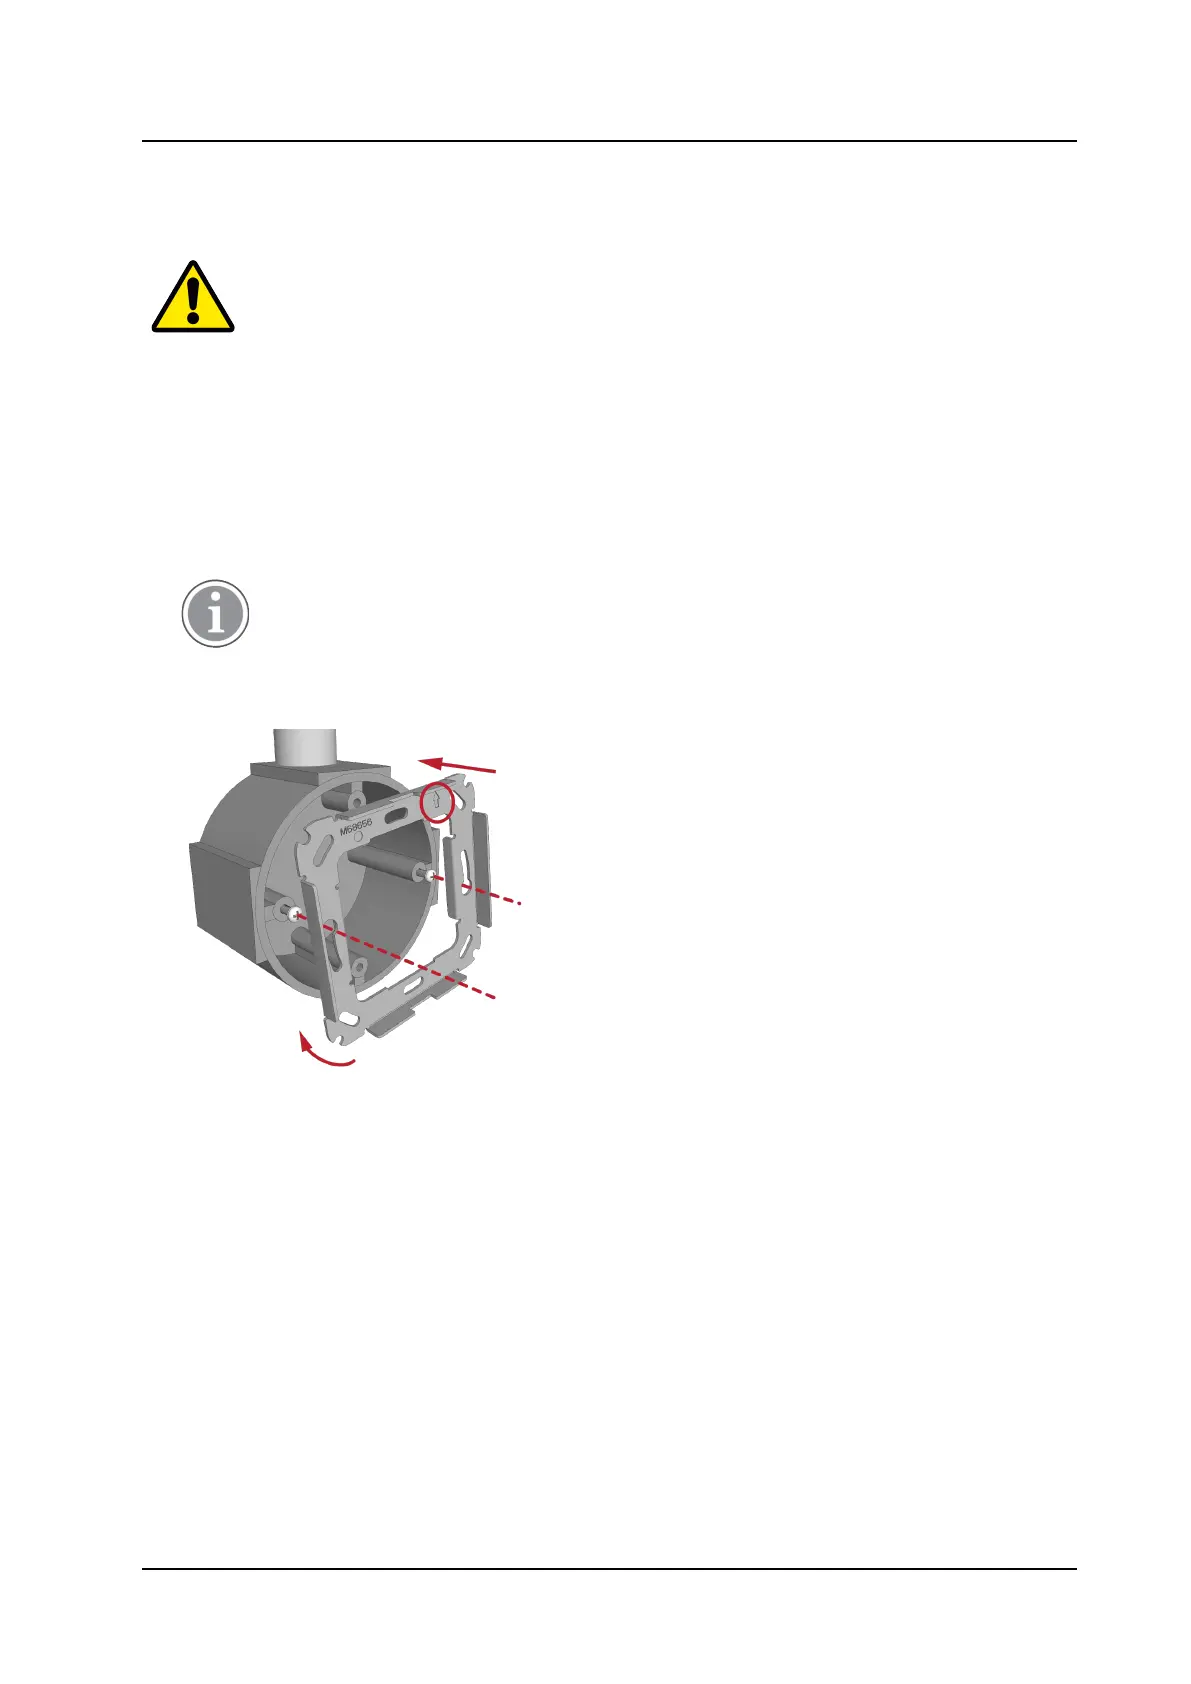
To attach an adapter to a backbox:
1. For EU-style or UK-style backboxes, loosen the screws from the backbox so that approximately 5mm
extend out from the backbox and the heads of the screws can pass through the keyhole slots on the
adapter plate.
The screw distance for the backboxes must be 60mm (2.36 in.).
2. Place the adapter (with the arrow facing up, see below) over the backbox and ensure that it is level,
and then tighten the screws.
3.2 Mount the NUDM3 onto a spacer
To attach an adapter to a spacer (NUSP1–HE):
1. Place the spacer against a flat wall and orient it so that “TOP” (printed on the inside of the spacer) is
pointing up and that the spacer is level. Use a leveling device to check, if necessary.
3 TD 93506EN / 02 March 2022 / Ver. A