
T
Terri HarveyAug 18, 2025
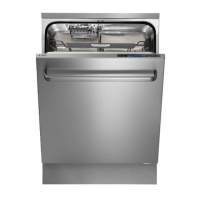
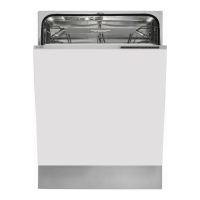
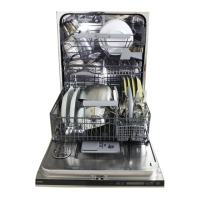
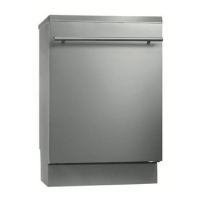
Why does my Asko D5896 XXL not start?
- DDaniel VaughnAug 18, 2025
If your Asko dishwasher isn't starting, make sure you press and hold the Start/Stop button until the display indicates "Program started". If you've set a delayed start, press and hold Start/Stop for three seconds to cancel it. Also, check for potential overflow/leaks. If you hear a continuous whirring sound from the drainage pump that doesn't stop when you turn off the main power, turn off the water tap, pull out the plug, and call for service.