EasyManuals Logo

ASROCK Fatal1ty Z77 Professional Series Quick Installation Guide

ASROCK Fatal1ty Z77 Professional Series
243 pages
To Next Page IconTo Next Page
To Previous Page IconTo Previous Page
Page #16 background imageLoading...
Page #16 background image
16
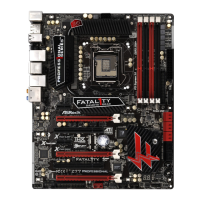
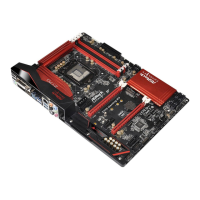
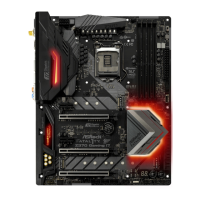
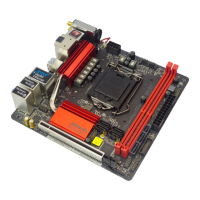
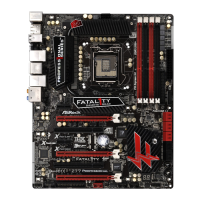
Fatal1ty Z77 Professional Series Motherboard
English
2.3 CPU Installation
For the installation of Intel 1155-Pin CPU,
please follow the steps below.
Before you insert the 1155-Pin CPU into the socket, please check if the
CPU surface is unclean or if there are any bent pins in the socket. Do
not force to insert the CPU into the socket if above situation is found.
Otherwise, the CPU will be seriously damaged.
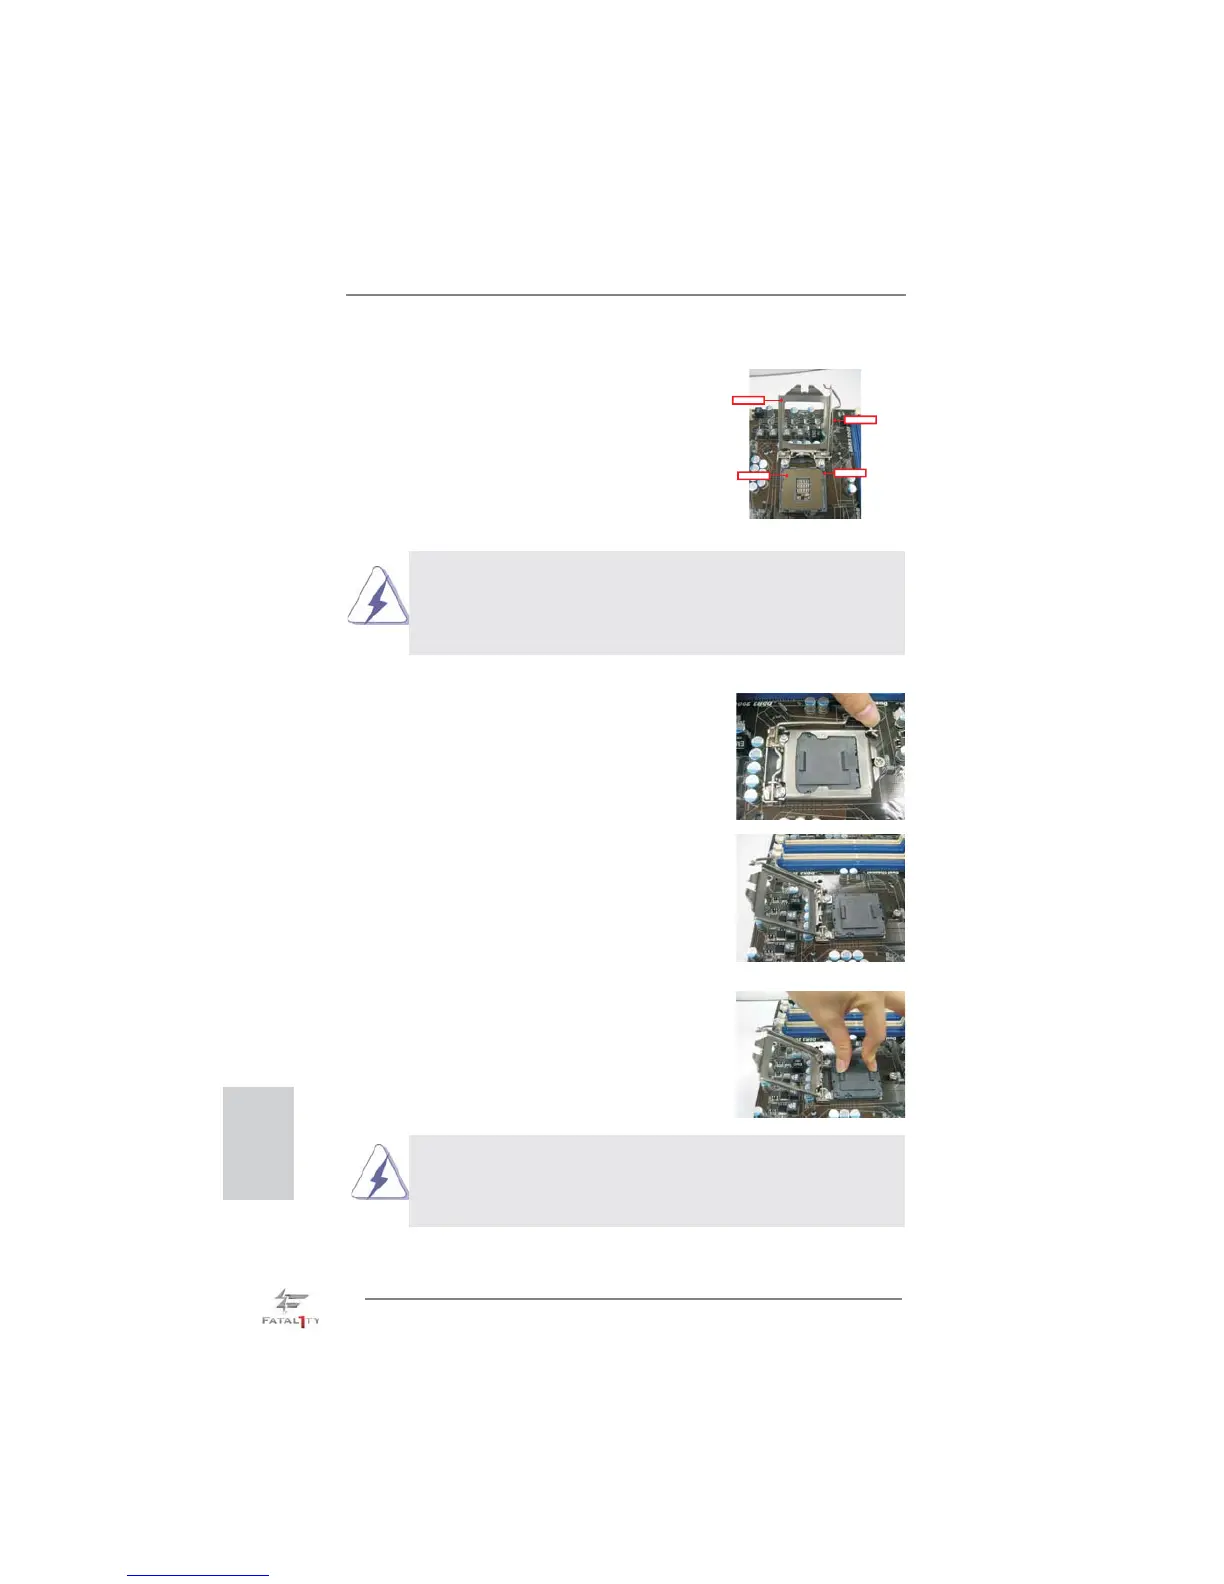
Step 1. Open the socket:
Step 1-1. Disengage the lever by pressing it
down and sliding it out of the hook.
Step 1-2. Keep the lever positioned at about
135 degrees in order to flip up the
load plate.
Step 2. Remove the PnP Cap (Pick and Place Cap).
1. It is recommended to use the cap tab to handle and avoid kicking
off the PnP cap.
2. This cap must be placed if returning the motherboard for after
service.
1155-Pin Socket Overview
Contact Array
Socket Body
Load Lever
Load Plate

Other manuals for ASROCK Fatal1ty Z77 Professional Series

Questions and Answers:

Question and Answer IconNeed help?

Do you have a question about the ASROCK Fatal1ty Z77 Professional Series and is the answer not in the manual?

ASROCK Fatal1ty Z77 Professional Series Specifications

General IconGeneral
ChipsetIntel Z77
CPU SocketLGA 1155
Max Memory32 GB
PCIe 3.0 x16 Slots3
PCIe 2.0 x1 Slots2
PCI Slots2
SATA 6Gb/s4
SATA 3Gb/s4
RAID SupportRAID 0, 1, 5, 10
Form FactorATX
Memory Slots4 x DIMM
Memory SpeedDDR3 2800+(OC)/2400(OC)/2133(OC)/1866(OC)/1600/1333/1066
USB 3.0 Ports4 (2 rear, 2 via header)
USB 2.0 Ports8 (4 rear, 4 via headers)
AudioRealtek ALC898
Video OutputsHDMI
Multi-GPU SupportSupports NVIDIA Quad SLI and AMD Quad CrossFireX

Related product manuals