86
Outer Rotor Liners
Use the following procedure to
replace the outer rotor liners.
1. Open crusher lid (page 52).
2. Unbolt and remove feed
disc and lower pocket
liners.
3. Unbolt and remove rotor
from ywheel.
4. Secure lifting chains around
rotor assembly.
5. Remove rotor from tub and
turn upside down. Place
carefully on level surface.
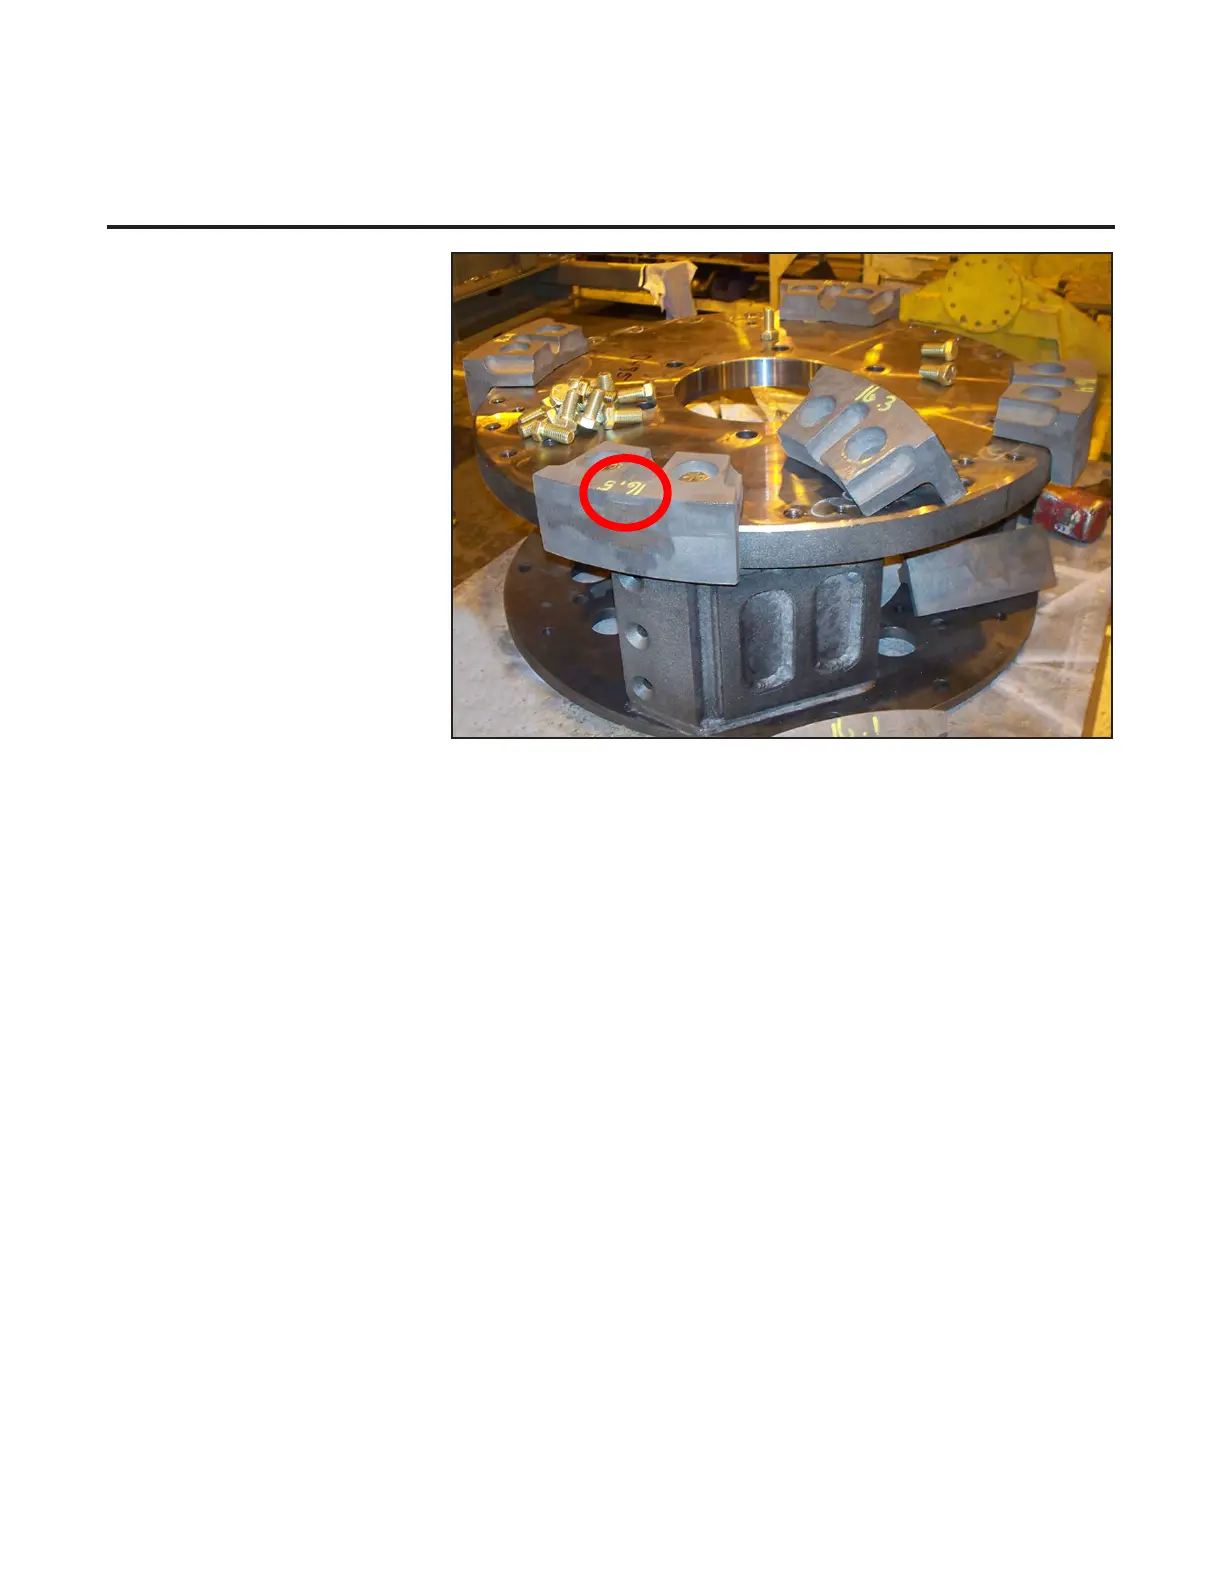
6. Unbolt and remove outer
rotor liners. If broken
liners are being replaced,
the broken liner and the liner
on the opposite side must
be replaced to maintain
proper rotor balance.
If liners are being removed
and installed on another
rotor, be sure they are
placed on the new rotor in
the same position to
maintain proper balance. If
rotor balance is not
maintained, a vibration will
result causing premature
pedestal bearing failure.
Wear Parts - Rotor Assembly
7. Install the heaviest liners
rst and mount them across
from each other.
In order to keep the rotor
balanced, opposing liners
should be no more than
1/4 pound difference on
1500, 2500, and 82 models,
and 1/2 pound difference
on 4500 models.
8. Apply blue Loctite 242 to
the bolts.
9. Torque bolts as specied
in Appendix B.
The heat-treating process
may cause a slight warp in
the liners and over tightening
the bolts may cause them
to break.
10. Repeat steps 7-9 until
all liners are installed on the
rotor.
If no other wear parts are
beingreplaced,proceedto
step11,otherwise,repairall
otherwearpartsasneeded.
11.Install rotor on flywheel
using new bolts. Apply blue
Loctite 242 to new bolts.
On 82, 2500 and 4500 VSI
models, torque bolts to 600
ft.lbs.
On 1500 models, torque bolts
to 281 ft.lbs.
12. Install lower pocket liners
and feed disc.
13. Replace crusher lid.
Outer Rotor Liners


 To Next Page