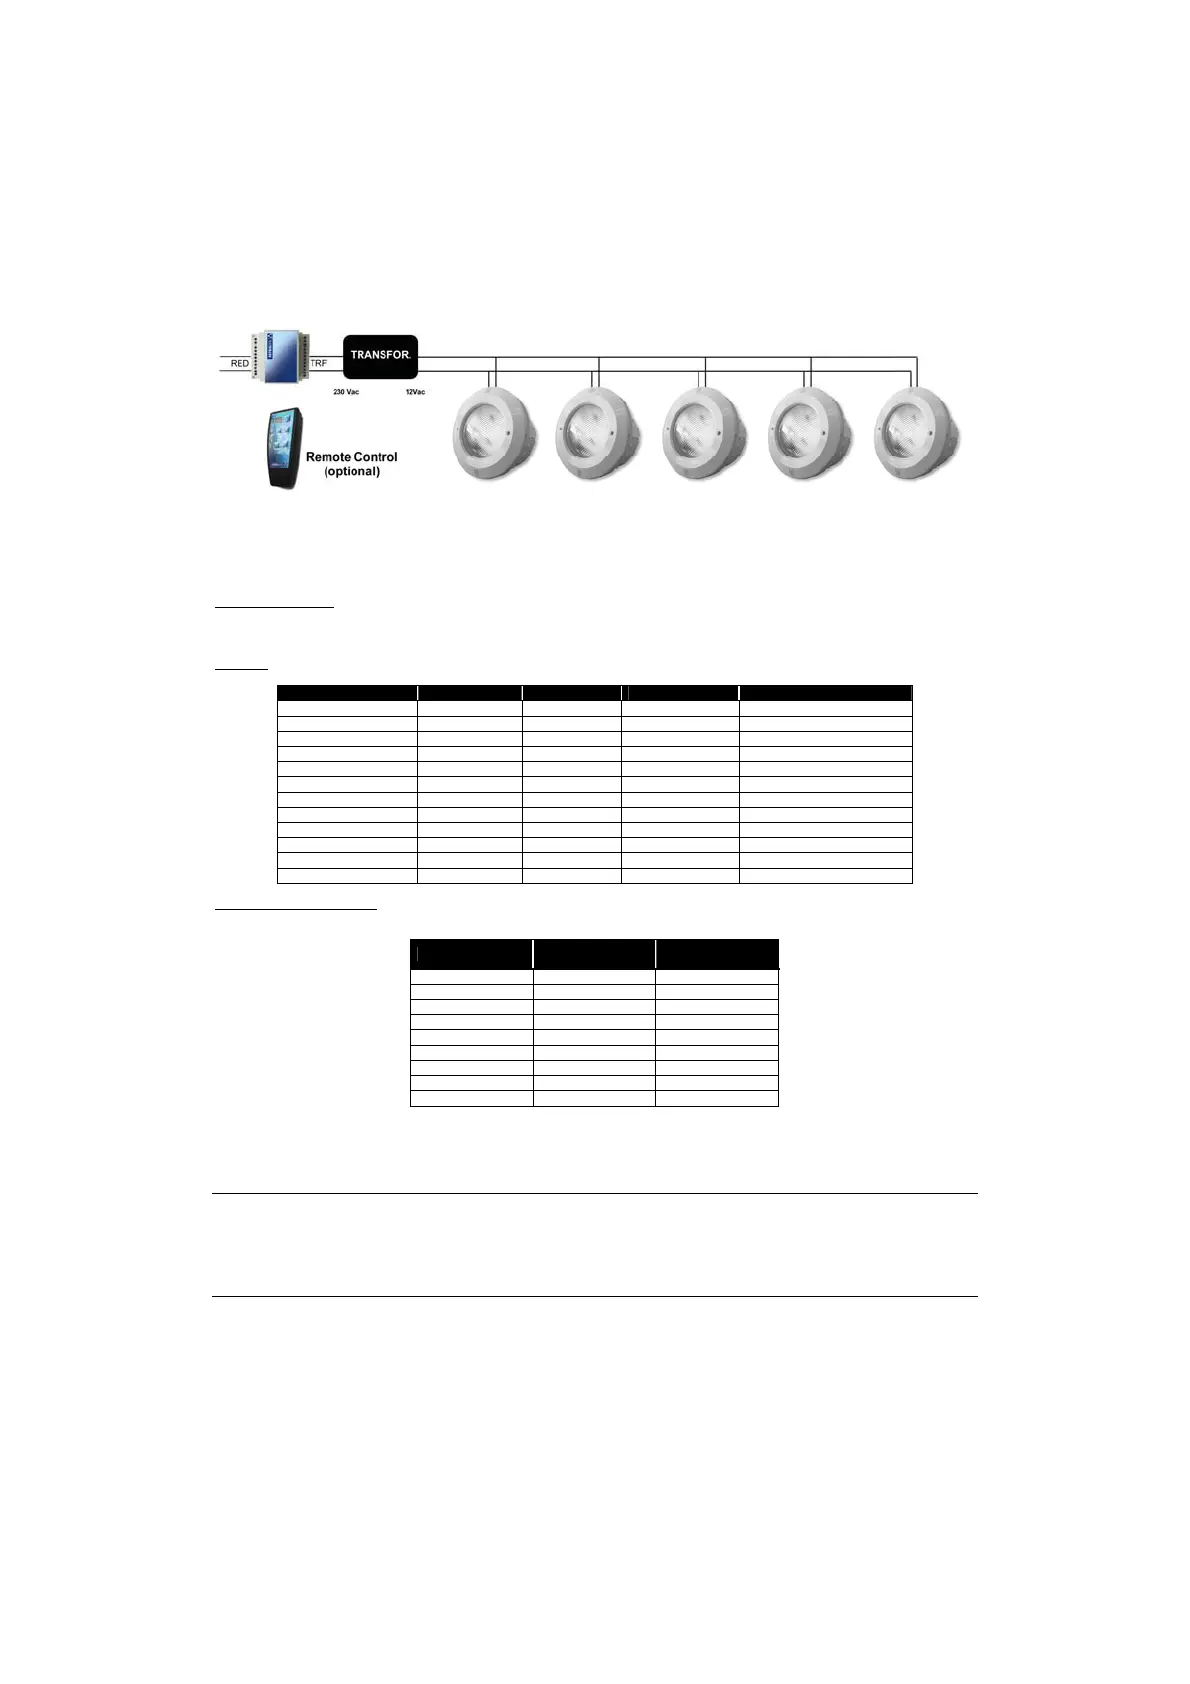
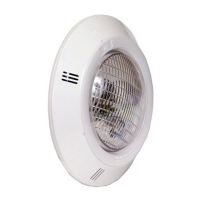
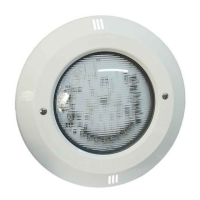
Each Receiver-Modulator can control up to a maximum of 15 LED spotlights.
Once the unit is connected, proceed as follows to start-up the projector for the first time:
x Switch on the unit by activating the 230 Vac. at the input of the Receiver-Modulator, which will automatically syntonize with the transformer.
The green led of the Receiver-Modulator will flash every 2 seconds and the lamp will remain off.
5.2.2 Types of lighting
The Remote Control – Receiver/Modulator – Transformer – Led Projector unit enables you to create different lighting settings inside the pool with
two operation options:
Set colour: Selection of a set colour among twelve possibilities.
COLOUR Nº % RED % BLUE % GREEN COLOUR
1 100 0 0 Red
2 0 100 0 Blue
3 0 0 100 Green
4 100 60 0 Magenta
5 100 0 60 Light yellow
6 0 100 60 Bluish cyan
7 0 60 100 Greenish cyan
8 100 100 0 Purple
9 0 100 100 Cyan
10 100 0 100 Yellow
11 100 100 80 Bluish white
12 100 80 100 Greenish white
Automatic sequence of colours: Selection of nine colour sequence programmes. Each programme is defined by the lighting time of each colour
and the transition time from one colour to another according to the following table:
SEQUENCE
COLOUR TIMING
(SEC.)
BLENDING TIMING
(SEC.)
141
288
3154
41515
5308
63030
76015
86060
9 120 60
For example, programme 5 indicates that each colour will stay for 30 seconds, out of which 22 seconds will be with one set colour and the
remaining 8 seconds are used in the transition to the following colour. Programme 8 indicates that the 60 seconds corresponding to each colour
are used in the transition to the following colour.
6. MAINTENANCE:
This lamp does not require any type of maintenance work. If you notice that the lamp is not working properly, please contact our customer
attention service.
THIS PRODUCT DOES NOT CONTAIN ANY ELEMENTS THAT CAN BE HANDLED, DISMANTLED OR REPLACED BY THE USER. IT IS
FORBIDDEN TO ACCESS INSIDE THE PRODUCT, OTHERWISE THE GUARANTEE OF THE PRODUCT WILL BECOME INVALID.
7. CHANGE OF LAMP:
To remove the floodlamp to the edge of the swimming pool (Fig. 1) loosen the two screws (no. 2) until the fastening dog yields sufficiently so
that the floodlamp unit can be separated from the housing. (Fig. 6 and 7)
To remove the lamp, unscrew the 6 nuts (no. 9) which secure the decorative ring (no. 1) to the base of the floodlamp (no. 7) (Fig. 8).
Remove the lamp (no. 5) from the inside of the base of the floodlamp (Fig. 9) and disconnect the two terminals, loosening the two screws which
secure them to the lamp (Fig. 10).
Change the lamp and assemble the Floodlamp, in the opposite order described in point 4 of assembly, taking special care to:
4