Do you have a question about the Asus M4A79XTD - Motherboard - ATX and is the answer not in the manual?
| Brand | Asus |
|---|---|
| Model | M4A79XTD - Motherboard - ATX |
| Category | Motherboard |
| Language | English |
Introduction to the ASUS M4A79XTD EVO motherboard and its features.
Lists the items included in the motherboard package.
Details the motherboard's key features and technologies.
Highlights key technical specifications and features of the motherboard.
Describes proprietary ASUS technologies and design elements.
Explains performance tuning and overclocking capabilities.
Precautions before installing components or changing settings.
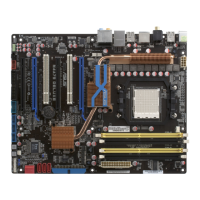
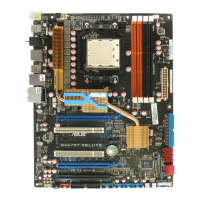
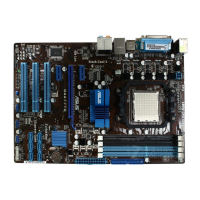
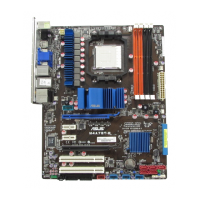
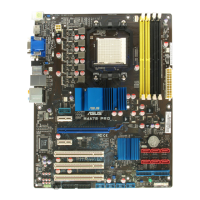
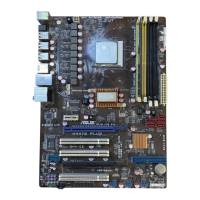
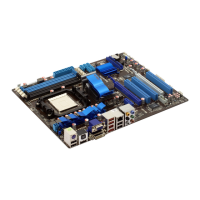
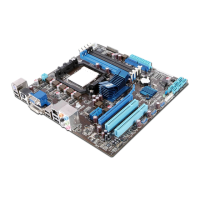
General overview of the motherboard's layout and components.
Diagram showing the physical arrangement of motherboard components.
Lists and describes the connectors, jumpers, and slots on the motherboard.
Instructions for orienting and securing the motherboard in the chassis.
Information and steps for installing the CPU.
Step-by-step guide for CPU installation into the socket.
Guide for mounting the CPU cooler assembly.
Information about installing and configuring system RAM.
Introduction to the DDR3 DIMM sockets.
Details on memory module sizes and compatibility.
Procedures for RAM installation and removal.
Description of available expansion slots on the motherboard.
Guide for installing and setting up add-on cards.
Table detailing IRQ assignments for motherboard devices.
Information on PCI and PCI Express slots.
Configuration options using motherboard jumpers.
Overview of motherboard connectors.
Identifies and describes rear I/O ports.
Details audio port configurations and wiring.
Covers various internal headers like IDE, SATA, USB, and power.
Explains the use of the Q-Connector for system panel cables.
Introduction to the BIOS, its function, and settings.
Procedures for updating the motherboard BIOS.
Using the Windows-based utility for BIOS updates.
Updating BIOS via USB flash drive.
Restoring BIOS from corruption.
How to use the BIOS interface, menus, and navigation keys.
Overview of system information and main settings.
Settings for IDE and SATA devices.
Displays detected system specifications.
Configuration for CPU, Chipset, and other advanced settings.
CPU frequency and voltage tuning.
Details CPU and Chipset configurations.
Settings for integrated peripherals like audio and LAN.
Settings for USB controller features.
Configuration for PCI and Plug and Play devices.
Advanced power management settings.
Selects ACPI states for system suspend.
Power-on and AC power loss settings.
System monitoring of temperatures, voltages, and fan speeds.
System boot sequence and settings.
Setting boot device order.
BIOS password and access level management.
Accesses special function utilities.
Utility for BIOS flashing.
Saving and loading BIOS settings.
Saving, discarding, and loading default BIOS settings.
Guide for OS installation on the motherboard.
Details on the support DVD contents like drivers and utilities.
How to launch and navigate the support DVD.
Instructions for accessing PDF manuals from the support DVD.
Overview of included software utilities.
Utilities for system monitoring and management.
CPU and system power management tools.
Fan speed control utility.
CPU overclocking utilities.
Instant-on OS for quick access to Internet and apps.
Audio driver and configuration.
Setting up RAID volumes with Serial ATA hard disks.
Explains RAID 0, 1, 5, and 10 configurations.
Enabling RAID functionality within the BIOS.
Steps to create a driver disk for RAID setup.
Integrating the RAID driver during OS setup.
Introduction to ATI CrossFireX technology for multi-GPU setups.
Necessary hardware and software for CrossFireX.
Steps to prepare the system for graphics card installation.
Step-by-step guide for installing multiple GPUs.
Details on graphics drivers and enabling CrossFireX.
Guide for installing graphics card drivers.
Steps to activate multi-GPU support in software.