EasyManuals Logo

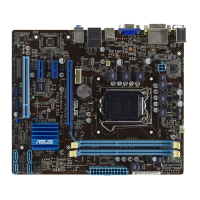
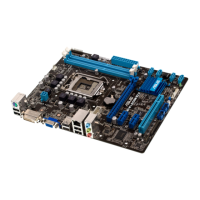
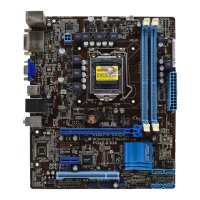
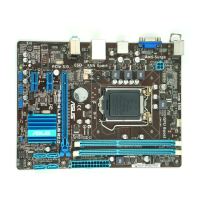
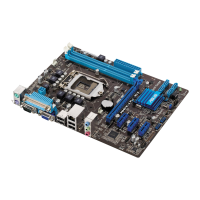
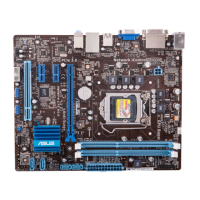
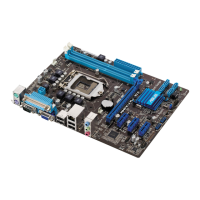
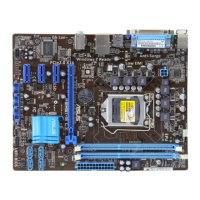
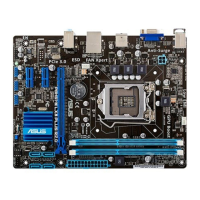
Asus P8H61-M PLUS V3 User Manual

Asus P8H61-M PLUS V3
64 pages
To Next Page IconTo Next Page
To Previous Page IconTo Previous Page
Page #15 background imageLoading...
Page #15 background image
1-5Chapter 1: Product introduction
3. Lift the load lever in the direction of the
arrow until the load plate is completely
lifted.
Load plate
4. Remove the PnP cap from the CPU
socket by lifting the tab only.
The CPU ts in only one correct
orientation. DO NOT force the CPU
into the socket to prevent bending
the connectors on the socket and
damaging the CPU!
Gold
triangle
mark
Alignment keys
CPU notches
5. Position the CPU over the socket,
ensuring that the gold triangle is on the
bottom-left corner of the socket, and
then t the socket alignment keys into
the CPU notches.
PnP cap
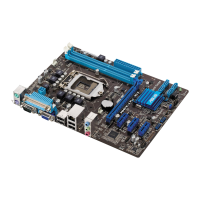
Table of Contents

Other manuals for Asus P8H61-M PLUS V3

Questions and Answers:

Question and Answer IconNeed help?

Do you have a question about the Asus P8H61-M PLUS V3 and is the answer not in the manual?

Asus P8H61-M PLUS V3 Specifications

General IconGeneral
Form FactorMicro ATX
ChipsetIntel H61
CPU SocketLGA 1155
Memory Slots2 x DIMM
Maximum Memory16 GB
Memory TypeDDR3
Memory StandardDDR3 2200(O.C.)/2133(O.C.)/2000(O.C.)/1866(O.C.)/1600/1333/1066 MHz
Storage Interface4 x SATA 3Gb/s
AudioRealtek ALC887 8-Channel High Definition Audio CODEC
Max. LAN Speed10/100/1000 Mbps
Video Outputs1 x D-Sub, 1 x DVI-D
Expansion Slots2 x PCIe 2.0 x1
LANRealtek 8111F
Power Connector1 x 24-pin EATX Power, 1 x 4-pin ATX 12V Power

Related product manuals