2.1 Detaching the arm/stand
(for VESA wall mount)
VESA wall mount.
2.1.1 VH236/VH232
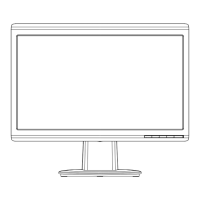
To detach the arm/stand:
• We recommend that you cover the table surface with soft cloth to prevent
damage to the monitor.
• Hold the stand of the monitor when you remove the screws.
2-1
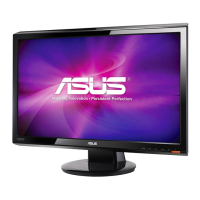
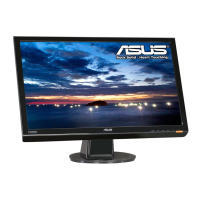
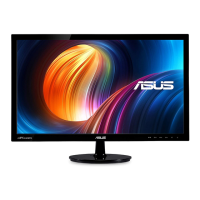
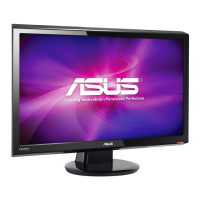
The detachable stand of the VH236/VH232/VH202 Series LCD monitor is specially designed for
ASUS LCD Monitor
Series
3 screws
The VESA wall mount kit (100 mm x 100 mm) is purchased separately.
For use only with UL Listed Wall Mount Bracket with minimum weight/load 5.8Kg
(Screw size: 4mm x 12 mm)
1. Remove the arm cover.
2. Have the front of the monitor face down on a table.
3. Use a screwdriver to remove the three screws on the stand of the monitor as
the below drawing shows.
4. Detach the arm from the monitor.
VH236/VH232/VH202
 Loading...