Do you have a question about the Asus VS208N-P and is the answer not in the manual?
Lists items included in the VS208 Series LCD monitor package.
Provides instructions for detaching the monitor stand for VESA wall mounting.
Guides on how to adjust the monitor's angle for optimal viewing.
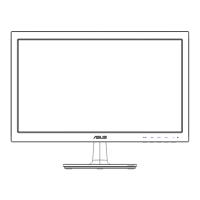
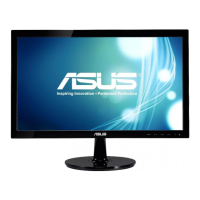
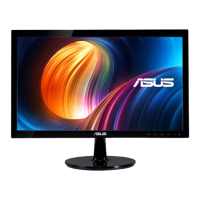
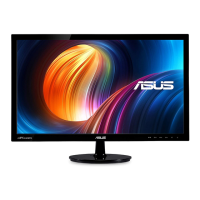
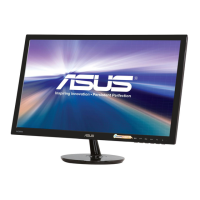
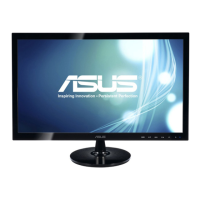
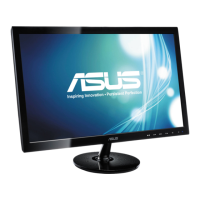
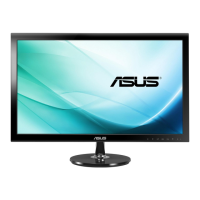
The ASUS VS208 Series LCD Monitor is a widescreen display designed to provide a crisp, broad, and bright viewing experience, enhanced by a range of features for user convenience and visual delight. This user guide outlines the setup, operation, and maintenance of the monitor, ensuring users can maximize its capabilities.
The ASUS VS208 Series LCD Monitor serves as a visual output device for computers, offering a high-quality display for various applications, from document editing to gaming and movie watching. It incorporates ASUS's SPLENDID™ Video Enhancement Technology, which provides six preset video modes (Scenery, Standard, Theater, Game, Night View, and sRGB) to optimize the display settings for different content types. The monitor supports both VGA and DVI input signals, with DVI connectivity available on specific models (VS208NR/N-P). An On-Screen Display (OSD) menu allows users to fine-tune various image and system settings, ensuring a personalized viewing experience. The monitor is also designed with energy efficiency in mind, complying with Energy Star 5.0 guidelines, and features an ECO Mode for power saving.
Setting up the VS208 Series monitor is straightforward. The monitor base connects to the arm with a simple clockwise turn until a click indicates a secure connection. The monitor's angle can be adjusted from -5° to 20° for optimal viewing comfort. For wall mounting, the detachable stand can be removed by pulling a stop lever, turning it anticlockwise, and then detaching the base. Four screws secure the stand to the monitor, which can be removed to prepare the monitor for a VESA wall mount kit (75 x 75 mm, purchased separately). It is recommended to use a UL Listed Wall Mount Bracket with appropriate weight/load capacity.
The monitor's front panel features several control buttons for easy access to its functions. The "S/▲" button serves multiple purposes: a long press (2-4 seconds) automatically adjusts the image to its optimized position, clock, and phase for VGA mode, and it also acts as a hotkey to switch between the six SPLENDID™ Video Enhancement Technology preset modes. When the OSD menu is active, this button can be used to exit the menu or return to the previous one. The "▼/" button decreases the value of a selected function, moves to the next function, and acts as a hotkey for contrast adjustment. The "MENU" button enters the OSD menu and selects highlighted icons or functions. The "*/▲" button increases the value of a selected function, moves right/up to the next function, and is a hotkey for brightness adjustment. Finally, the Power Button turns the monitor on or off, with a blue indicator for ON, amber for Standby, and OFF when the monitor is powered down.
The OSD menu is the central hub for customizing the monitor's settings. To access it, press the "MENU" button. Users can navigate through functions using the "▼" and "▲" buttons, and select a function by pressing "MENU." If a function has a sub-menu, "▼" and "▲" are used to navigate within it. Settings can be changed using "▼" and "▲." The "S" button exits the OSD menu.
Within the OSD, the "Splendid" function allows users to choose from six preset video modes, each with a "Reset" option to revert to default settings. "Scenery Mode" is ideal for photo display, "Standard Mode" for document editing, "Theater Mode" for movie watching, "Game Mode" for gaming, "Night View Mode" for dark-scene content, and "sRGB" for viewing photos and graphics from PCs.
The "Color" function provides controls for brightness, contrast, saturation, color temperature, skin tone, and Smart View. Brightness and contrast can be adjusted from 0 to 100, with dedicated hotkeys for each. Saturation also ranges from 0 to 100. Color Temperature offers "Cool," "Normal," "Warm," and "User Mode" options. Skin Tone provides "Reddish," "Natural," and "Yellowish" choices. Smart View offers versatile viewing positions. In "User Mode," individual R (Red), G (Green), and B (Blue) colors can be adjusted from 0 to 100. Note that in "Standard Mode," Saturation, Skin Tone, Sharpness, and ASCR are not configurable, and in "sRGB," Brightness, Contrast, Saturation, Color Temp., Skin Tone, Sharpness, and ASCR are not configurable.
The "Image" function allows adjustments to sharpness, aspect control, position (VGA only), and focus (VGA only). Sharpness can be set from 0 to 100 (available only in "Standard Mode"). Aspect Control can be set to "Full" or "4:3." ASCR (ASUS Smart Contrast Ratio) can be enabled or disabled for dynamic contrast, though it is disabled in "Standard Mode." Position (H-Position and V-Position) adjusts the image's horizontal and vertical placement from 0 to 100 (VGA input only). Focus (Phase and Clock) reduces horizontal and vertical line noise, adjustable from 0 to 100 (VGA input only).
"Input Select" allows users to choose between VGA and DVI input sources, with DVI available on specific models.
The "System Setup" menu configures various system settings. "Splendid Demo Mode" activates a demonstration of the Splendid function. "ECO Mode" enables power saving, though some gray levels might be less distinguishable, and brightness will be lower. "OSD Setup" adjusts the OSD menu's horizontal and vertical position, timeout, DDC/CI, and transparency. "Language" selects the OSD language from English, French, German, Spanish, Italian, Dutch, Russian, Traditional Chinese, Simplified Chinese, and Japanese. "Information" displays monitor details like input port, resolution, H-frequency, V-frequency, and model name. "All Reset" reverts all settings to factory defaults.
Proper care and cleaning are essential for maintaining the monitor's performance and longevity. Before moving or repositioning the monitor, it is advisable to disconnect all cables and the power cord. When lifting or carrying the monitor, always grasp its edges and avoid lifting it by the stand or cord.
For cleaning, first turn off and unplug the monitor. Use a lint-free, non-abrasive cloth to clean the monitor surface. Stubborn stains can be removed with a cloth dampened with a mild cleaner. It is crucial to avoid cleaners containing alcohol or acetone. Only use cleaners specifically designed for LCDs. Never spray cleaner directly onto the screen, as liquid could drip inside and cause an electric shock.
The manual also highlights normal monitor behaviors: slight screen flickering during initial use (which should disappear after turning the power switch off and on), potentially uneven brightness depending on the desktop pattern, and temporary afterimages if the same image is displayed for extended periods (which will recover slowly or by turning off the monitor for several hours). If the screen becomes black, flashes, or stops working, professional service is recommended.
Safety information emphasizes preventing fire or shock hazards by not exposing the monitor to rain or moisture and never attempting to open the cabinet due to high voltages. If the power supply is damaged, contact a qualified technician. All cables must be correctly connected and undamaged. Ventilation slots should not be blocked, and the monitor should be kept away from radiators or heat sources. The monitor should only be operated with the specified power source, and the appropriate power plug for the local standard should be used. Overloading power strips and extension cords should be avoided to prevent fire or electric shock. The monitor should be protected from dust, humidity, and temperature extremes, and placed on a stable surface. During lightning storms or extended periods of disuse, unplug the unit to protect against power surges. Objects or liquids should never be pushed or spilled into the monitor's slots. For satisfactory operation, use the monitor with UL listed computers (100-240V AC). For any technical problems, contact a qualified service technician or retailer.
| Screen Size | 20 Inches |
|---|---|
| Panel Type | TN |
| Resolution | 1600 x 900 |
| Aspect Ratio | 16:9 |
| Response Time | 5 ms |
| Brightness | 250 cd/m² |
| Contrast Ratio | 1000:1 |
| Dynamic Contrast Ratio | 50, 000, 000:1 |
| Viewing Angle (H/V) | 170° / 160° |
| Connectivity | VGA, DVI-D |
| Built-in Speakers | No |
| VESA Mount | 100 x 100 mm |
| Color Support | 16.7 million colors |