Installation & Servicing instructions ATAG XL
15
5.4 Connecting the boiler
A. Remove the remaining packaging part from the bottom of the boiler.
Note: this packaging part is provided with boiler parts which are needed for
mounting the boiler.
B. Cap the connections that are not used on the pipe work headers:
Flowandreturn: ø35mmblindcompressiontting (2items/boiler)
Gas: 1 ¼" blind cap with gasket (1 item/boiler)
For connections, use the supplied gaskets. Check all connections for leak-
age and gas-tightness.
C. Connecting the isolation valves to the boiler:
Flow: 1½"atcouplingx35mmcompressionisolationvalvewithredhandle
Return:1½"atcouplingx35mmcompressionttingcrossunionwith
ll/drainvalveandisolationvalvewithbluehandle
The boiler is supplied with a 3 and 4 bar safety valve.
ATAGUKrecommendttingthe4barsafetyvalveduetothecontrolsettingsshutting
theboileroat3.8bar.
Gas: 1¼" x 28mm gas isolation valve
Polluted test water may be released when removing the plastic caps on the
boiler ow and return.
For connections, use the supplied gaskets. Check all connections for leak-
age and gas-tightness.
D. Connect the valves to the pipe work headers:
Flow: 35mmpipepieceswith35mmcompressionttings(elbowandsocket)
Return:35mmpipepieceswith35mmcompressionttings(elbowandsocket)
Gas: 28mmpipepiecewith1¼"atand28mmcompressiontting
Back-to-back installation:
Flow: 35mmpipepieceswith35mmcompressionttings(bendandsocket)
Return:35mmpipepieceswith35mmcompressionttings(bendandsocket)
Gas: 28mmpipepiecewith1¼"atand28mmcompressiontting
For connections, use the supplied gaskets. Check all connections for leak-
age and gas-tightness.
E. Fillthesiphonwithtapwaterandtthesiphoncupunderneaththeboiler.
The siphon cup is supplied separately and can be found behind the housing.
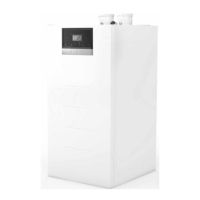
Figure 5.4.b
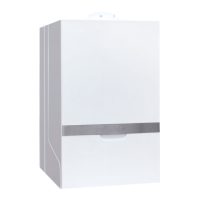
Figure 5.4.c
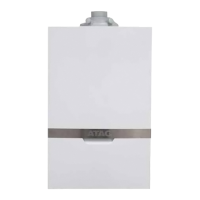
Figure 5.4.d
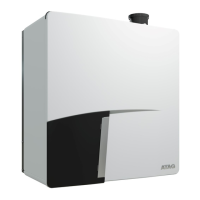
Figure 5.4.a
 Loading...