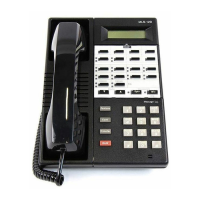
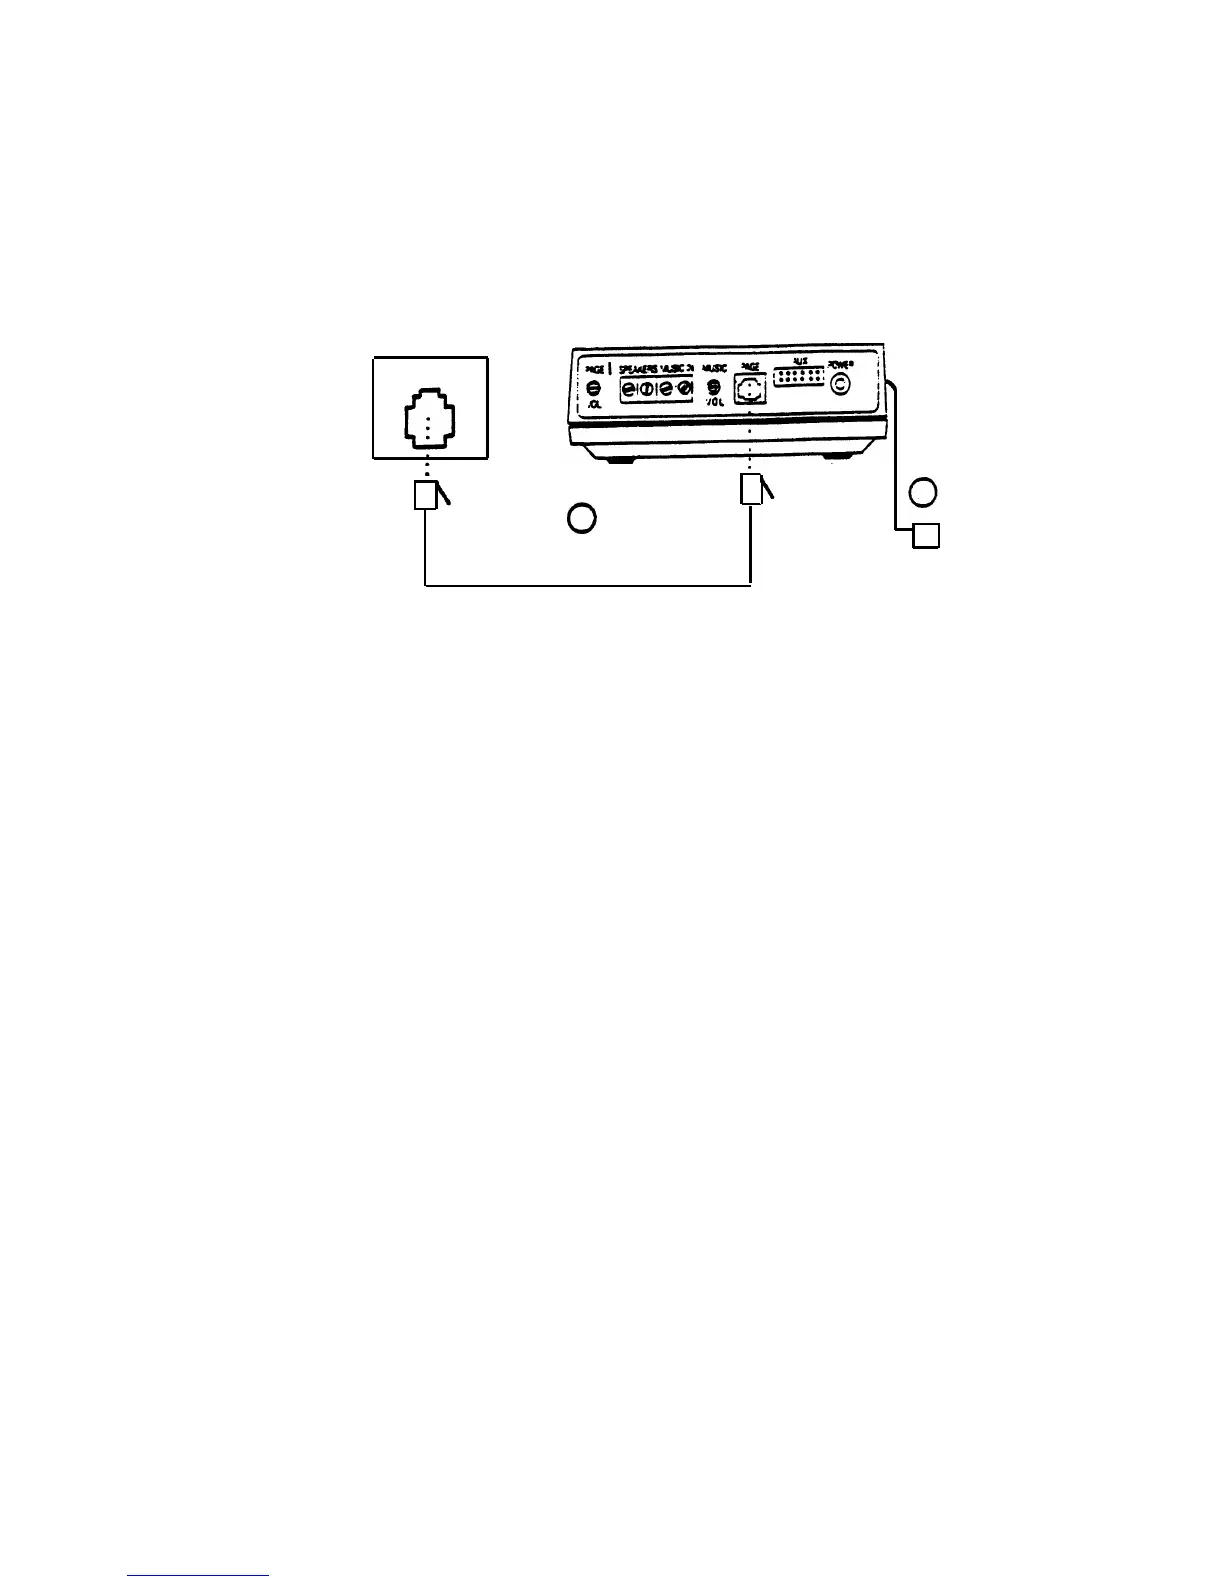
CONNECTING PAGEPAC 6 TO A PAGE PORT
Telephone System
PagePac 6
Page Jack
2
1
ll
Modular Line Cord
To 120 VAC, 60 Hz
Connections to a Page Jack
(Circled numbers correspond to the steps in the installation procedure below.)
Required Materials
—
PagePac 6
—
Standard modular telephone cord of sufficient length to connect the PagePac 6 to the telephone
system page jack.
Installation Procedure
PagePac 6 can be placed on a desk or shelf, or wall-mounted using the keyhole slots in the bottom
of the unit. After selecting a convenient location:
1.
Connect the PAGE jack on the PagePac 6 to the telephone system page jack with a modular cord.
2.
Plug the PagePac 6 power cord into a standard AC wall outlet, or use an extension cord if necessary.
Note:
If the page port has screw-type connections, use a half-modular cord to connect to the page
port. The modular end of the cord connects to the PagePac 6 PAGE jack. On the other end of the
cord, the red lead connects to page ring, and the green lead to page tip. The black and yellow leads
are control leads that connect to a dry contract closure provided by the page port.
3
 Loading...