Port Saver
5 in.
PagePac 6
Port Saver
PagePac 6
6.5 in.
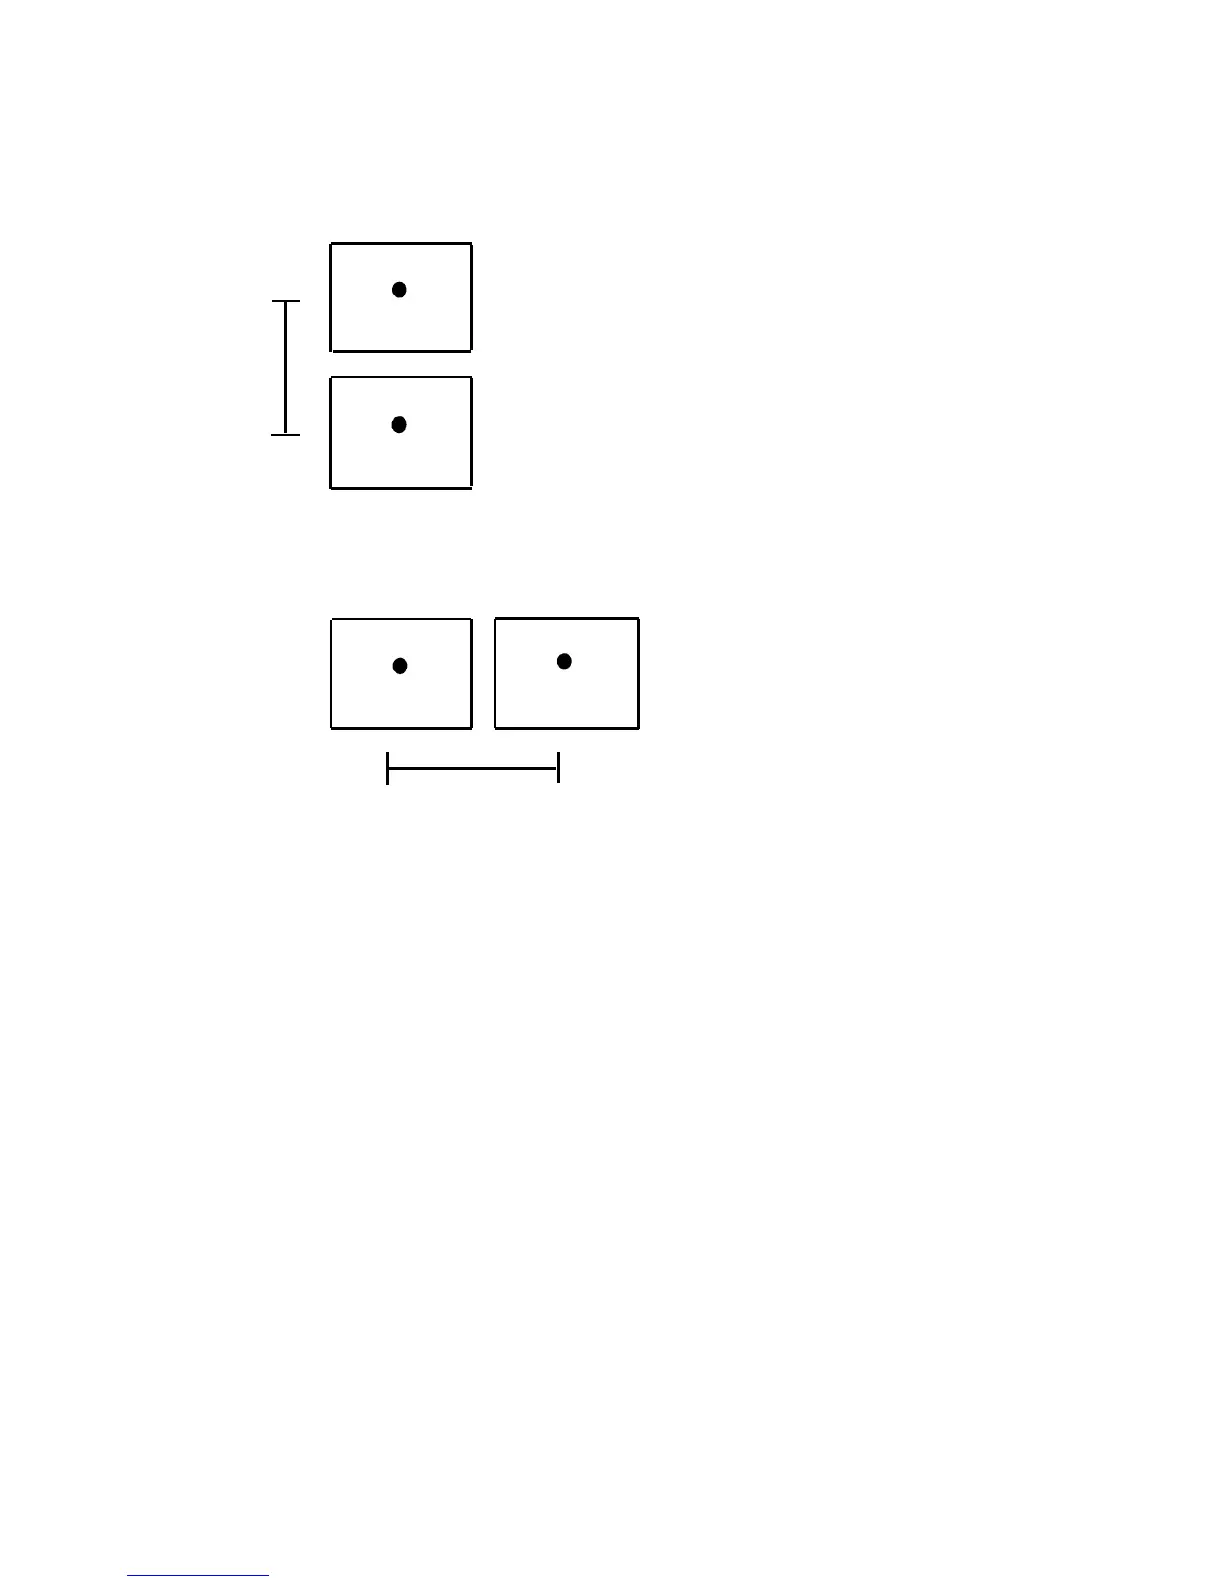
Port Saver may be mounted above PagePac 6.
Distance between keyhole slot centers is 5 in.
Wall Mounting Arrangements for Port Saver & PagePac 6
1.
2.
3.
4.
Port Saver may be mounted to the side of the
PagePac 6. Distance between keyhole slot
centers is 6.5 in.
NOTE:
Spacing shown is only a suggestion.
Circumstances may require different spacing.
Installation Procedure
PagePac 6 and PagePac 6 Port Saver may be placed on a desk or shelf, or may be wall mounted
(see illustrations above) using the keyhole slots in the bottom of the unit. The units must be
within six to eight inches of each other (see step 1 below).
Connect the AUX jack on the PagePac 6 to the PagePac 6 Port Saver via the Port Saver
ribbon cable (the AUX jack is keyed, therefore, you can connect the cable in only one way).
Connect the PHONE jack on the PagePac 6 Port Saver to a telephone system line jack
(the line that goes to the telephone), using a modular cord.
Connect the C.O. LINE jack on the PagePac 6 Port Saver to the modular jack where the
telephone line from the telephone company appears, using a modular cord.
Plug the PagePac 6 power cord into a standard AC wall outlet, or use an extension cord
if necessary.
5
 Loading...