INSTALLATION
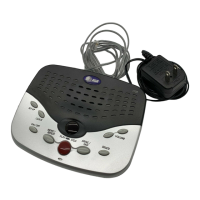
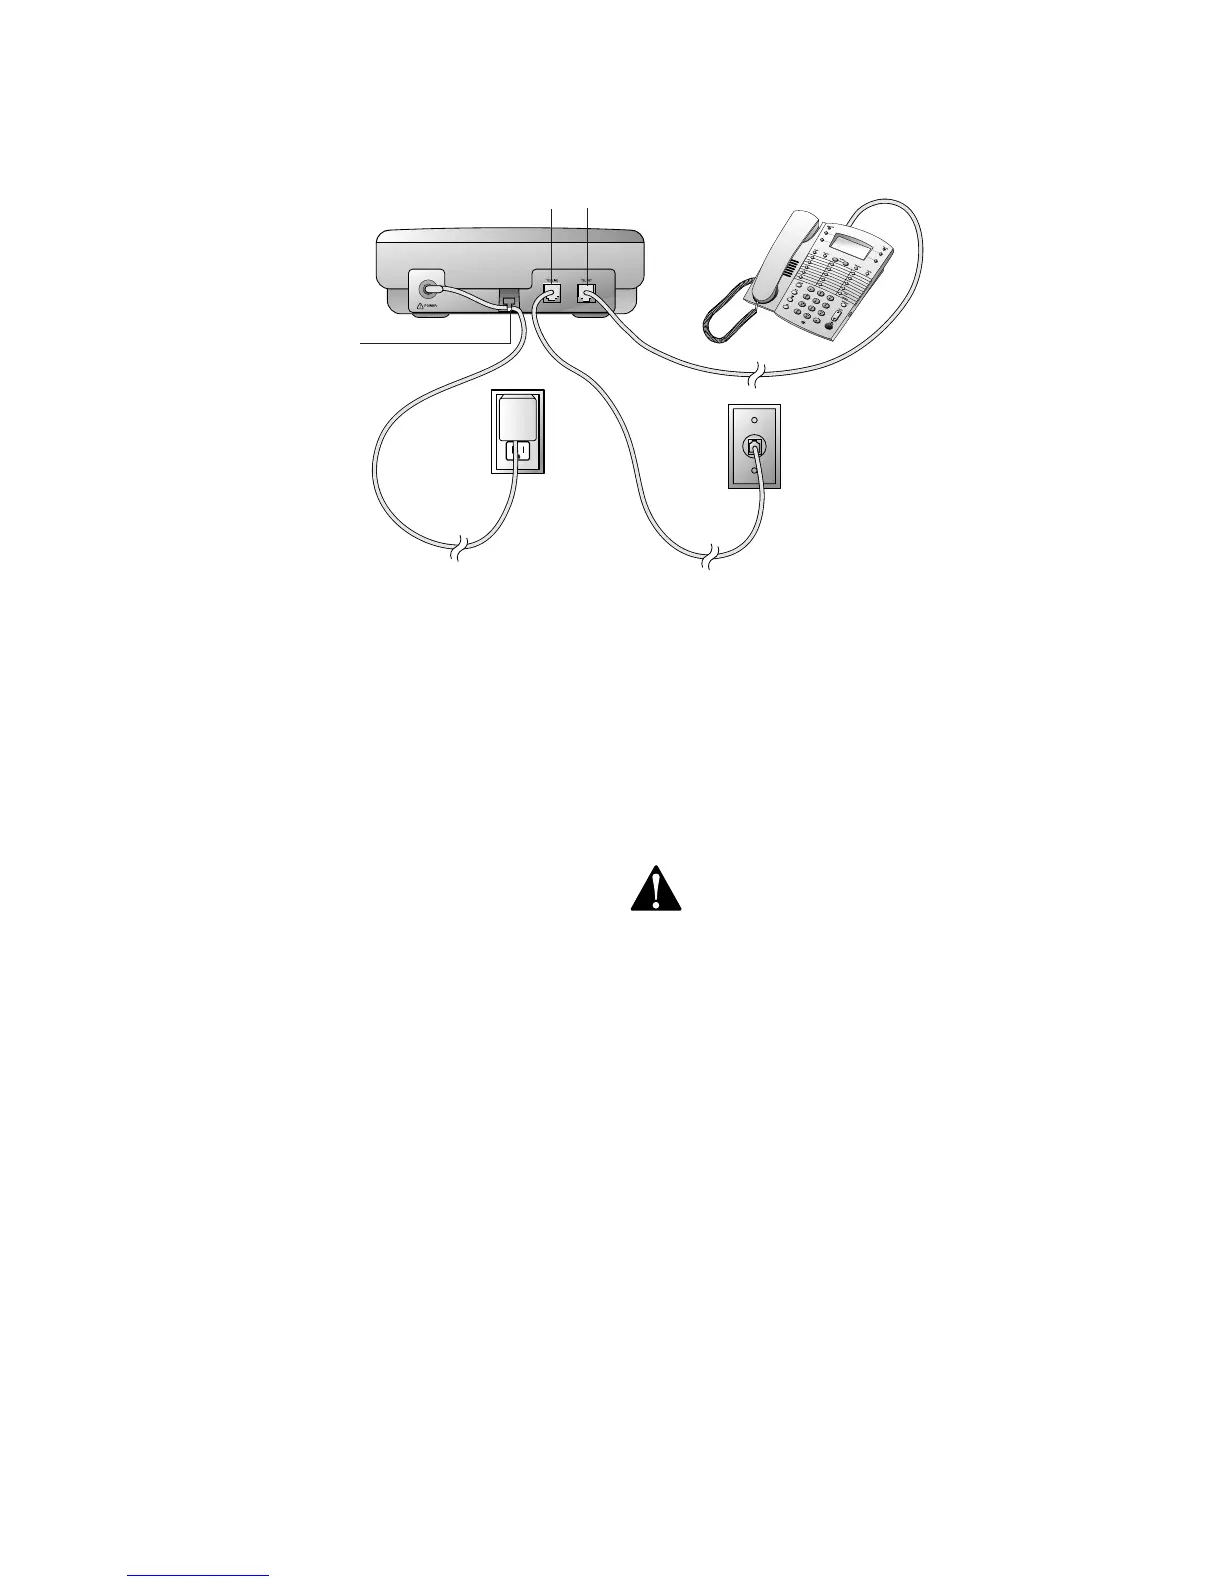
3 Connect the power cord.
Plug the power cord into the jack
labeled POWER and into an electrical
outlet not controlled by a wall switch.
Fit the power cord behind the strain
relief tab. The Message Window
flashes C to indicate that you need to
set the clock.
Use only the power cord supplied
with this product. If you need a
replacement, call 1 800 722–9125.
Input: 120V, 60 Hz.
Output: 9V AC, 400 mA.
Modular
Telephone
Jack
Telephone Line Cord
Telephone
Set Cord
TEL SET
1
1 Connect the telephone line cord.
Plug one end of the telephone line
cord into the jack labeled TEL LINE
on the back of the system. Plug the
other end into a modular telephone
jack.
2 Connect the telephone.
NOTE: If you do not want to connect a
telephone, skip to Step 3.
Plug the telephone set cord from the
telephone into the jack labeled TEL
SET on the back of the system.
Power Cord
Strain
Relief Tab
TEL LINE
Standard
Electrical
Outlet
 Loading...