Installation and
Operation
of
Atari Computers
29
components
have been
properly
connected.
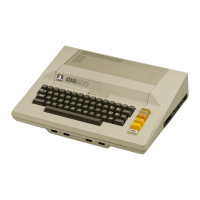
Now,
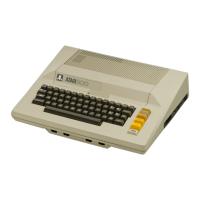
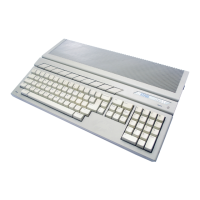
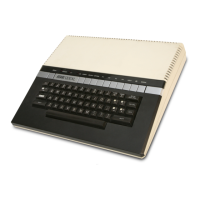
locate the
power-on
switch on the side
of
the
console
as
shown in Illustration 1-2. Turn the switch
to
the
on
position,
and
turn
up
the
volume
on
your
television set a
little
.
The
power
lamp
on
the
keyboard should
come
on
. Also,
your
television set
will
begin
making
noises, and a
blue
field
with
a
black
border
will
be displayed.
If
the disk
drive
is
on
, it
will
begin
to
whirl.
Finally, the message, READY,
will
be displayed in
white
letters
on
the
screen, and the disk
drive
will
stop
whirling
.
If
the READY message
is
not
displayed
within
3 seconds, a
problem
exists
somewhere
in the system.
Be
certain
the
components
of
your
system are
properly
connected,
and that
the
proper
ROM
cartridge
is
in place. Repeat the start-up
procedure.
If
the
Atari still does
not
start, call
your
dealer
for
assistance.
If
the
following
message appears on the display:
BOOT
ERROR
the
problem
probably
lies
with
the
disk
drive
.
Be
certain that a
DOS diskette
has
been installed label side
up,
and that
the
disk
drive
door
is
closed.
Step
5.
Turn on the Printer
Once
Steps 1
through
4 have been
accomplished,
the
printer
may be
turned
on
as
desired.
Of
course,
printing
operations
can
not
be
undertaken
unless the
printer
is
on.
Remember,
the
825
printer
requires that
the
850
Interface
module
be on.
The Ready
Message
Once
the
Ready message appears
on
the
display,
the
Atari
computer
is
ready
to
accept commands
entered
by
the
user via
the keyboard.
Just
beneath the READY message, a
white
square