Do you have a question about the Atari 520ST and is the answer not in the manual?
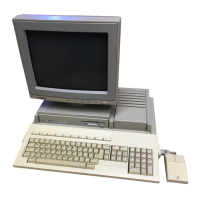
Provides instructions for carefully unpacking the computer, monitor, and disk drive components.
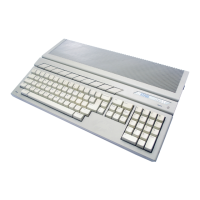
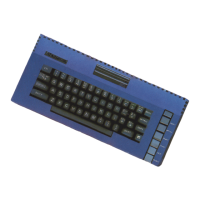
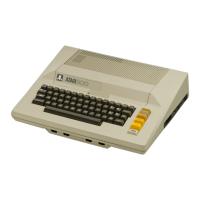
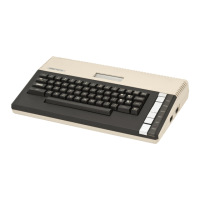
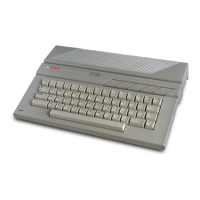
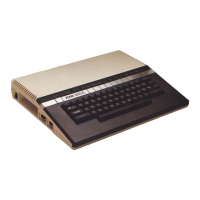
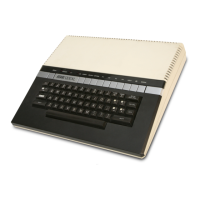
Lists the items included in the 'ST Computer' package.
Mentions that separate manuals are provided for the monitor and disk drive unpacking.
Gives advice on selecting a suitable location for the computer system, avoiding heat and moisture.
Step-by-step guide for connecting the computer's power adapter and external devices.
Instructions for connecting the monitor's video cable and power supply.
Guides on connecting the disk drive using its interface cable to the computer.
Details connecting the disk drive's power and plugging in the mouse correctly.
Explains the process of connecting a second floppy disk drive using daisy chaining.
Guides on checking connections and powering on the monitor, disk drive, and computer.
Instructions on how to properly insert the TOS System Disk into the floppy disk drive.
Details on how to respond to the 'OK' prompt or use the keyboard's Return key.
Describes the appearance of the GEM Desktop once the system has successfully booted.
Introduces the GEM Desktop, its icons (Floppy Disk, Trash), and the Menu Bar.
Explains how the mouse detects motion and the primary functions of its two buttons.
Demonstrates how physical mouse movements translate to cursor pointer actions on the screen.
Explains the process of selecting icons by positioning the mouse pointer and clicking.
Details the action of selecting an icon by pressing and releasing the left mouse button.
Explains how to move icons on the GEM Desktop by pressing, holding, and dragging the mouse button.
Explains how to navigate the Menu Bar (Desk, File, View, Options) to access commands.
Stresses the importance of creating a backup disk and lists required materials.
Guides through the process of formatting a blank floppy disk for system backup.
Details the steps for copying the original TOS System Disk to the newly formatted backup disk.
Instructs on completing the copy process, exiting, and labeling the backup disk.
Introduces the Control Panel and lists its five main sections for system adjustments.
Guides on setting the system's clock and calendar through the Control Panel interface.
Explains how to adjust key repeat delay and speed using the Keyboard Response Selector.
Details how to adjust the double-click speed for mouse interaction.
Explains enabling/disabling audio feedback and managing color palettes.
Explains how to open files, folders, or launch programs using the Open option.
Guides on creating new folders to organize files and data on the disk.
Details the process of preparing a floppy disk for data storage by formatting it.
Continues formatting instructions, including naming the disk and checking capacity.
Explains how to prevent accidental data overwriting by write-protecting disks.
Provides detailed methods for write-protecting floppy disks using the notch or sliding tab.
Guides on copying files between disks or into folders using drag-and-drop.
Details how to copy files when displayed in text format and confirms copy dialog.
Explains how to copy a file into a specific folder by dragging its icon.
Guides on deleting files by dragging them to the Trash icon for permanent removal.
Guides on creating new folders using the File menu and the 'New Folder' option.
Guides on deleting folders by dragging them to the Trash icon.
Troubleshooting steps for a dark screen when turning on the computer.
Solutions for the GEM Desktop appearing without any visible icons.
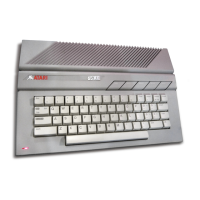
| Manufacturer | Atari Corporation |
|---|---|
| Release Date | 1985 |
| Processor | Motorola 68000 |
| Processor Speed | 8 MHz |
| RAM | 512 KB |
| ROM | 192 KB |
| Graphics | 320x200 (16 colors), 640x200 (4 colors), 640x400 (monochrome) |
| Sound | Yamaha YM2149F PSG |
| Storage | Single-sided 3.5" floppy drive (360 KB) |
| Operating System | Atari TOS |
| Ports | MIDI |
| Power Supply | Internal |