6
TRAINING/OPERATION MANUAL
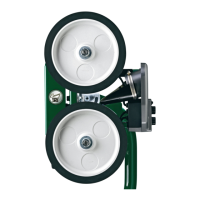
SET-UP FOR PITCHING
Nevermakeanyadjustmentstothespeedortrajectoryofthepitchwhilea
batter is at the plate or when anyone is in front of your pitching machine.
WARNING Never put any part of your body or any object on or near
the throwing wheels. Doing so could cause severe injury!
CAUTION Children should always use the Casey Pro 3G with adult
supervision ONLY.
CAUTION Always test-pitch your machine before a hitter steps into the
batter’s box to assure proper alignment and the safe delivery of a pitch.
PlaceyourCaseyPro3Gatthedesiredpitchdistance(ideally,50to60ft.)and
set up your Protective Screen.
PositiontheTripodsothatasinglelegistotherear(towardscentereld)and
align the front of the machine with home plate.
SelectthedesiredThrowingHeadpositionandmotorspeedsfromthe
‘Speed/PitchSettings’labellocatedonthetopmotor.Adjust,thensecurethe
throwing head accordingly.
ItisagoodideawhenrstusingyourCaseyPro3Gtotakeafewminutesand
experimentwiththevariedspeedsettingsandheadpositions.
Makesuretheareainfrontofyourmachineisclearandsafe.Whenitissafe
andyouareready,releaseaballintotheBallFeedChute(9).
SETTING PITCH TYPE AND SPEED
•Usingthe‘Speed/PitchSettings’labellocatedontopmotor,setThrowing
HeadpositionwithPitchSelectionLock(7)andselectmotorspeeds.
•FirmlytightenPitchSelectionLock(7).
•Makesureareainfrontofmachineisclearandsafe.
•
TestpitchwithoutbatterbyreleasingballintoBallFeedChute(9).
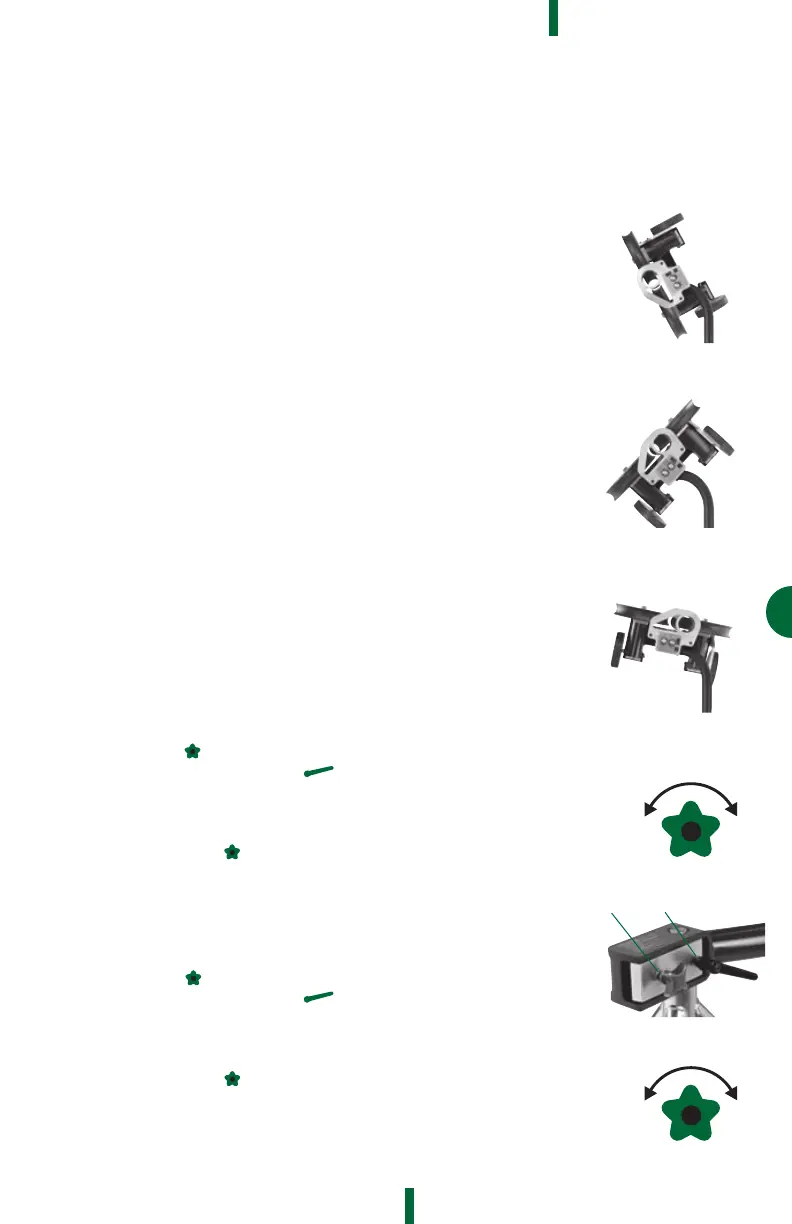
SETTING PITCH LOCATION
Left/Right Adjustment
•ChecktomakesureMicroAdjustmentLinesarecenteredusingtheMicro
AdjustmentKnob(13)
•LoosenMacroAdjustmentHandle(5)andsetmachinetodesired
pitchingzoneandthenrmlytightenMacroHandle(5)
•Testpitchwithoutbatter
•Tonetunepitchinglocationrightandleft,use
MicroAdjustmentKnob(13)
•TurnCLOCKWISEtomovepitchRIGHTandCOUNTERCLOCKWISEto
movepitchLEFT.Donotovertightenthemicroadjustment
•Aftereachadjustment,retestpitchwithoutbattertoensurelocation
Up/Down Adjustment
•ChecktomakesureMicroAdjustmentLinesarecenteredusingMicro
AdjustmentKnob(14)
•LoosenMacroAdjustmentHandle(6)andsetmachinetodesired
pitchingzoneandthenrmlytightenMacroHandle
•Testpitchwithoutbatter
•Tonetunepitchinglocationrightandleft,use
MicroAdjustmentKnob(14)
•TurnCLOCKWISEtomovepitchUPandCOUNTERCLOCKWISEto
move pitch DOWN. Do not overtighten the micro adjustment
•Aftereachadjustment,retestpitchwithoutbattertoensurelocation
LeftHandCurve
RightHandCurve
Slider
OPERATING
INSTRUCTIONS
L
E
F
T
R
I
G
H
T
D
O
W
N
U
P
LEFT RIGHT
DOWN UP
L
E
F
T
R
I
G
H
T
D
O
W
N
U
P
LEFT RIGHT
DOWN UP
Micro
Macro