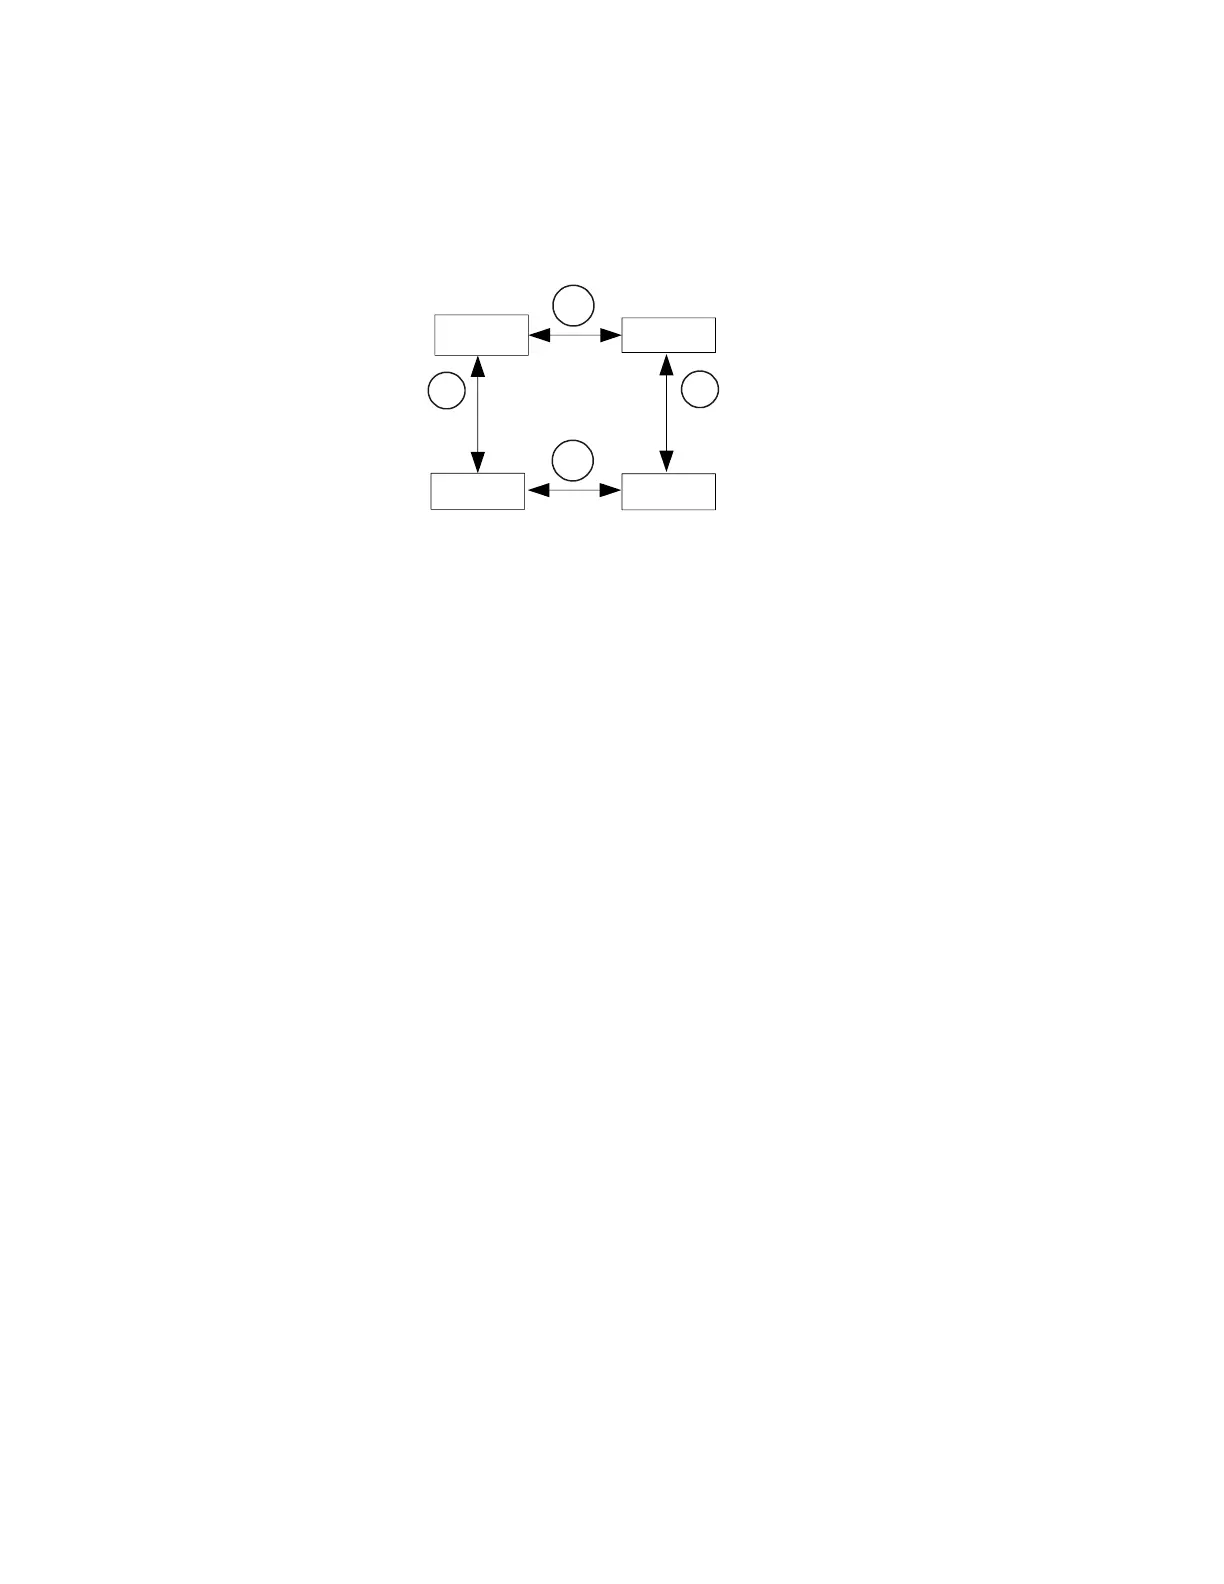
Figure 7. How to check current step and the time.
At normal operating mode, press the “+” key (item 4 in Figure 1) to toggle the display window
between the current temperature and the current step number at which the program is running
(P-X). At time displaying mode, press the “Time” key to toggle the display between the total time
(in minutes) since the controller was powered up and the time past in the current step. For
example, the controller has being running for 100 minutes in total, but currently it is at step 2 for
40 minutes. So when you first press “+” key, controller will show “P-2” in the window. If then you
press “Time” key, the controller will show “P 40” with the Time Indicator lit.
At normal operating mode, press the “Time” key (item 6 in Figure 1) once to toggle the LED
window between the current temperature and the total time (in minutes) since the controller was
powered up. The Time Indicator (item 8 in Figure 1) will lit at same time. When the time is being
displayed, press the “+” key will toggle the display between the total running time and the running
time of the current step. For example, the controller has being running for 100 minutes in total,
but currently it is at step 2 for 40 minutes. So when you first press “Time” key, controller will show
“100” in the window with the Time Indicator lit. If then you press “+” key, the controller will show
“P 40” while the Time Indicator still lit.
5. System configuration parameters
This section discusses how to configure the controller for a specific application. For most sous
vide cooking users, there is no need to read this section. The controller’s default setting is for
most common configurations of sous vide cooking.
5.1 The first group of parameter is related to the control performance. They need to be
adjusted based on your application. Table 2 shows the list of these parameters, their range and
initial set value.
 Loading...