Chapter 2
Front & rear panel
Front panel overview
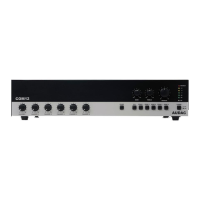
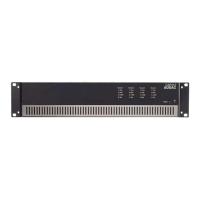
Rear panel overview
Caut on: Only use fuses
of the same type
Warning: Do not expose
this equipment to rain or
mo sture
AC Input
100-2 0V 50/60Hz
Fuse: T AL 250V
DPA616
AUDAC
CLIPCLIPCLIPCLIPCLIPCLIPCLIPCLIPCL PCLIPCLIPCLIPCLIPCLIPCLIPCLIP
20 +20
GAIN
20 +20
GAIN
20 +20
GAIN
-20 +20
GAIN
-20 +20
GAIN
-20 +20
GAIN
-20 +20
GAIN
-20 +20
GAIN
-20 +20
GA N
20 +20
GAIN
-20 +20
GAIN
20 +20
GAIN
20 +20
GAIN
20 +20
GAIN
20 +20
GAIN
-20 +20
GAIN
+
+
+
+
+
+++
Stereo StereoStereo Stereo Stereo Stereo Stereo
Bridge
Parallel
S ereo
Bridge
Bridge
Bridge
Bridge Br dge
Br dge Bridge Bridge
CH 2CH 3CH 4CH 5CH 6CH 7CH 8CH 9CH 10CH 11CH 12CH 13CH 14CH 15CH 16
Bridge
Parallel
Bridge
Parallel
Br dge
Paral el
Bridge
Paral el
Bridge
Para lel
Bridge
Parallel
Bridge
Parallel
CH 1
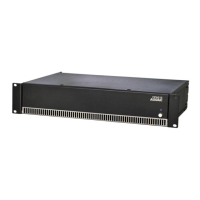
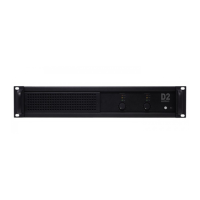
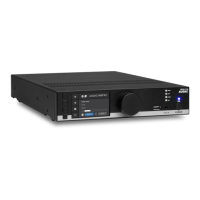
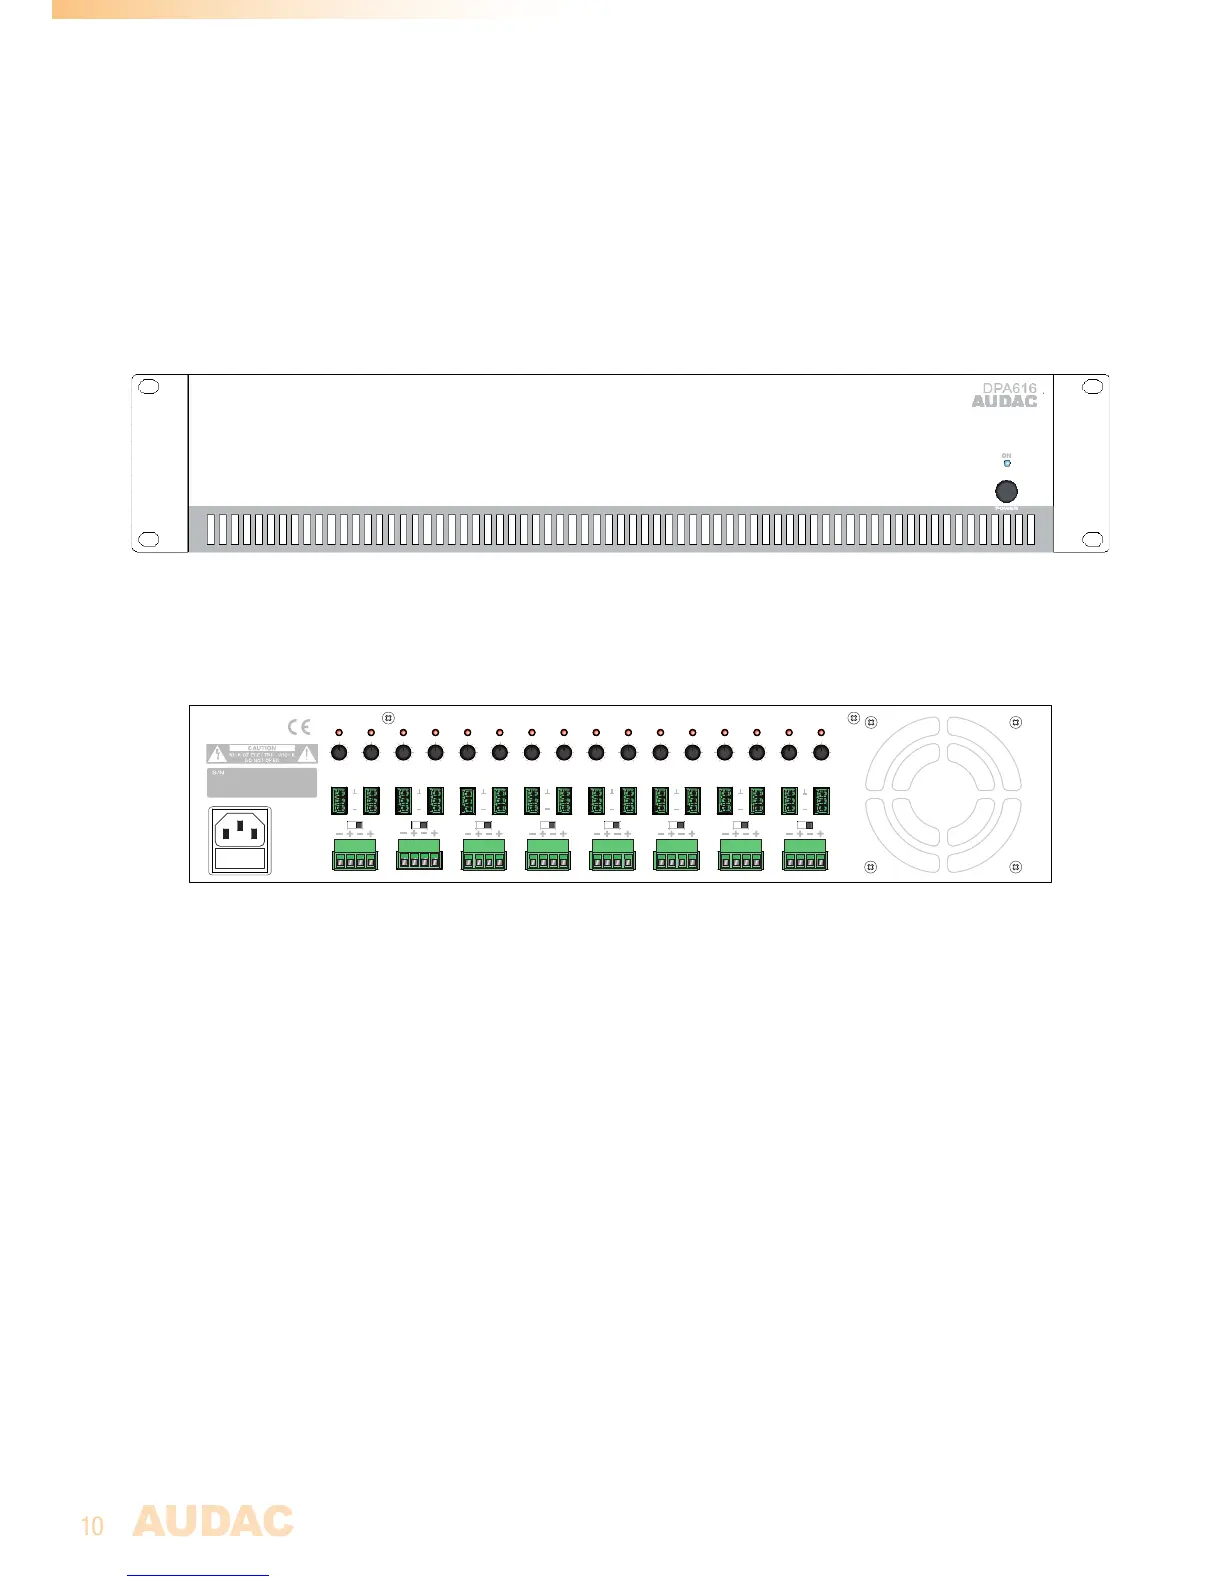
Front panel description
ThefrontpanelonlycontainsapowerswitchwithpowerindicatorLED.Bymeansofthis
switch,theamplifiercanbeturnedONandOFF.WhenthepowerisswitchedON,theblue
LEDlocatedabovethepowerbuttonwillilluminate.
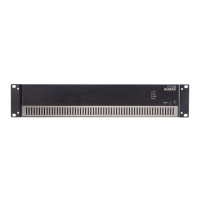
Rear panel description
Therearpaneloftheunitcontainsallthefacilitiesforconnecting,settingupandregulat-
ingtheamplifier.
Input connections:
Eachchannelcontainsabalancedinputconnectionwhichisperformedusinga3-pin
Terminalblockconnector.Thesignalcomingfromthesignalsourceormixer(e.g.matrix
system)shouldbeconnectedtotheseconnectors.Theconnectionwayforbothbalanced
andunbalancedsignalsourcesisdecribedinChapter1ofthismanual.
 Loading...