Warning: To protect against electrical shock and fire, use a 26 AWG min wire to
connect the E1 / T1 port to the PSTN.
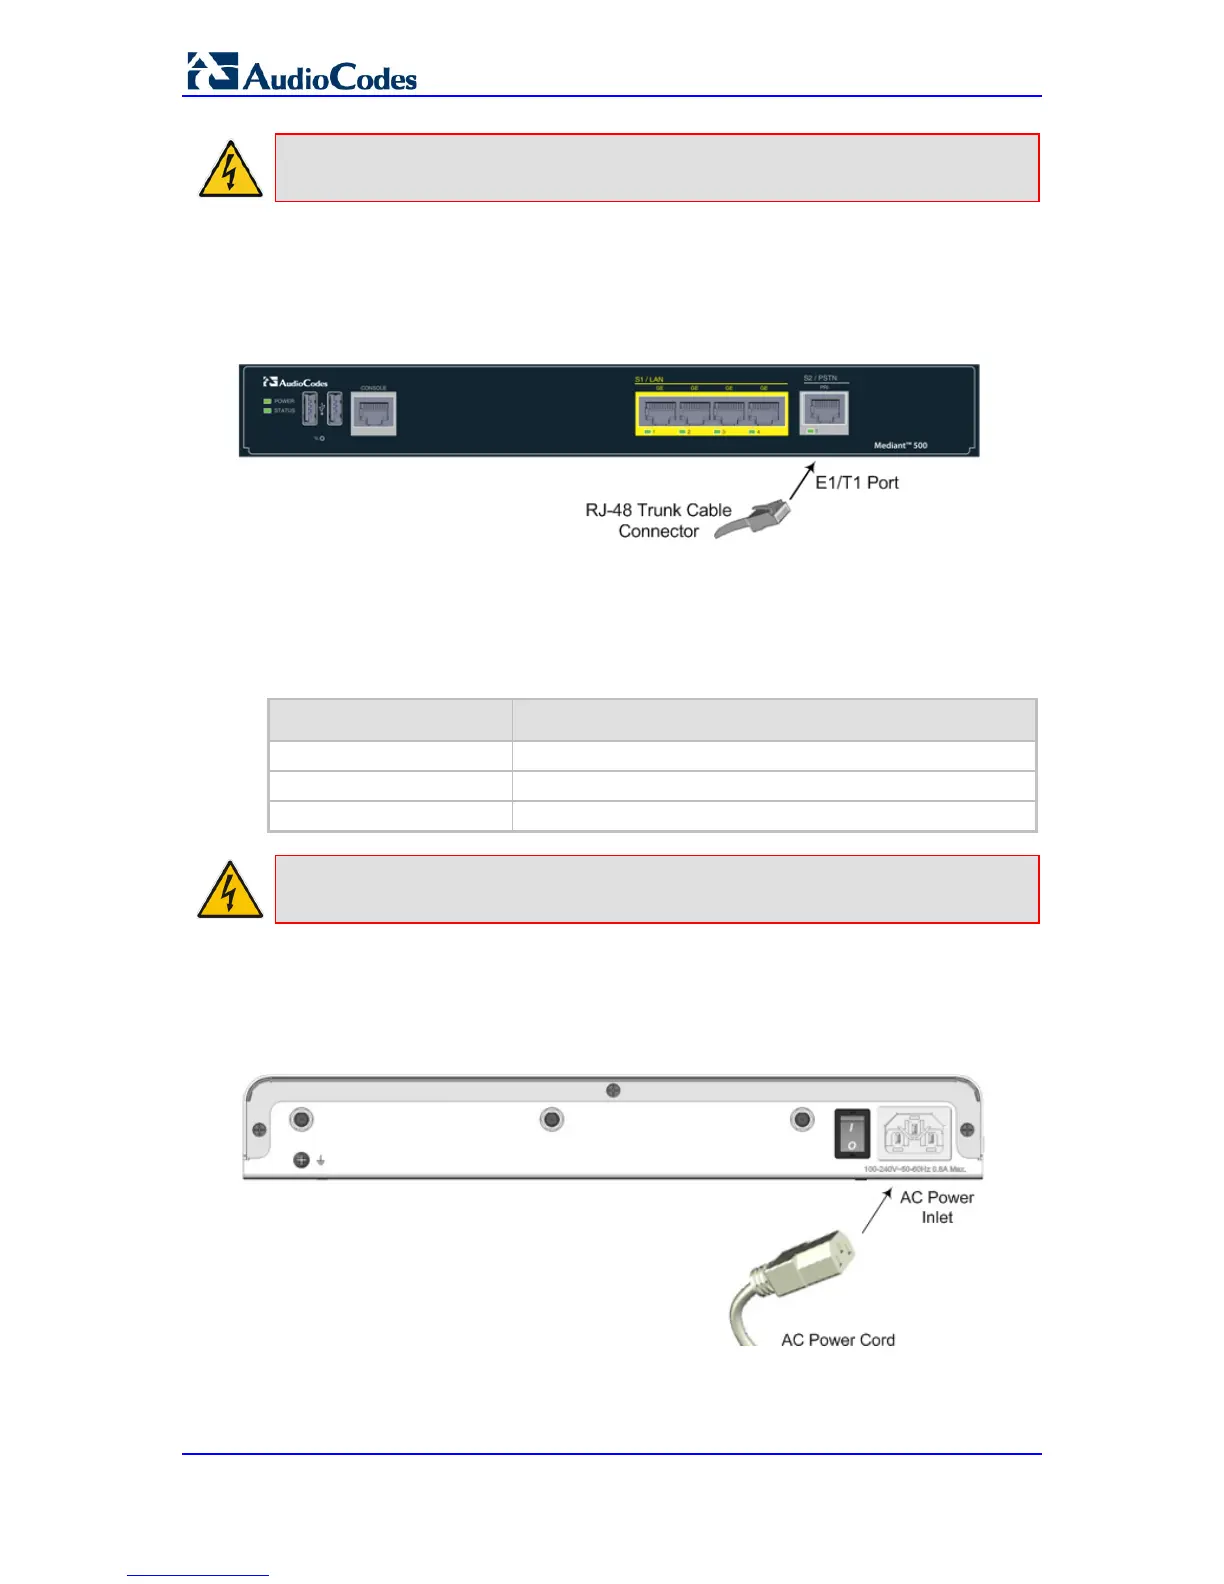
To connect the E1/T1 trunk interface:
1. Connect the E1/T1 trunk cable to the device’s E1/T1 port.
2. Connect the other end of the trunk cable to your PBX switch.
Figure 2-12: Cabling E1/T1 Port
2.2.1.4 Connecting to the Power Supply
The device receives power from a standard alternating current (AC) electrical outlet. The
connection is made using the supplied AC power cord.
Table 2-7: Power Specifications
Physical Specification Value
Input Voltage Single universal AC power supply 100 to 240V
AC Input Frequency 50 to 60 Hz
AC Input Current 0.8A
Warnings: The device must be connected to a socket-outlet providing a protective
earthing connection. Use only the AC power cord that is supplied with the device.
To connect the device to the power supply:
1. Connect the line socket of the AC power cord (supplied) to the device's AC power
socket (labeled 100-240V~50-60 Hz 0.8A), located on the rear panel.
Figure 2-13: Connecting to the Power Supply
2. Connect the plug at the other end of the AC power cord to a standard electrical outlet.
3. Press the power switch to on (I) position so that the device receives power; the
POWER LED on the front panel is lit green.

 Loading...


