Owner’s Enjoyment Manual
Master Volume Control
tm
Electrical Connections
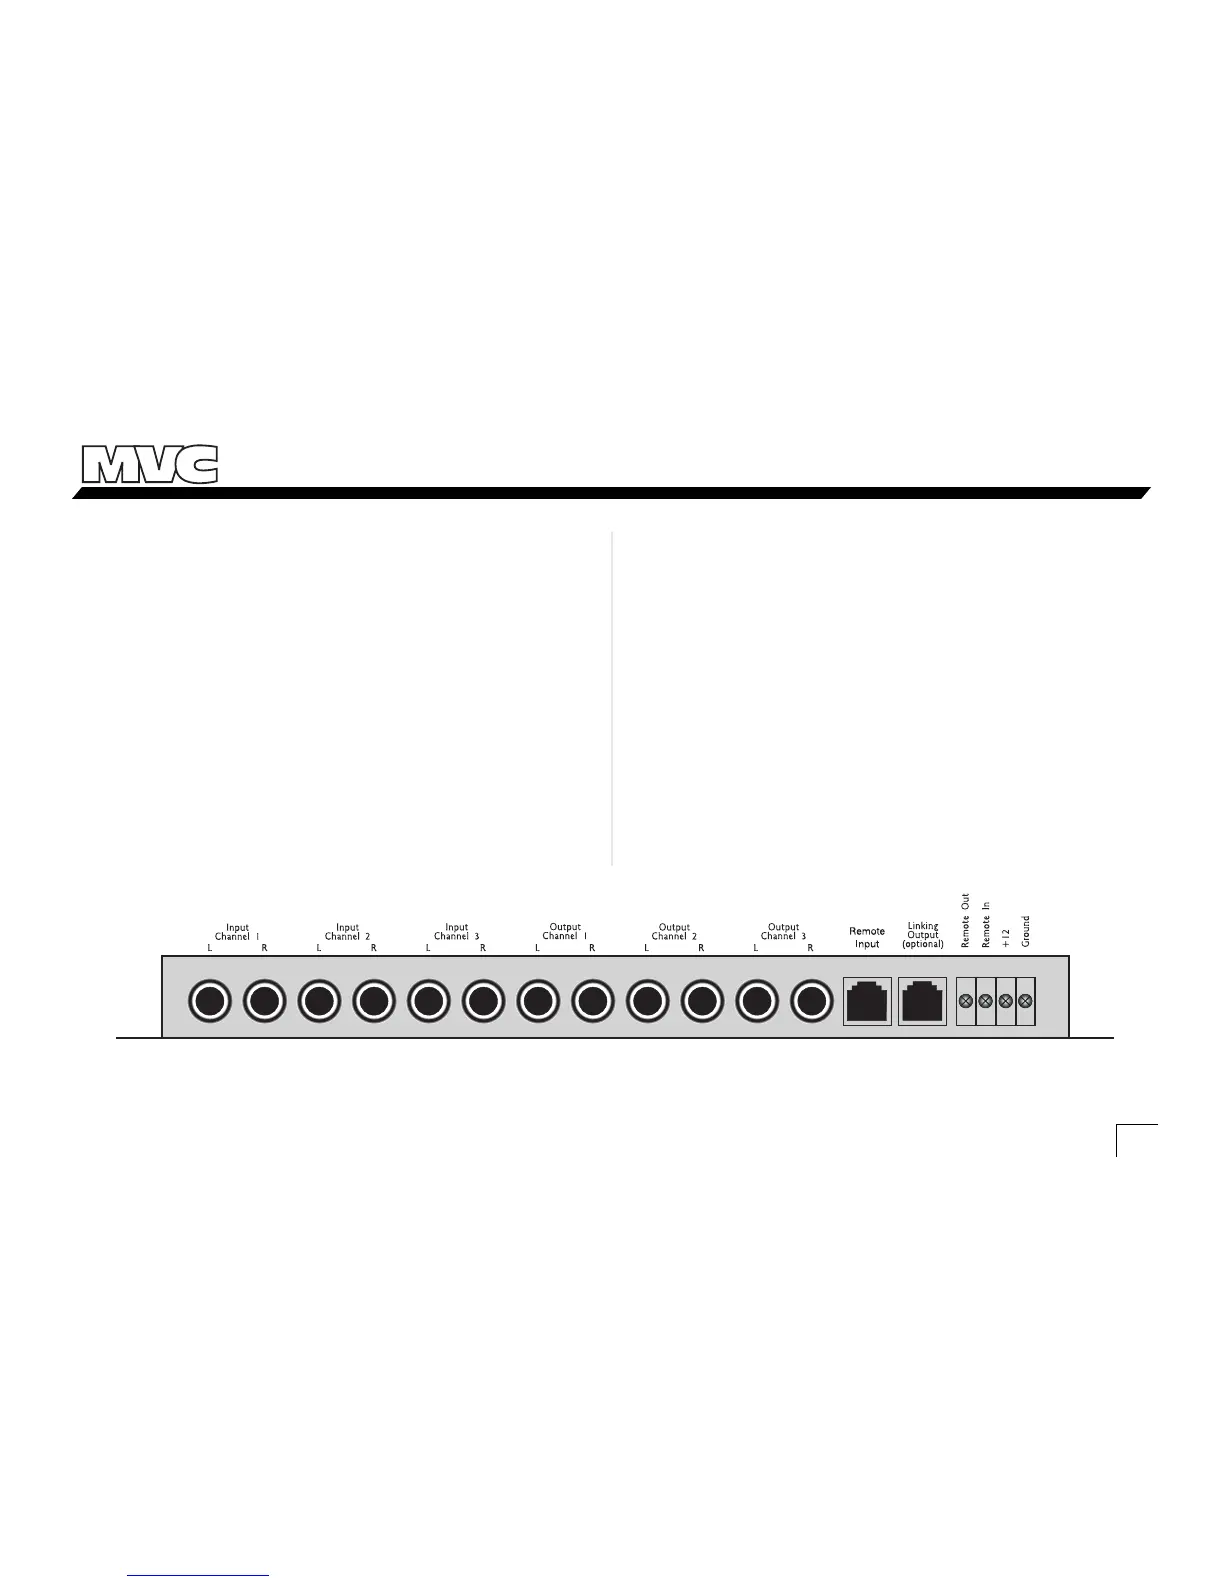
Remote In: Connect a 22 to 18 gauge wire from the
head-unit’s remote turn-on to the “Remote In” connector on
the MVC.
Positive (+12V) Connection: Insert an 18 gauge or
larger wire into the connector labeled “Power” on the nifty
connector of your MVC. Connect it to a good constant
source of 12 volts (we suggest the battery), fused at 1 amp.
Ground Connection: Use the same gauge wire as you
did for the positive connector and run it from the “Ground”
connector on the MVC to the negative terminal of the
battery, a ground bus, or a verified ground location. The
factory head unit ground is not a good ground!
Remote Out: Connect an 18 to 22 gauge wire from the
“Remote Out” on your MVC to the turn-on trigger of your
amplifier. If you wish to change this delay from 1.5 seconds
to 4 seconds, remove the chassis top and move the labeled
jumper.
When the electrical connections are complete, you may
reconnect the negative terminal to your battery.
11
Figure 6 - Front View of MVC
 Loading...