OWNER’S MANUAL
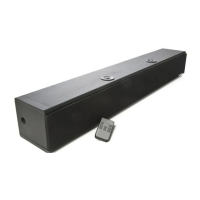
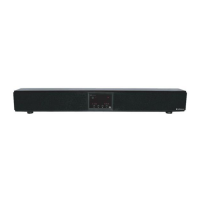
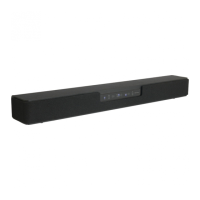
S325 High Definition Soundbar
AudioSource®
13970 SW 72nd Ave.
Portland, OR 97223
877.715.5439
ww
w.audiosource.net
S325 Owner’s Manual 8100.325A
System Connections
AC IN
FUSE
T400mAL250V
R L
INPUT1
INPUT2
INPUT1
INPUT2
LR
Soundbar
Diagram 1- Standard Audio Connections
Connect to audio source (TV, Cablebox, Sattelite Box)
AC
Optional: Connect to 2nd audio source (DVD, Game Console, Computer, etc.)
AC IN
FUSE
T400mAL250V
R L
INPUT1
INPUT2
INPUT1
INPUT2
LR
Soundbar
Diagram 2- Digital Optical Connection
AC
Optional: Connect Digital Optical cable to audio source (TV, DVD, Game
Console, etc.)
NOTE: audio source must be set to PCM 2-Channel Audio. Please consult the devices owners manual or
technical support to configure.
AC IN
FUSE
T400mAL250V
R L
INPUT1
INPUT2
INPUT1
INPUT2
LR
Diagram 3- Wall Mounting
Wall mounting bracket
Wall mounting bracket
To Wall Mount S325:
1. Remove the S325 soundbar’s feet using phillips head screw driver
2. Use supplied template to mark mounting locations on wall, ensure template is level
3. Install 2x drywall anchors into drywall where you have made your marks using the provided template. Note: please use drywall anchors
rated for a minimum of 20lbs each- we recommend using the screw in type (available at your local hardware store).
4. Carefully hang S325 on screws mounted to drywall anchors.