IMPORTANT:
After replacing the battery and assembling the cover, we recommend pressing the
OK button twice to stabilise the relay operation.
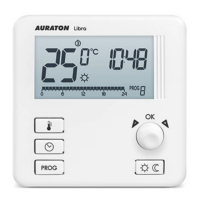
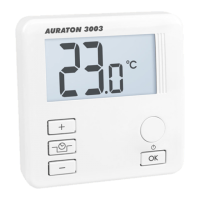
Mounting AURATON Libra – the weekly, wired
temperature regulator
In order to mount AURATON Libra on the wall:
1. Remove the casing (as shown in the “Battery Replacement” section)
2. Drill two holes with a diameter of 6 mm in the wall (mark the spacing between the
holes using the rear part of the AURATON Libra casing).
3. Put wall plugs in the drilled holes.
4. Fix the rear part of the casing of AURATON Libra to the wall using the screws
included in the kit.
5. Put the casing on.
IMPORTANT:
In the case of a wooden wall, there is no need to use wall plugs. It is enough to drill
holes with a diameter of 2.7 mm (instead of 6 mm) and screw the screws directly
into the wood.
Weekly, wired thermostat
Description of the AURATON Libra
Turning AURATON Libra on for the first time
Introduction to programming
Programming
Manual control
Anti-freezing temperature
Resetting AURATON Libra
Master reset of AURATON Libra
Configuration settings
PWM operating mode
Additional remarks
The AURATON Libra connection schematics
Cleaning and maintenance
Technical specifications
Disposing of the devices
Download