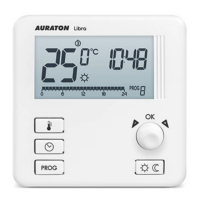
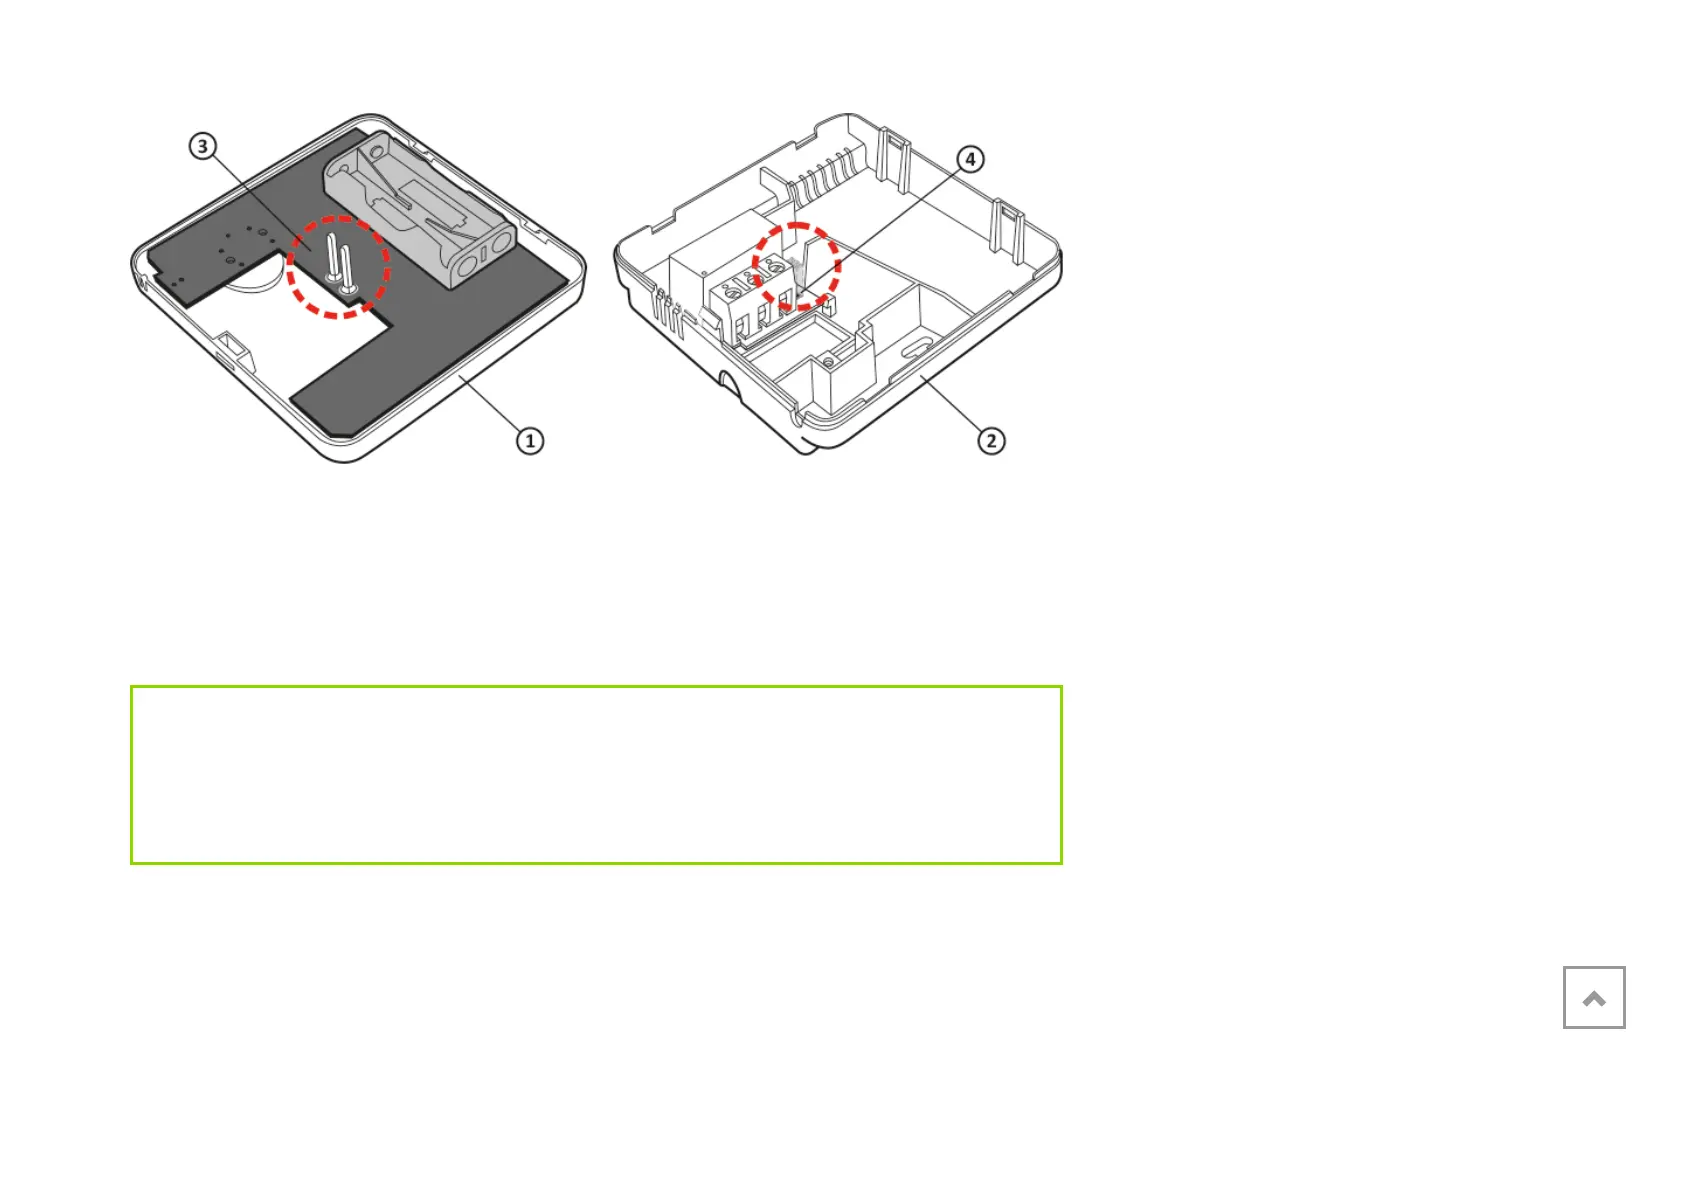
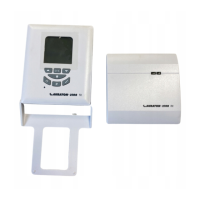
1 – Front casing
2 – Rear casing
3 – Pins
4 – The socket of the pin connector or the place where the pins contact the board
IMPORTANT:
Make sure that the “pins” are not bent and that they are placed in the correct spots
on the relay board when assembling the casing. This is crucial for the proper
operation of AURATON Libra.
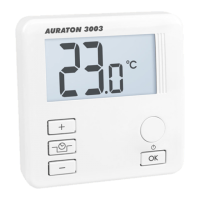
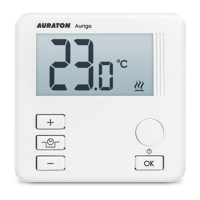
Weekly, wired thermostat
Description of the AURATON Libra
Turning AURATON Libra on for the first time
Introduction to programming
Programming
Manual control
Anti-freezing temperature
Resetting AURATON Libra
Master reset of AURATON Libra
Configuration settings
PWM operating mode
Additional remarks
The AURATON Libra connection schematics
Cleaning and maintenance
Technical specifications
Disposing of the devices
Download