2
Table of Contents
Page
Instructions 3
Box Contents 3
Positioning 3
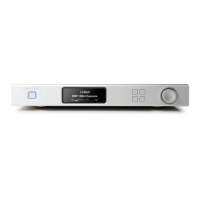
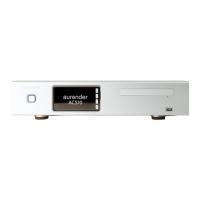
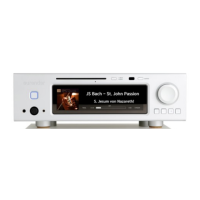
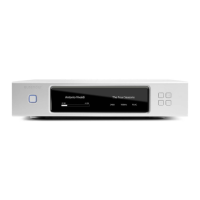
Front Panel 4
Rear Panel 4
Quick Start 5
1. Connections 5
2. iPad* App Installation and Set Up 7
3. Selecting the Aurender Music Server 7
4. Enter Passcode 7
5. Manually Checking for Upgrades 8
6. Setting Time and Language to iPad settings 8
7. Scan all files using the Scanner menu. 8
8. Copying Files to the Aurender 9
9. Dual-Wire Mode 10
10. Word Clock Mode 10
Aurender iPad* Application Features 11
Technical Specifications 14
Warranty
The warranty period for Aurender Reference Music Servers is two years including parts and labor. The warranty is
non-transferable and excludes damage due to (i) normal wear and tear, (ii) abuse, misuse, or neglect, (iii) repair,
attempted repair, or any modifications by anyone not authorized by TVLogic or its distributors. After inspection,
TVLogic will at its discretion repair, adjust or replace the product free of charge. Users are responsible for shipping the
products to TVLogic or an authorized service center, and TVLogic will pay for return shipping provided the repair is
under warranty. Aurender Reference Music Servers are automatically registered when first logged onto the Internet.
Only the serial number, date and IP address are recorded for warranty purposes. For any technical support issues,
please email support@aurender.com
Other Needed Equipment
An iPad, a wireless router for the iPad, a digital-analog converter or amplifier with digital inputs, and digital cables are
needed in order to conveniently use Aurender Reference Music Servers/
The iPad is the user interface for Aurender Reference Music Servers and a wireless router to communicate with the
iPad. An Internet connection is strongly recommended in order to receive free software upgrades and for remote
service support in case any emergencies should arise. The digital output of the Aurender should be connected to a
digital-to-analog converter or to the digital audio input of an amplifier. Proper digital cables should always be used
when making digital connections (AES/EBU, Coaxial, BNC, Optical, USB, LAN). For the most convenience in
transferring files, connect a PC or Mac to the Aurender, preferably via a router to the Ethernet port (LAN) provided on
the rear panel.
 Loading...