Pilot Operating Handbook
Cavalon
SECTION 8
HANDLING / MAINTENANCE
AutoGyro_POH_Cavalon 915iS Revision 1.0 – Issue Date 08.MAY.2019 8-9
8.15.3 Assembly of the Rotor System
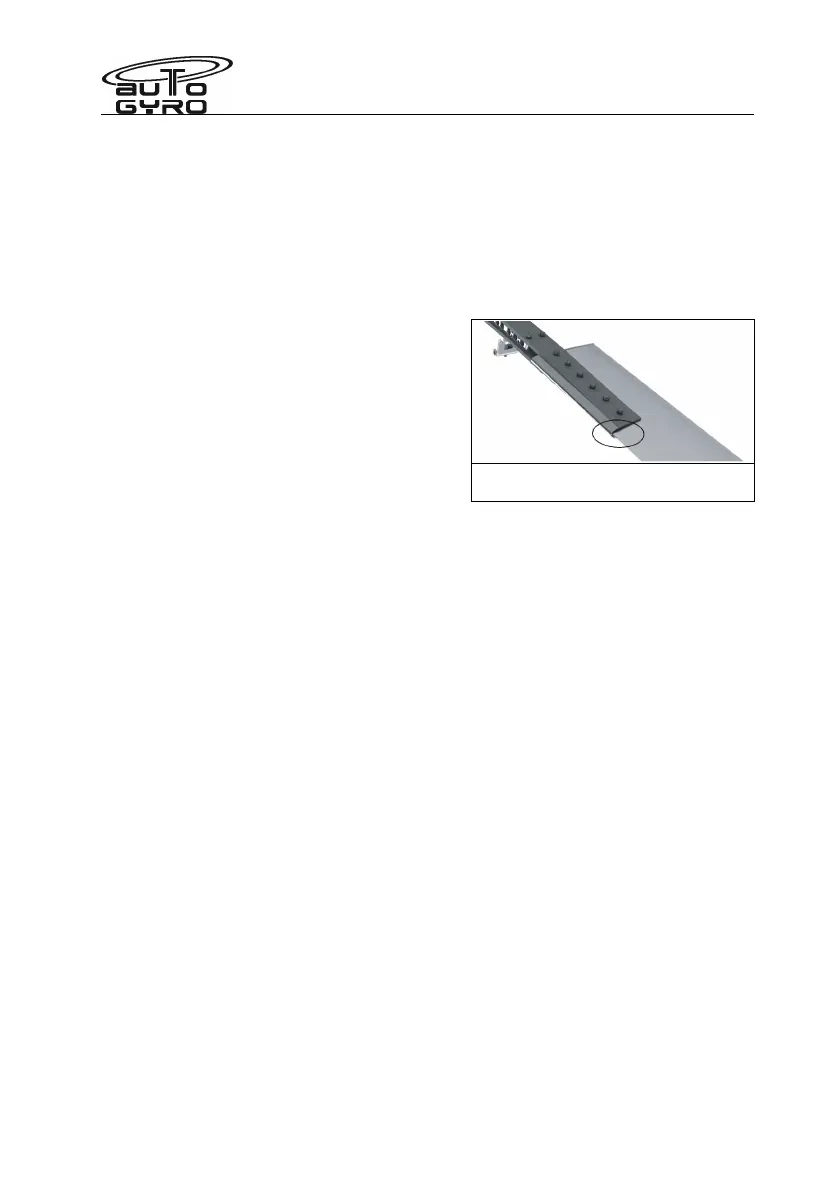
1. The rotor blades, clamping profile and rotor hub are labelled with an engraved serial
number.
2. Insert the first rotor blade carefully into the clamping profile. Make sure that all serial
numbers match.
3. Fit the rotor hub side with the according serial number to clamping profile and blade.
Insert fitting bolts without using force so that the bolt end is on top when the rotor
system is installed. For re-identification and correct installation position the shaft
length is provided in the figure above. Example: 40/12 means shaft length 40mm.
4. Position the washers and the locknut and
hand-tighten all nuts.
5. Torque-tighten nuts with 15-25 Nm from the
inside to the outside, using a torque
wrench. When doing so, counter-hold bolts
to prevent any damage the hub and blade
holes.
6. Repeat steps 2 to 5 for the second rotor
blade.
Position where serial numbers are
engraved (bottom side)