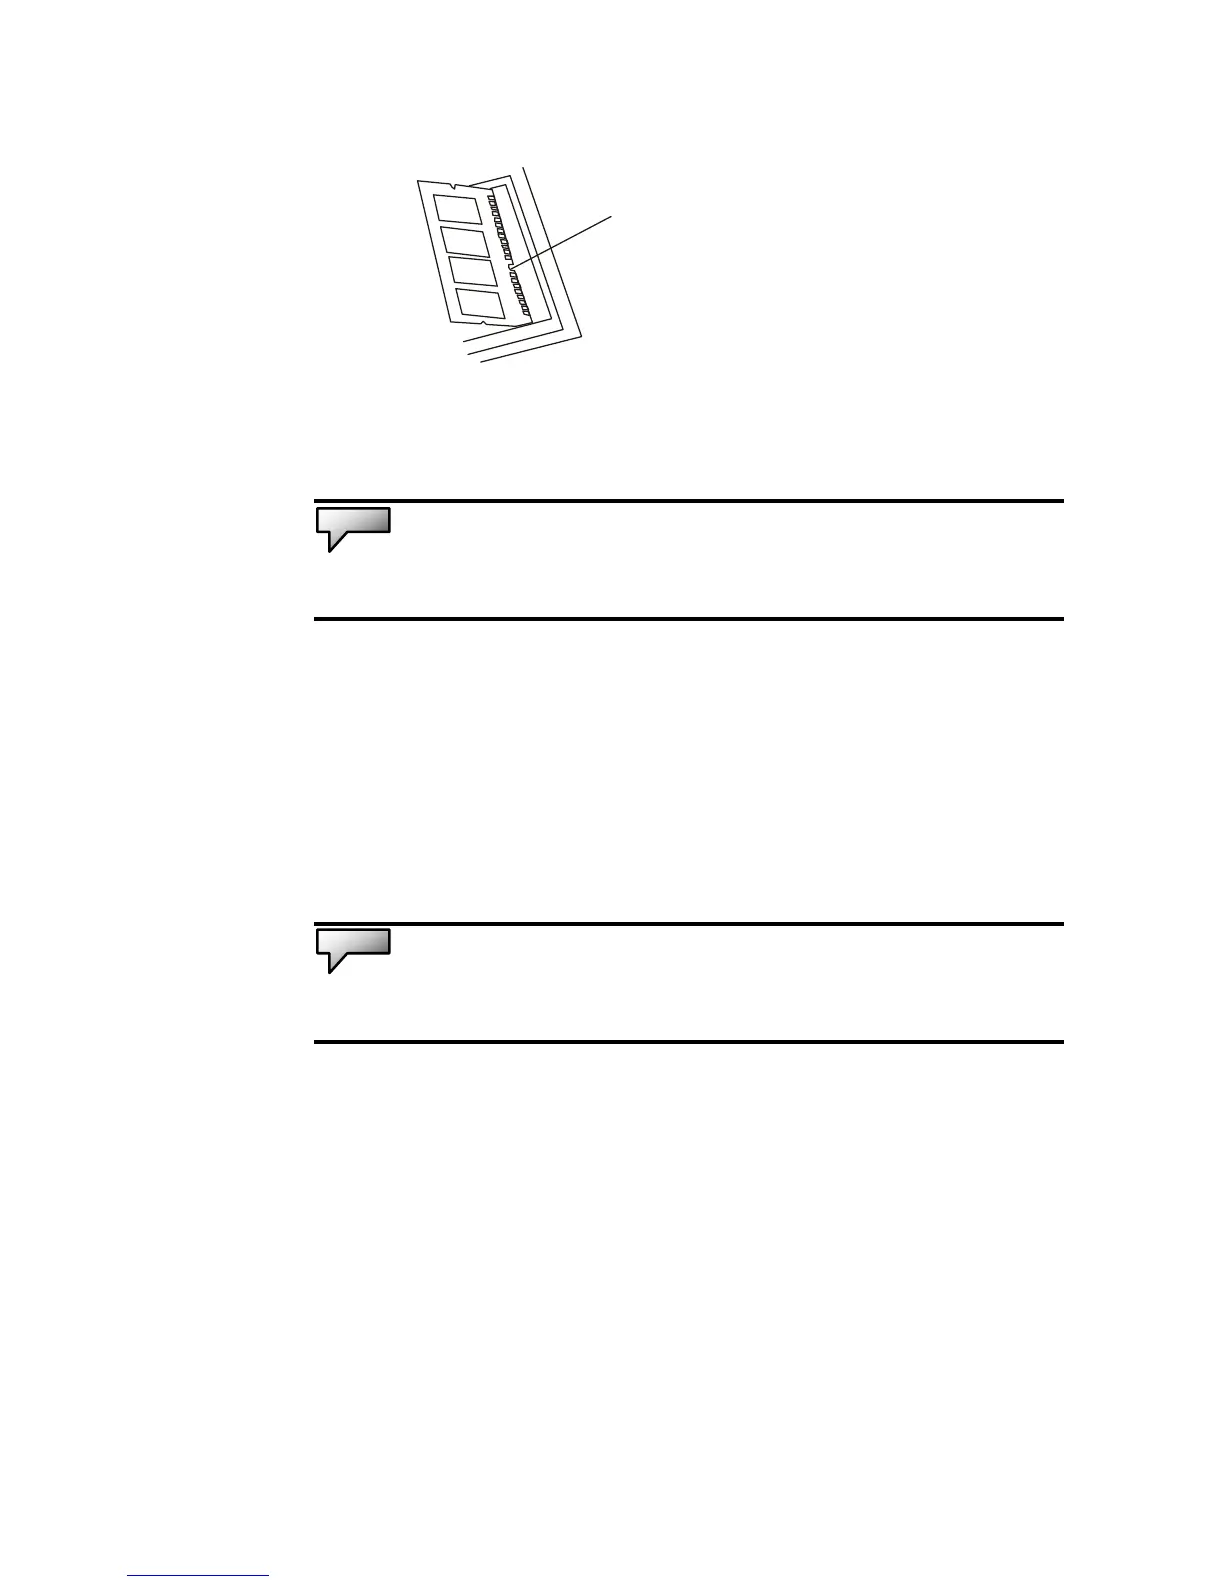
7. Pivot the DIMM until the latches on both sides of the
socket snap into place.
Note: Notice the notch on the DIMM. The notches should fit nicely with the
socket.
8. Put the System Device Cover back and tighten 6 “C”
Screws.
Congratulations! You have just completed the memory upgrade.
When you boot up the computer, the additional RAM is
automatically detected.
Note: Your computer has been tested with a wide range of DIMM on the
market. However, not all memory modules are compatible.