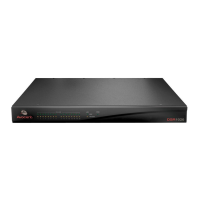
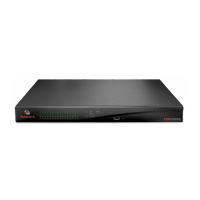
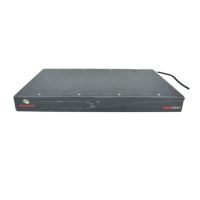
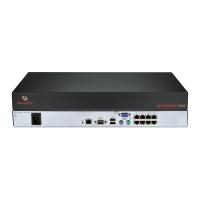
8/16 PS/2 KVM over IP switch
10
3. Hardware installation
3.1 Operation Overview
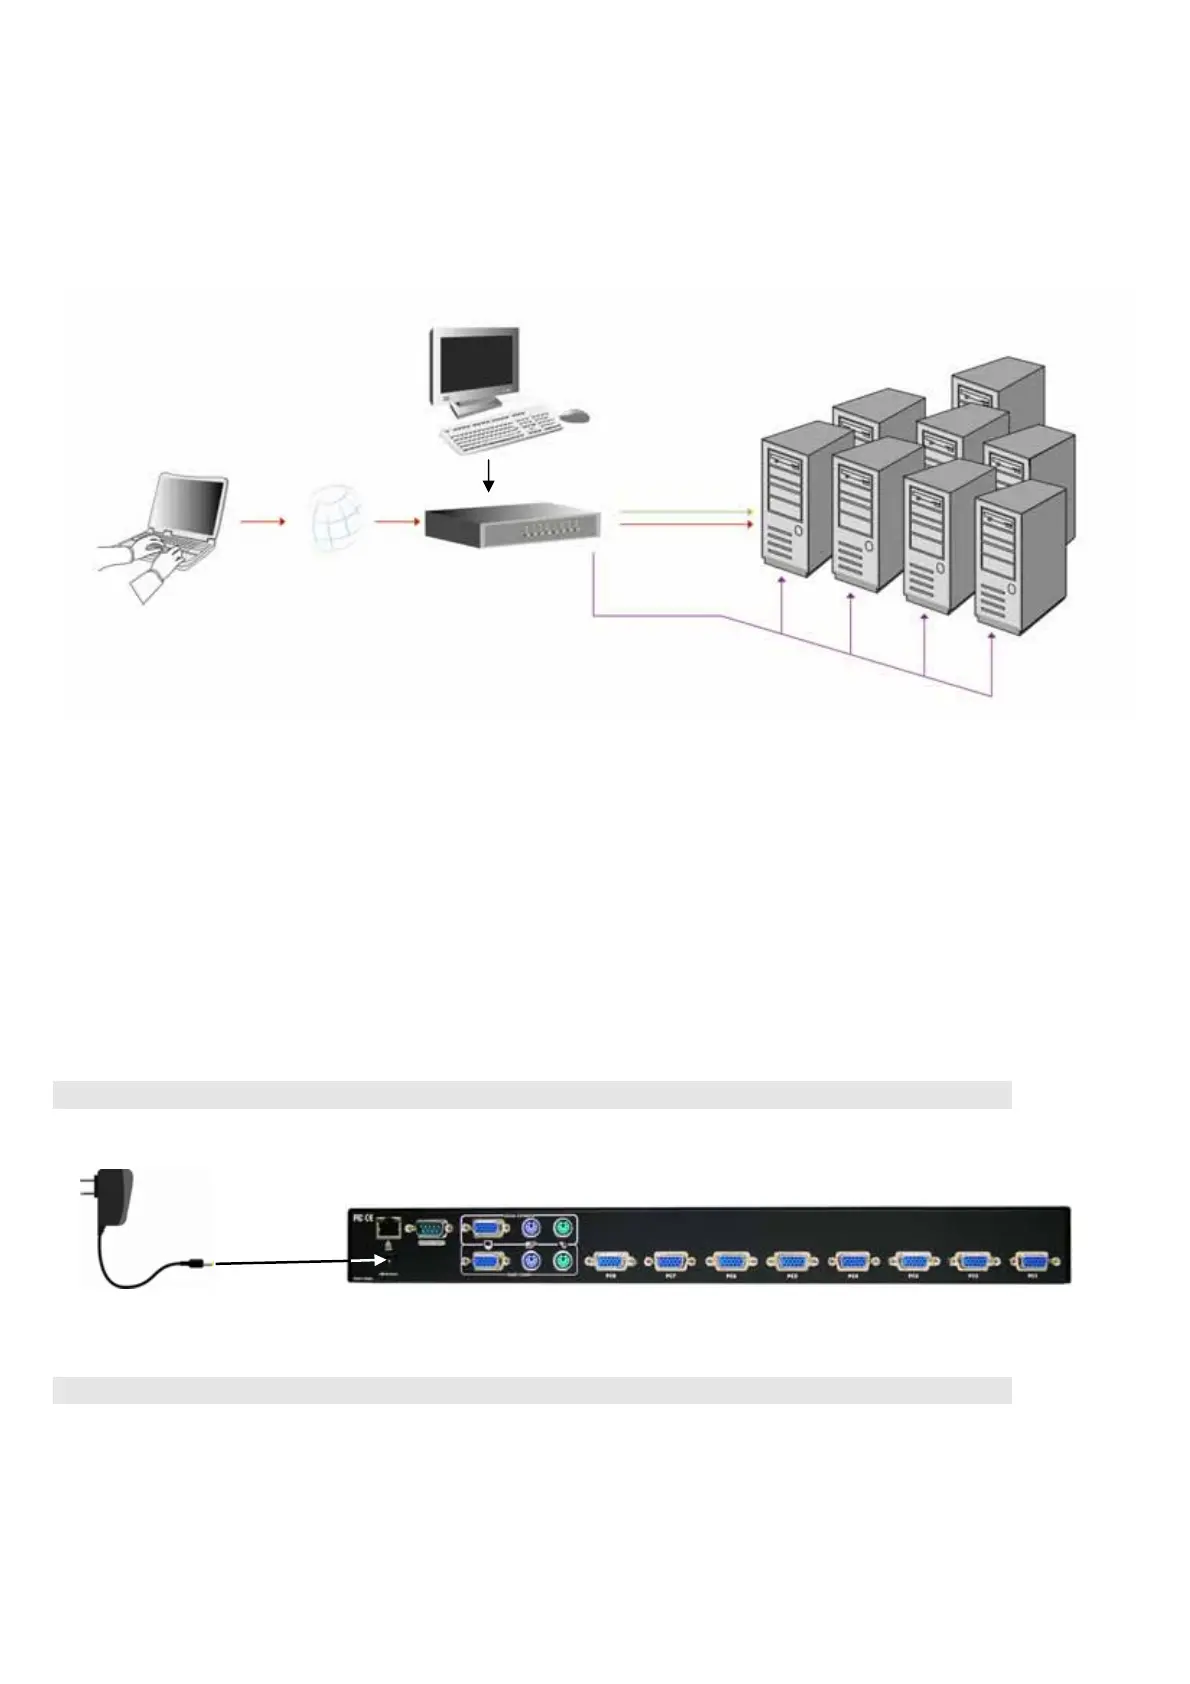
Figure 3.1 shows the connections of PS/2 IP-KVM switch to its host, to peripheral devices, to the
power source and to the local area network.
Figure 3.1: PS/2 IP-KVM switch usage scenario
PS/2 IP-KVM switch redirects local keyboard, mouse, and video data to a remote administration
console. All data is transmitted via IP.
PS/2 IP-KVM switch can be used in a multi administrator and multi server environment as well.
3.2 Connecting PS/2 IP-KVM switch to the host system
Before installation, please make sure all of peripherals and computers have been turned off. This
example of installation is based on 8 port Rack Mount PS/2 IP-KVM switch and you also can think that
16 port Rack Mount PS/2 IP-KVM switch and 32 port Rack Mount PS/2 IP-KVM switch have the same
installation procedure. In order to connect the PS/2 IP-KVM switch to the host system, please perform
the following steps:
Step 1
Attach the power supply to the KVM unit and plug the other end into an electrical receptacle.
Step 2
Find a convenient place to put your PS/2 IP-KVM switch. Its 19” rack mount form factor makes it ideal
mountable on 19” rack. When mounting to a rack, attach the included brackets to the sides of the PS/2
IP-KVM switch. Take note of the length of your cables so that your computers, KVM Switch, keyboard,
mouse and monitor are distanced properly.
Administrator
IP Network 8/16 port PS/2 KVM
over IP switch
8/16 Servers
Administrator