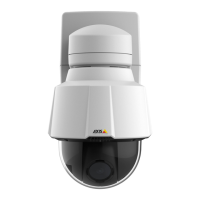
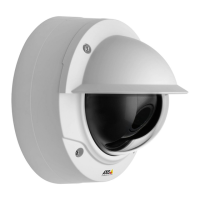
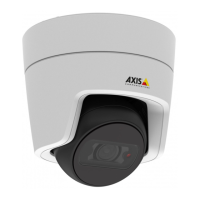
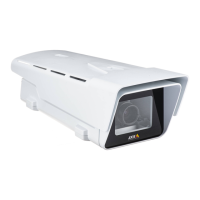
AXISP13-ESeries
Readalltheinstructionsbeforeinstallingtheproduct:
1.Installthewallmount.SeeInstalltheWallMountonpage20.Fordetailedinstructions,
seethewallmount’sInstallationGuide,suppliedinthepackageoravailableon
www.axis.com
2.Attachthehousingtothewallmount.SeeAttachtheHousingtotheWallMounton
page20.
3.Connectthecamera.SeeConnecttheCameraonpage23.
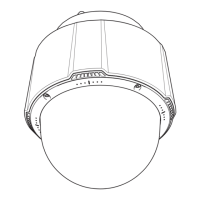
InstalltheWallMount
CAUTION
Makesurethatthescrewsandplugsareappropriateforthematerial(e.g.wood,metal,
drywall,stone)andthatthematerialisstrongenoughtosupportthecombinedweight
ofthecamera,housing,andwallmount.
1.Preparethewallforinstallationofthewallmount.Usethewallbracketasatemplate
andmarktheholesbeforedrillingtheholes.
2.Routethenetworkcablethroughthewallbracket.Leaveapproximately30cm(11.8in)of
cableforconnectingthecamera.
3.Ifconnectinganauxiliarydevice,forexampleanI/O,audio,orexternalpowerdevice,to
thecamera,repeatthestepaboveasapplicabletothespecicdevice.
4.Fastenthewallbrackettothewallbytighteningthescrews.
Note
•Fordetailedinstructions,seethewallmount’sInstallationGuidesuppliedinthepackage
andavailableonwww.axis.com
AttachtheHousingtotheWallMount
NO NO
NO
TICE TICE
TICE
•Usecablesthatkeepwithinthespeciedcablearea,seepage18.Usinganyotherthan
theprovidedcablegasketcouldcausewatertoseepinanddamagetheproduct.For
informationaboutcablegasketsandcableglandsthatallowforothercableareas,see
www.axis.com
•Ifmorethanonecableisused,eachcablemustberoutedthroughaseparatecablegasket.
•Onlyopenaholeincablegasketsthatwillbeusedandifacablegasketistorn,replaceit
withanewcablegasket.Leavingacablegasketopenorusingatorncablegasketcould
causewatertoseepinanddamagetheproduct.
1.Loosenthebottomcoverscrewsandliftthetopcover.
2.Selectwhichcablegaskettouseandpullthetabtoopenaholeforthenetworkcable.
20
 Loading...