AXIS P5532/P5534 Installation Guide Page 9
ENGLISH
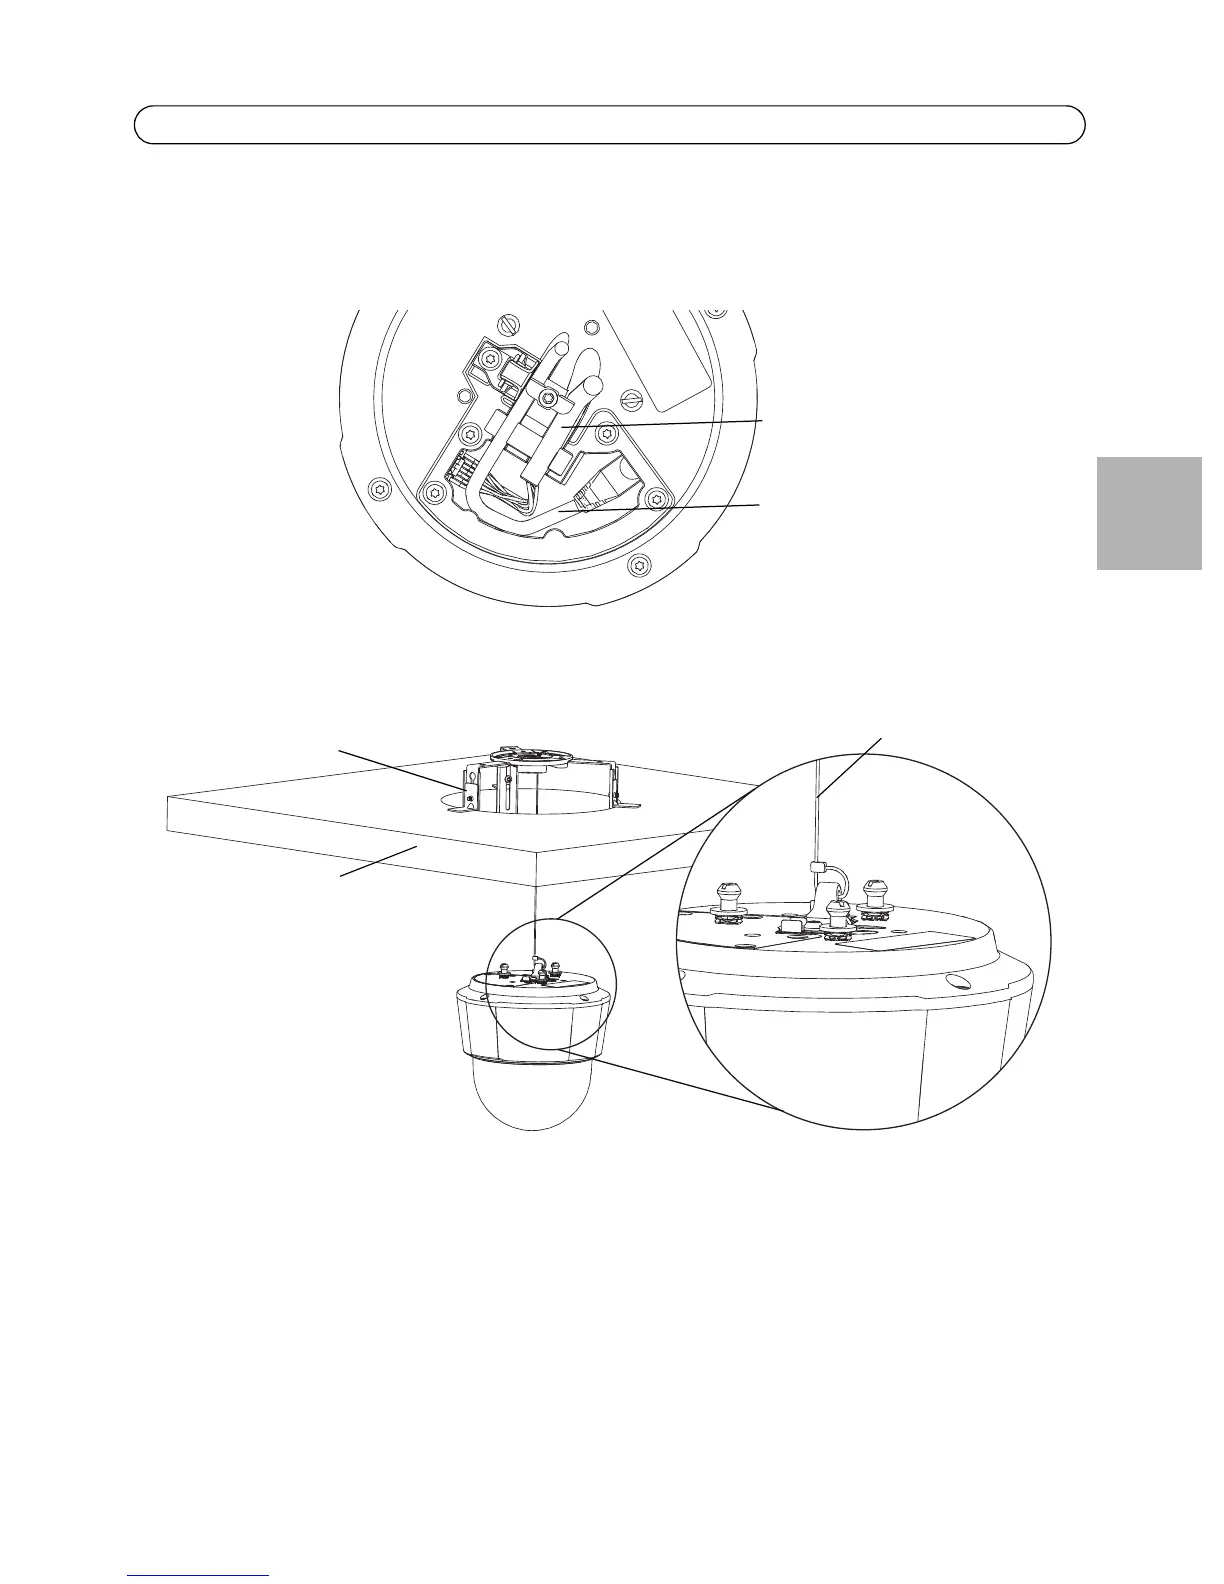
7. Route and connect the network cable and the multi-connector cable, if applicable, to the
network camera. Be careful not to damage the cables when connecting them. Make sure the
foam gasket holes are aligned with the cable tracks and, if applicable, remove the cut-out piece
for the multi-connector cable from the foam gasket.
8. Put the camera base lid back in its original position and fasten the screws.
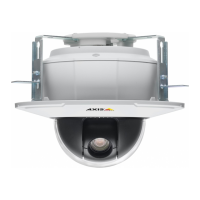
9. Secure the camera using the supplied safety wire.
10. Slide the unit holders on the network camera into the slots on the mounting plate and rotate
the camera unit.
11. Install the High PoE Midspan 1-Port, see Install the AXIS T8123 High PoE Midspan 1-port, on
page 11.
12. Check that the indicator LEDs on the midspan indicate the correct conditions. See the table on
page 21 for further details.
13. Install the ceiling tile, with the camera mounted, into the ceiling.
Multi-connector cable
Network cable
Safety wire
Ceiling tile
Ceiling bracket