Do you have a question about the Axis P8535 and is the answer not in the manual?
Product complies with IEC/EN/UL 60950-1 safety standards for IT equipment.
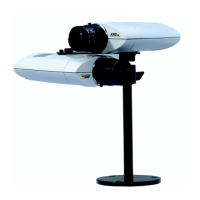
Specifies recommended installation height and measurement points for the camera.
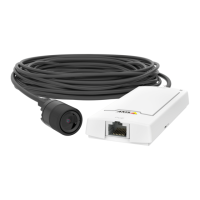
Illustrates cable management and connection points during installation.
Instructions for drilling holes of specific diameter for mounting the device.
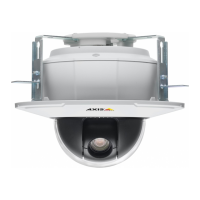
Procedure for attaching mounting brackets using screws.
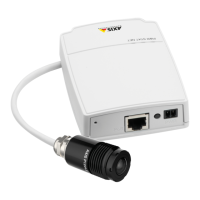
Illustrates connecting cables to the camera unit.
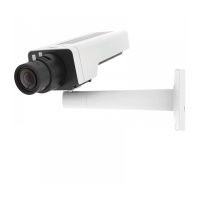
Procedure for connecting the camera sensor to the main unit.
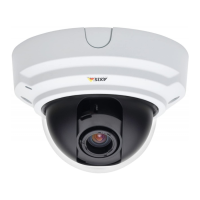
Shows how to attach the unit using screws.
Illustrates how to route cables during the installation process.
| Model | P8535 |
|---|---|
| Type | Network Camera |
| Environment | Indoor |
| Sensor Type | CMOS |
| Resolution | 1920x1080 |
| Maximum Video Resolution | 1920 x 1080 |
| Frame Rate | 30 fps |
| Compression | H.264, MJPEG |
| Video Compression | H.264, MJPEG |
| Audio Support | Yes |
| Power over Ethernet | Yes |
| Power Supply | PoE or 12 V DC |
| ONVIF Support | Yes |
| IR Illuminator | No |
| Ingress Protection | IP42 |
| Sensor Resolution | 2 Megapixel |
| Field of View | 100° |
| Audio | Two-way audio |
| Power Source | PoE, 12 V DC |
| Protocols | IPv4, IPv6, HTTP, HTTPS, FTP, RTSP, RTP, TCP, UDP, SMTP, DHCP, DNS, DDNS, NTP, UPnP, Bonjour |
| Minimum Illumination | 0.1 Lux |
| Day/Night | Yes |
| Network Interface | Ethernet |