4
StrikeLight 2 Stun Flashlight User Manual
Chapter 2: Introduction
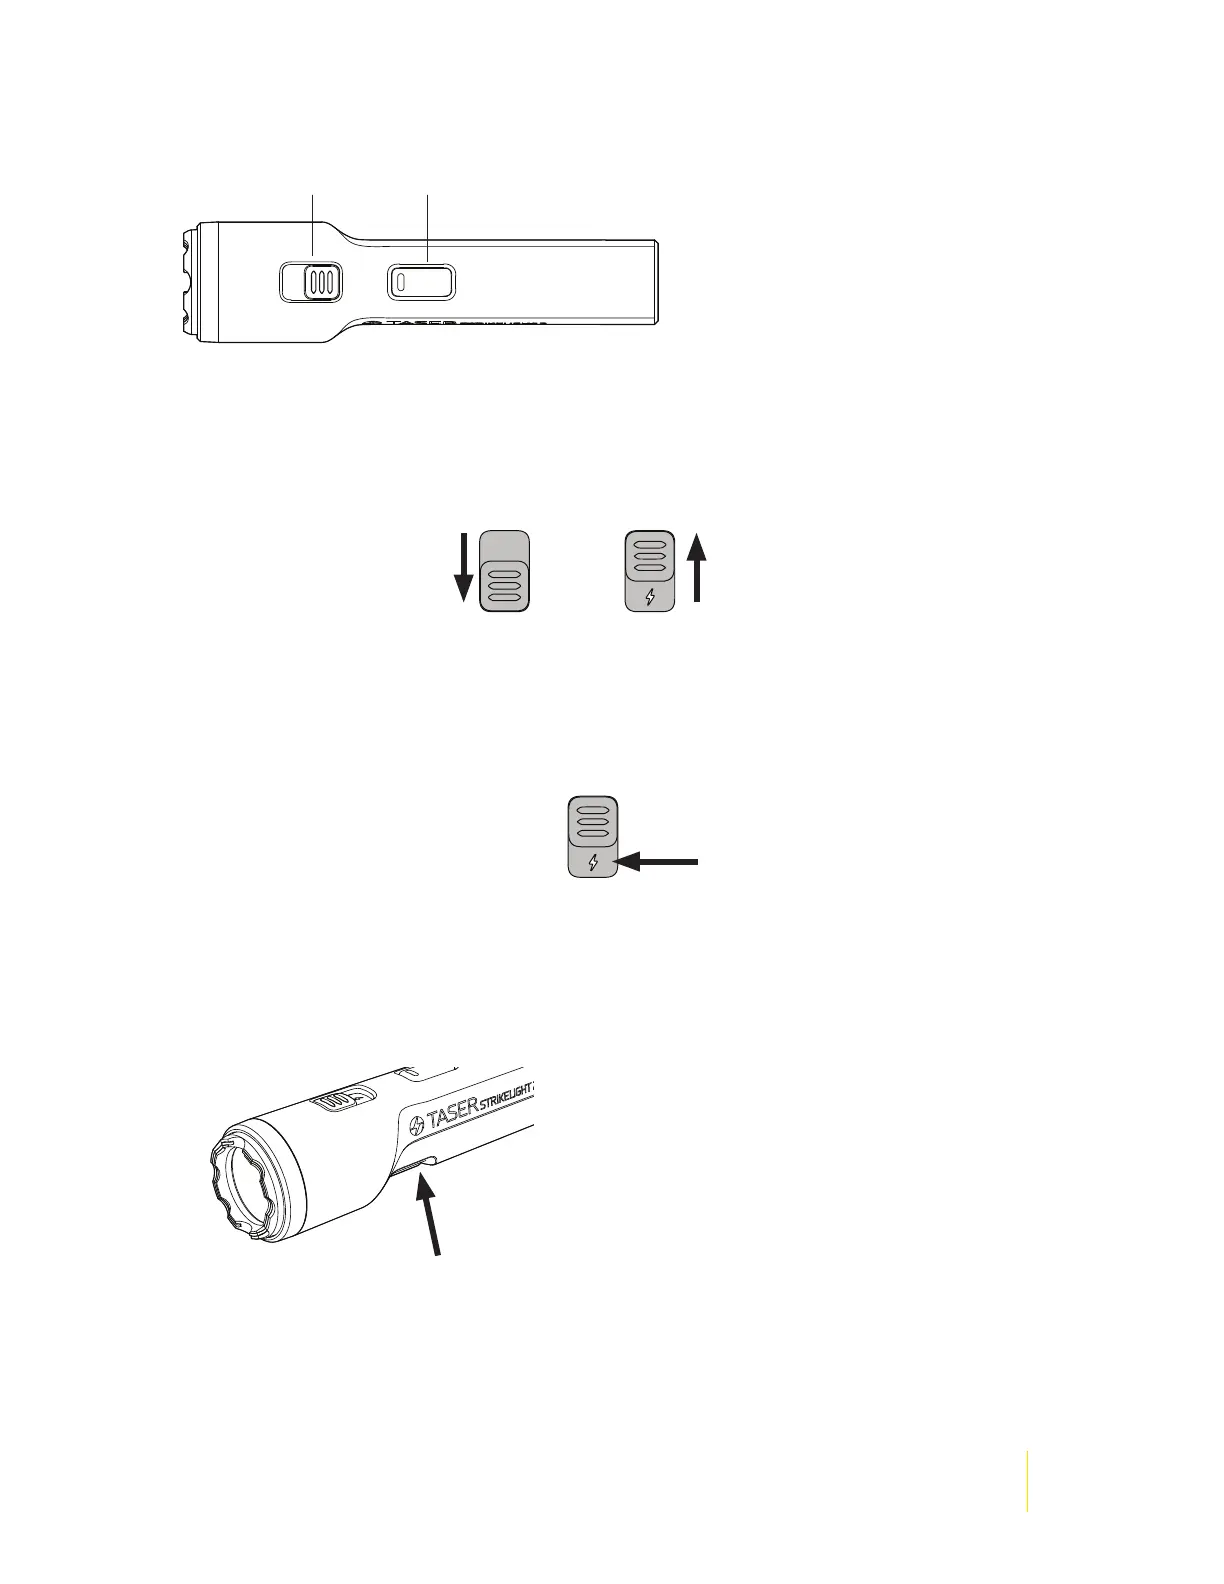
Top view of the StrikeLight 2 stun ashlight.
Safety Switch
The safety switch is used to determine whether the StrikeLight 2 stun ashlight can arc. With the
safety switch in the rearward (SAFE) position, the stun ashlight will not arc. When the safety switch is
in the forward (ARMED) position, the stun ashlight can arc when the trigger button is pressed.
ARMED Status LED
When the safety switch is in the forward (ARMED) position, the electrodes are placed in standby status.
The device can arc when the trigger button is pressed. Also, when the safety switch is shifted forward
the ARMED status LED will be uncovered and light up .
Trigger Button
After arming the stun ashlight, press and hold the trigger button to make electricity arc at the
electrodes on the front of the device. Press and hold the trigger button when applying a contact stun
to an attacker. The device will arc continually until you release the trigger button or the battery
depletes, whichever comes rst.
.
Safety switch Flashlight button
rearward (SAFE)
forward (ARMED)
 Loading...