www.babylock.com
Page 11
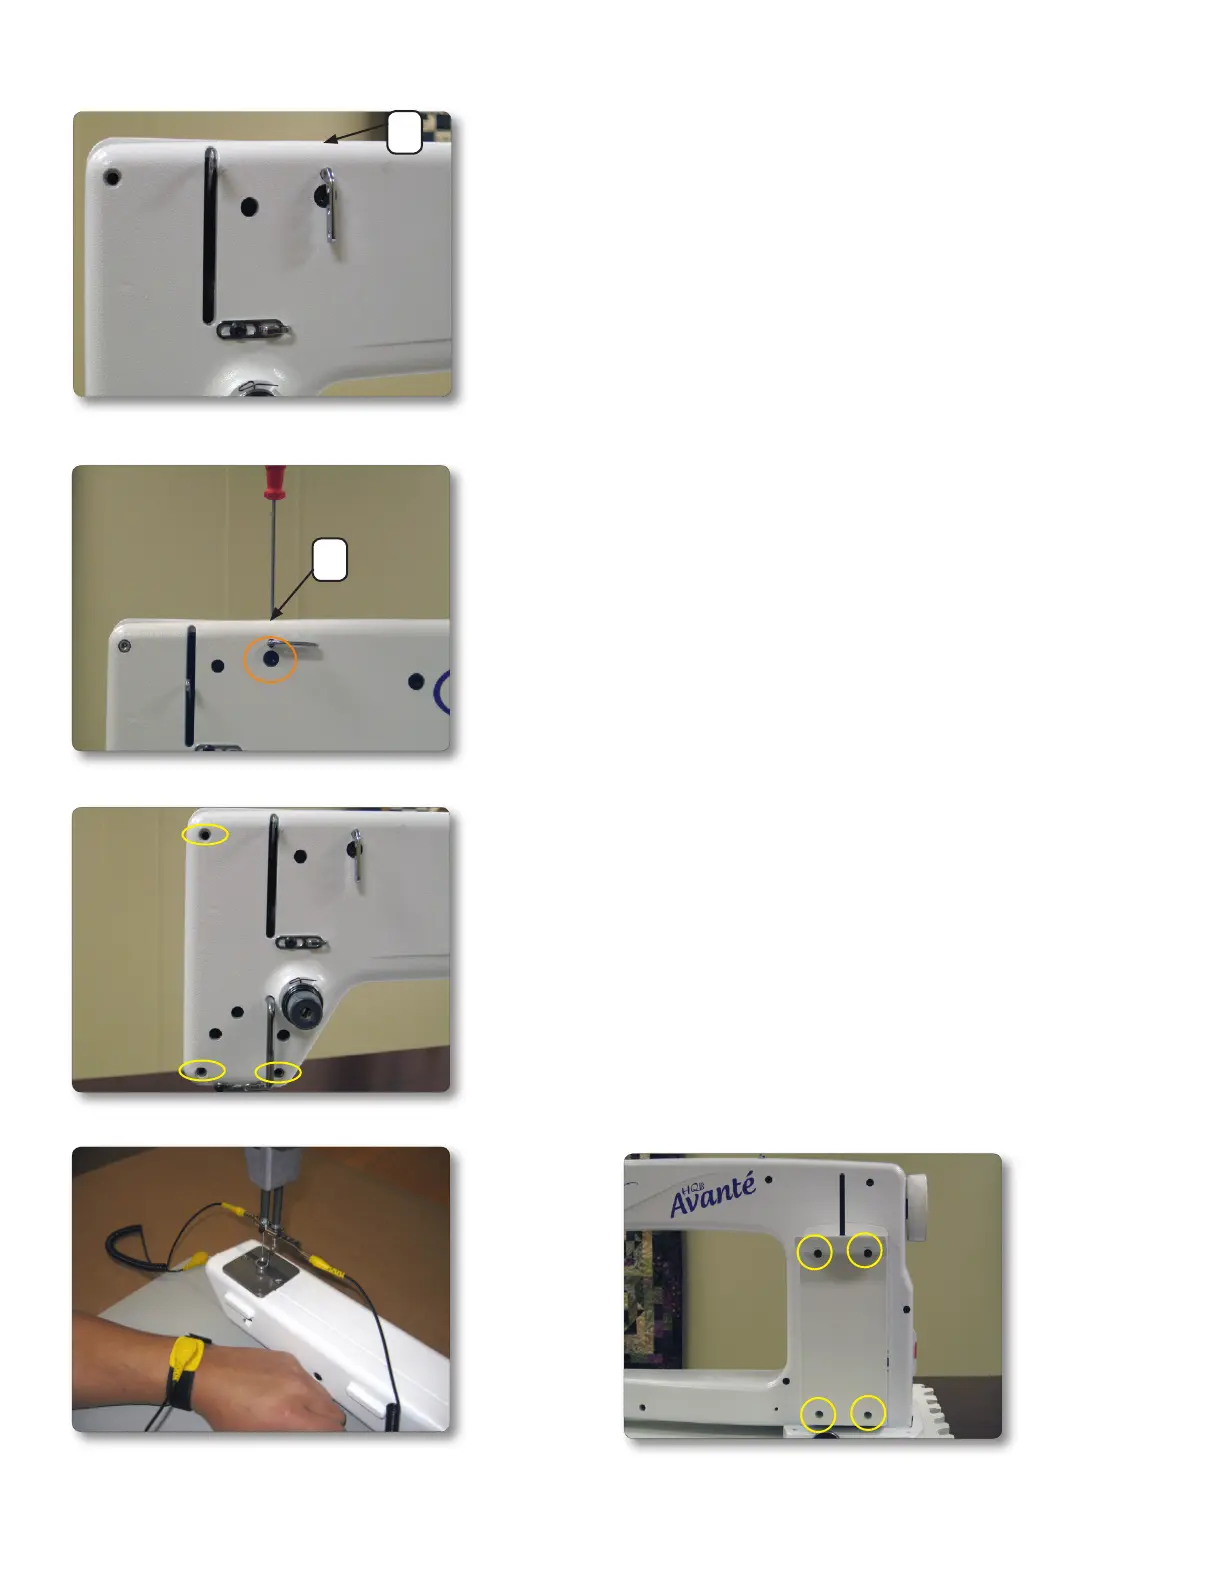
Figure 2.4
Figure 2.1
A
Figure 2.3
Figure 2.5
Figure 2.2
2. Removal of the Front Cover
Tools Required: 2 mm, 3 mm, 4 mm handle Allen,
4 mm L Allen, #3 at screwdriver and #2 Phillips
screwdriver.
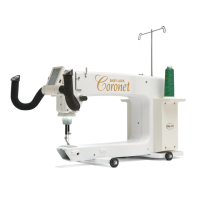
1. Loosen set screw on top of cover (posion A in
Figure 2.1). Rotate the 3-hole thread guide to allow
access to the frame screw (Figure 2.2), then re-snug
the screw so the guide will not become misplaced.
(2 mm handle Allen tool)
2. Remove the three frame screws circled in
Figure 2.3 (3 mm handle Allen)
3. Before removing the C-pod, use a grounding mat
and wrist strap. Connect the two ground clips to the
bare threads of the hopping foot. (Figure 2.4)
Cauon: Make sure the machine is unplugged from
the wall before removing the C-pod or whenever
working on the machine.
4. Remove the “C-pod” by unscrewing the 4 screws.
(Figure 2.5) (#2 Philips screwdriver)
5. With the machine properly grounded to a
grounding mat, and with a ground wrist strap (Figure
2.4), carefully unplug the cables from the C-pod. Be
careful not to touch the circuit board or damage the
cables or plugs. They should be pulled straight out by
the connector housing. (Page 13, Figures 2.6-2.8)
Note: The plugs are labeled and keyed on the C-pod
circuit board. See Figures 2.6- 2.13 for reconnecon
informaon.
(Connue to Step 6 on page 14.)
A
 Loading...