EasyManua.ls Logo

Backyard Discovery 55036 User Manual

Backyard Discovery 55036
52 pages
To Next Page IconTo Next Page
Page #1 background imageLoading...
Page #1 background image
Made in China
INS-55036-A-COLUMBUS PLAYHOUSE-ENG 01/19/18
Owner's Manual
Frequently Asked Questions
Assembly Instructions
Warranty Information
COLUMBUS
PLAYHOUSE
MODEL: # 55036
BOOKLET INCLUDES:
For the most up to date assembly manual,
to register your set or to order replacement parts please visit
www.backyarddiscovery.com
Save this assembly manual for future reference in the event that
you need to order replacement parts.
WARNING
Adult Assembly Required.
Not suitable for children under two years
due to sharp points and small parts.
Para obtener instrucciones en español, visite www.backyarddiscovery.com
Question and Answer IconNeed help?

Do you have a question about the Backyard Discovery 55036 and is the answer not in the manual?

Backyard Discovery 55036 Specifications

General IconGeneral
BrandBackyard Discovery
Model55036
CategoryPlay Sets & Playground Equipment
LanguageEnglish

Summary

Pre-Assembly Information and Warnings

Playhouse Setup and Safety

Operational and Maintenance Guidelines

Tools and Safety Overview

Safety and Assembly Information Summary

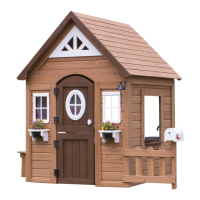
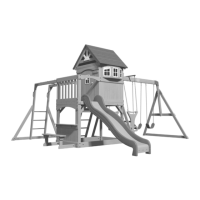
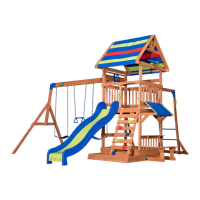
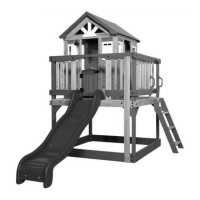
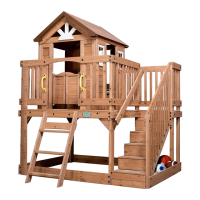
Key safety data, dimensions, and capacity guidelines for the playhouse.

Parts Identification

Wood Components

Visual guide to all wooden parts, including part numbers and dimensions.

Hardware Components

List and illustration of all hardware items required for assembly.

Playhouse Assembly Steps

Step 1: Assemble Wall Panels

Connects the right front and left right side wall panels using brackets and screws.

Step 2: Attach Center Right Side Wall Panel

Secures the center right side wall panel to the existing structure using screws.

Step 3: Attach Right Right Side Wall Panel

Attaches the right right side wall panel to the assembly with screws.

Step 4: Attach Rear Wall Panel

Connects the rear wall panel to the playhouse using brackets and screws.

Step 5: Attach Left Wall Panel

Secures the left wall panel to the playhouse frame with brackets and screws.

Step 6: Attach Left Front Wall Panel

Installs the left front wall panel, ensuring a 3/16" gap, using screws.

Step 7: Install Outer Counter Supports

Attaches outer counter supports to the front and rear wall sections using screws.

Step 8: Install Center Counter Support

Secures the center counter support to the rear and left wall panels with screws.

Step 9: Attach Window Uprights

Installs window uprights onto the left and right side panels using screws.

Step 10: Secure Window Uprights

Fastens window uprights to the playhouse structure with screws and brackets.

Step 11: Attach Rear Counter Top

Secures the rear counter top panel to the side walls with screws.

Step 12: Attach Front Counter Top

Installs the front counter top panel onto the playhouse structure using screws.

Limited Warranty Information

Related product manuals