EasyManua.ls Logo

Baldwin 9BR7020 Series - User Manual

Baldwin 9BR7020 Series
2 pages
Print Icon
To Next Page IconTo Next Page
Loading...
A
B
B
C
3/32"
2 mm
5/8"
16 mm
9BR7020-XXX
Tools Needed
Herramientas necesarias
Outils nécessaires
48773 / 01 Flush Bolt
baldwinhardware.com
800.566.1986
Remove material.
Retire el material.
Retirez le matériel.
B
B
1/2"
12.7 mm
deep
profundidad
profondeur
x2
3/32"
2 mm
A
Mark holes.
Marque los
orificios.
Marquez les
trous.
x2
Remove material until bolt is
flush with door.
Retire el material hasta que
el perno se encuentre
nivelado con la puerta.
Retirez le matériel jusqu'à
ce que le boulon soit au
même niveau que la porte.
1
2
3
4
Quick Installation Guide
Guía de instalación rápida
Guide d’installation rapide
Question and Answer IconNeed help?

Do you have a question about the Baldwin 9BR7020 Series and is the answer not in the manual?

Summary

Flush Bolt Installation Steps

Remove Material (Step 1)

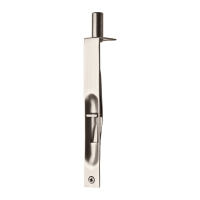
Initial step to remove material from the door, preparing for the flush bolt installation.

Remove Material for Flush Bolt (Step 2)

Continue removing material until the bolt is flush with the door's surface.

Mark Holes for Installation (Step 3)

Mark the precise locations for drilling holes required for the flush bolt.

Drill Pilot Holes (Step 4)

Drill pilot holes to the specified depth (1/2" or 12.7 mm) using a 3/32" (2 mm) drill bit.

Mark Door Edge and Center (Step 5)

Mark the edge and center of the door to align the flush bolt mechanism correctly.

Remove Material Until Strike is Flush (Step 6)

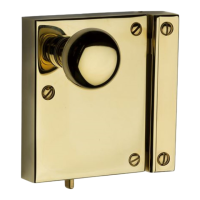
Remove material until the strike plate (C) is flush with the door frame.

Mark Holes for Strike Plate (Step 7)

Mark the locations for the strike plate holes on the door frame.

Install Flush Bolt Components (Step 8)

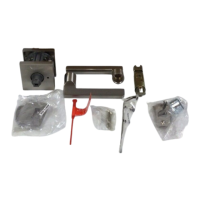
Install the components (A, B) of the flush bolt into the prepared holes.

Baldwin 9BR7020 Series Specifications

General IconGeneral
BrandBaldwin
Model9BR7020 Series
CategoryDoor locks
LanguageEnglish

Related product manuals