Appendix A
33
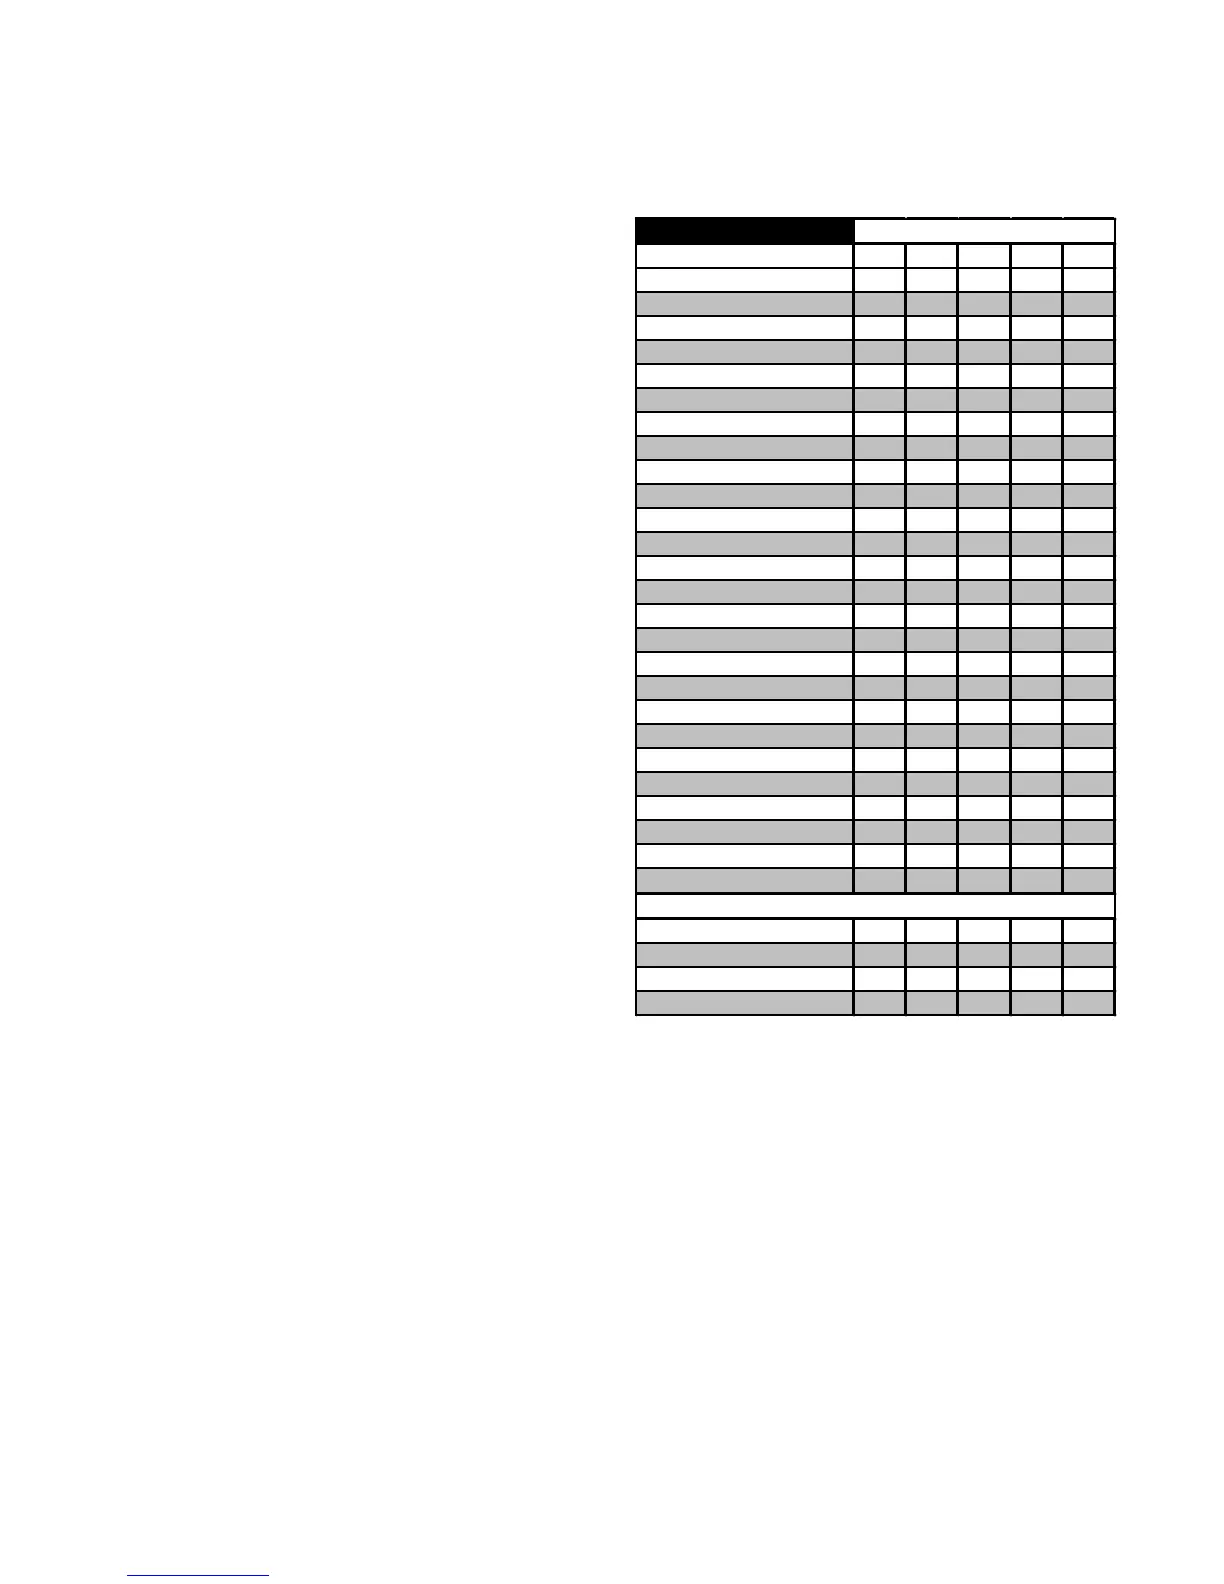
Creating a Heat Cycle
Funct ion 1 2 3 4 5
Cool Down
Fill to Temp
Drain
Cold Water
Hot Water Yes Yes
Heating Yes Yes Yes Yes Yes
Temperature 90 90 90 90 90
Chem 1
Chem 2 Yes
Chem 3
Chem 4
Chem 5
Aux 1
Aux Fill
Aux 2
Spin Test
Agitation 1 1 1 1 1
Speed RPM 42 42 42 42 42
Chem 6
Chem 7
Chem 8
Drain B
Aux 3
Signal
Aux 4
Aux 5
Level cm 24 24
Temp C 90
WDT m:s 9:00 30:00 5:00
Time m:s 1:00 7:00
End Step
Step
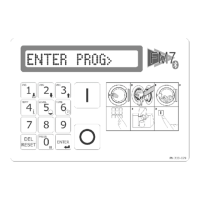
Any cycle can be converted to a heating
cycle by inserting a step after the fill, and
setting the end step condition to a
temperature (See Step 2 in the
illustration to the right).
Step 1 - Fill to a water level with hot
water. Heat is on, and will engage when
a minimum water level is met.
Watchdog timer of 9:00 allows time to
fill before an alarm is generated. Step 1
ends when the water level is reached.
Step 2 - Heat output is on. Watchdog
timer of 30:00 allows time to heat to the
required temperature before an alarm is
generated. Step 3 ends when the target
temperature is reached.
Step 3 - Heat output is on, Chemical 2
output is on, Relay 12 (injection flush) is
on (not required for machines with
plastic vacuum breaker). Step 3 ends
when a time of 1:00 elapses.
Step 4 - Top off step, same outputs as
step 1.
Step 5 - Heat output is on in order to
regulate temperature during the agitation
phase. Step 5 and the entire cycle are
complete when a time of 7:00 elapses.
Refer to the earlier sections in this
manual for a full explanation of each
step.